In this article, you’ll learn about:
Overview
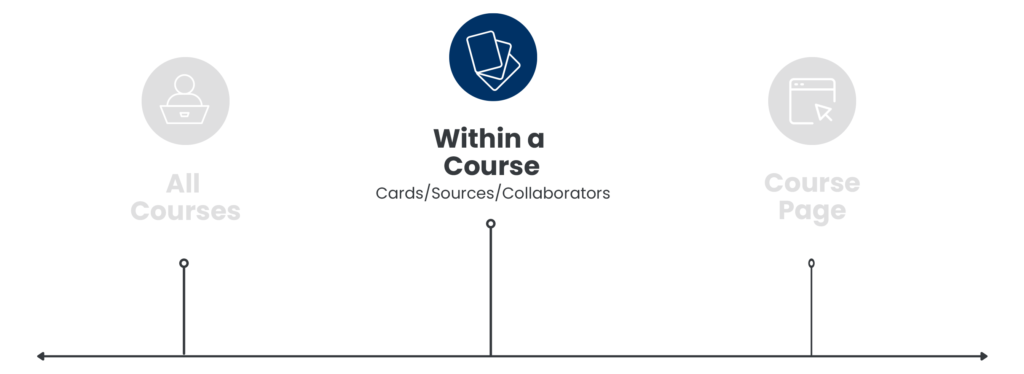
Within a course, you can use the Cards, Sources, and Collaborators tabs in the blue header to navigate to these course-specific pages. The Cards page displays all of the cards in your course (hovering your cursor on a card lets you access quick tools to delete, copy, or edit the card), Sources lets you add or attach sources to your course, and Collaborators lets you add or attach collaborators to your course. 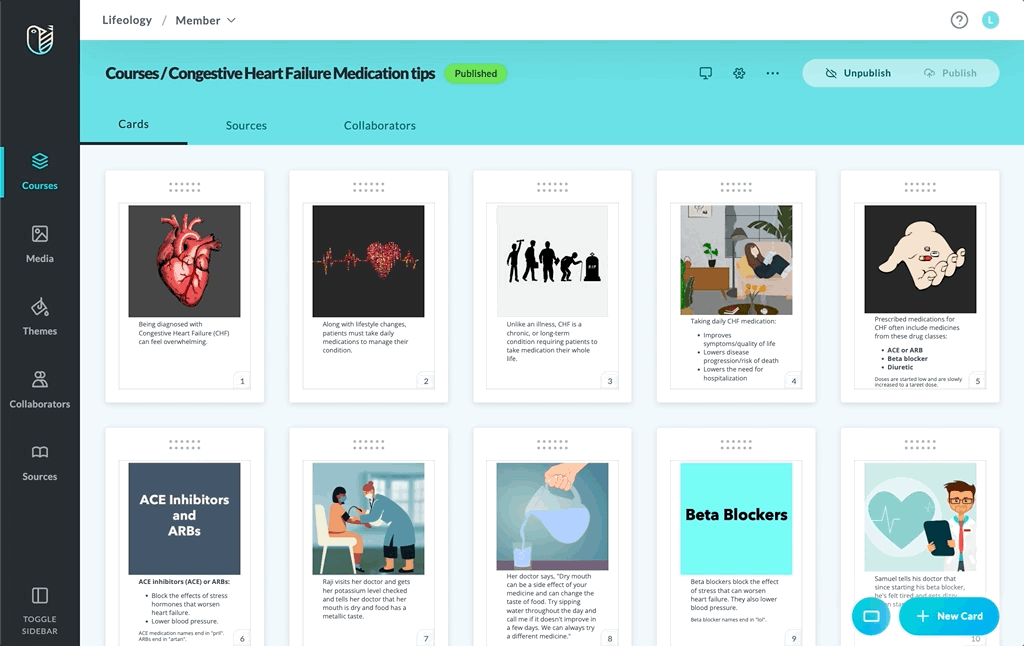
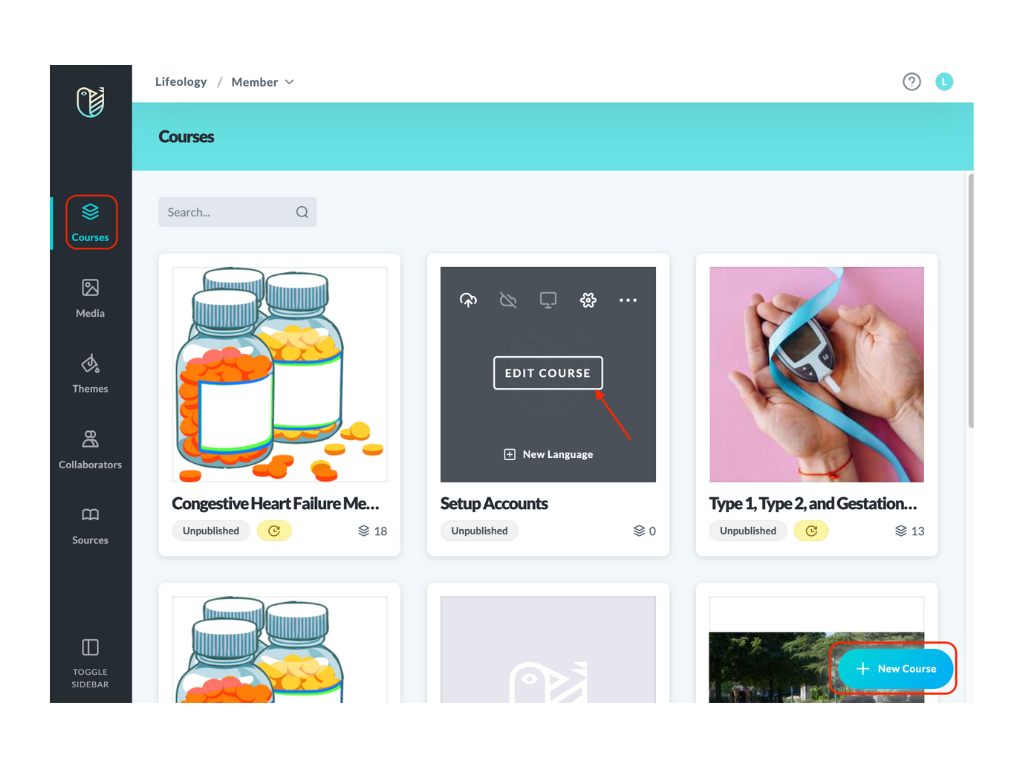
Enter a course by either:
- Adding a new course
- Click Courses
 in the sidebar
 - Click the +New Course button at the bottom right of the screen
- Click Courses
- Editing an existing course
- Click Courses in the sidebar, hover your cursor on the course tile for the course you wish to enter until tools are presented
- Click the Edit Course button
- Click Courses
Header Tools
The blue header has tabs to the Cards, Sources, and Collaborators pages for the course you are actively in, as well as various tools to streamline your course building.
Course Tools include:

PUBLISHED/ UNPUBLISHED
Shows whether
course is published
or unpublished.

UNPUBLISHED CHANGES EXIST
Local changes exist but have not been applied to the published course.
VIEW COURSE
IN NEW TAB
View your course in
a new tab.
COURSE
SETTINGS
Info on the course, such as theme, thumbnail, description, and more.

PREVIEW
See the local changes in your current tab.

COPY LINK
Copy a link to the course. Only published courses will display.

EXPORT
Download a zip folder of the course template and course media.

DUPLICATE AS
Creates a copy of this single version of the course. The title and URL will differ from original.

PUBLISH
Publish to make your course visible.
UNPUBLISH
Unpublish to hide the course from the public.
DELETE
Deletes this single course. It cannot be undone.
Cards Tab
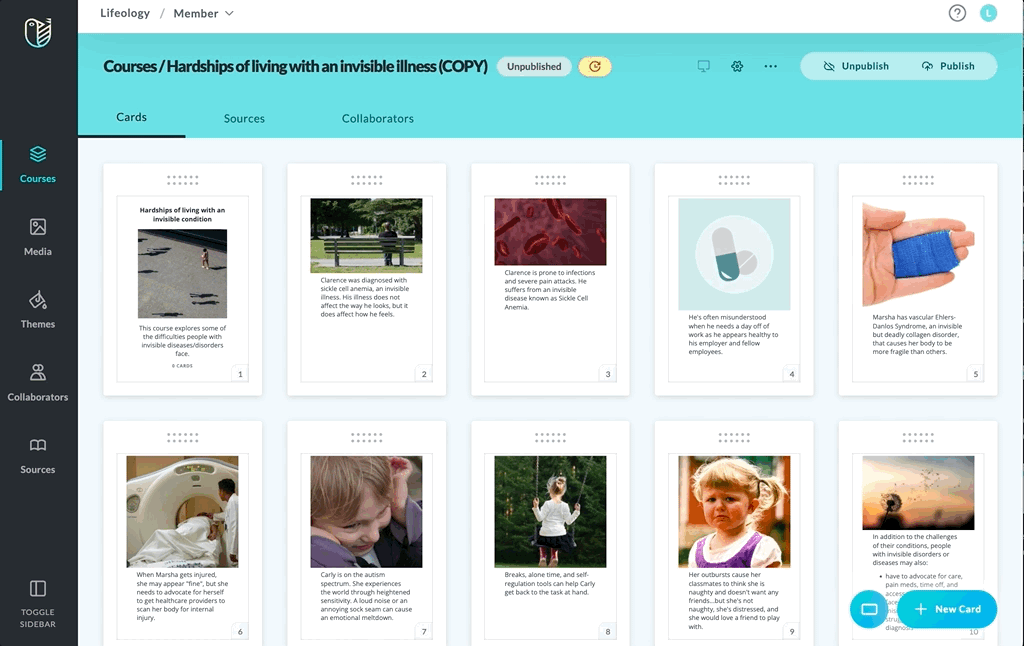
In the Cards tab, you can:
- Hover your cursor on any card to copy , delete
 , or Edit Card
 - Add a new card to the end of your course deck by clicking the +New Card button
- Reorder your cards by clicking the dotted grip at the top of a card and dragging/dropping it into a new location
- Switch between portrait or landscape viewing orientation by selecting either the landscape icon
 or the portrait icon
Sources Tab

In the Sources tab, you can:
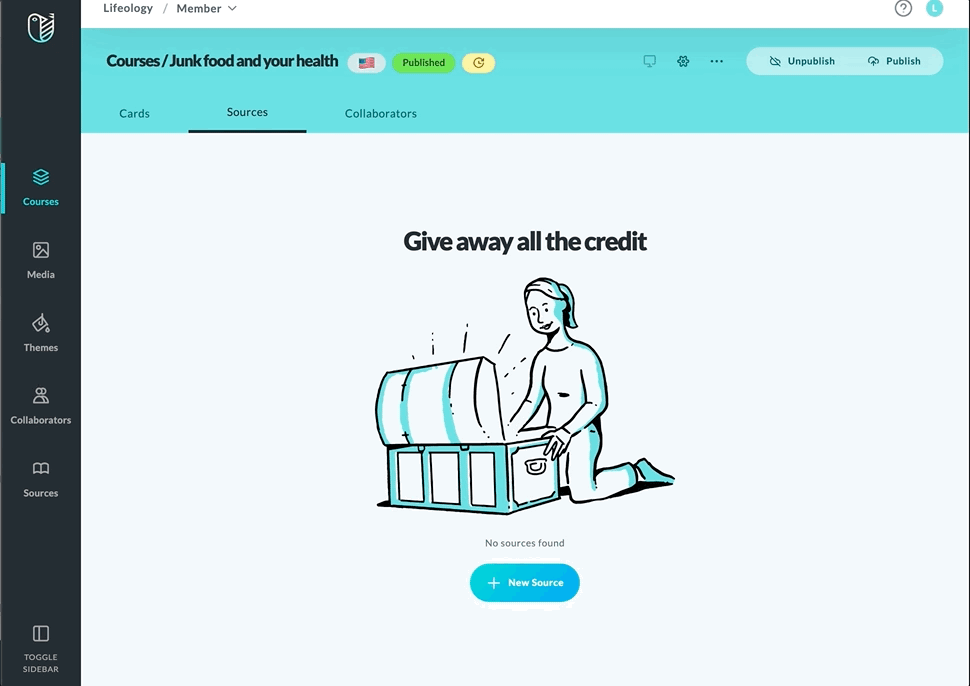
- Attach sources to your course (+New Source button):
- Add a new source to your course (this attaches the source to your course as well as adds it to your Sources library)
- Add a source from your Source library
- Detach a source from your course (this does NOT delete the source from the Sources library)
Note: The Sources and Collaborators header tabs serve different functions than those in the black sidebar. The sidebar Sources library and Collaborators directory store all source and collaborator information added from all your courses. The Sources and Collaborators tabs within the blue header are used to attach a source/collaborator, either from your library/directory or by adding a new one.
Collaborators Tab
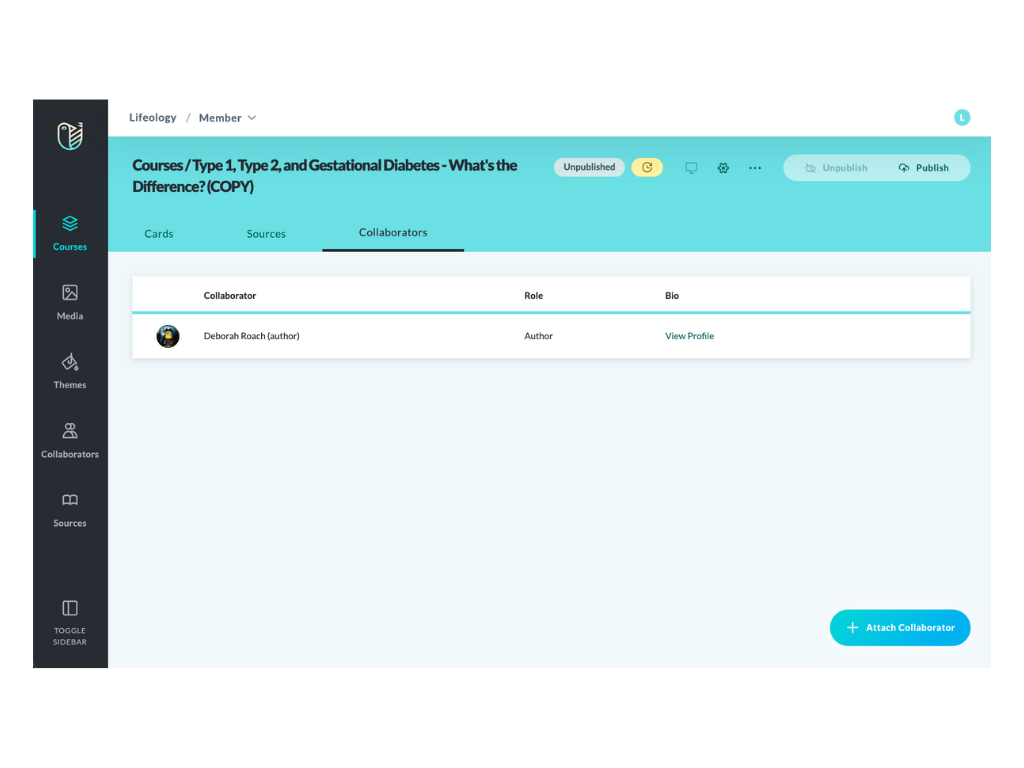
In the Collaborators tab, you can:
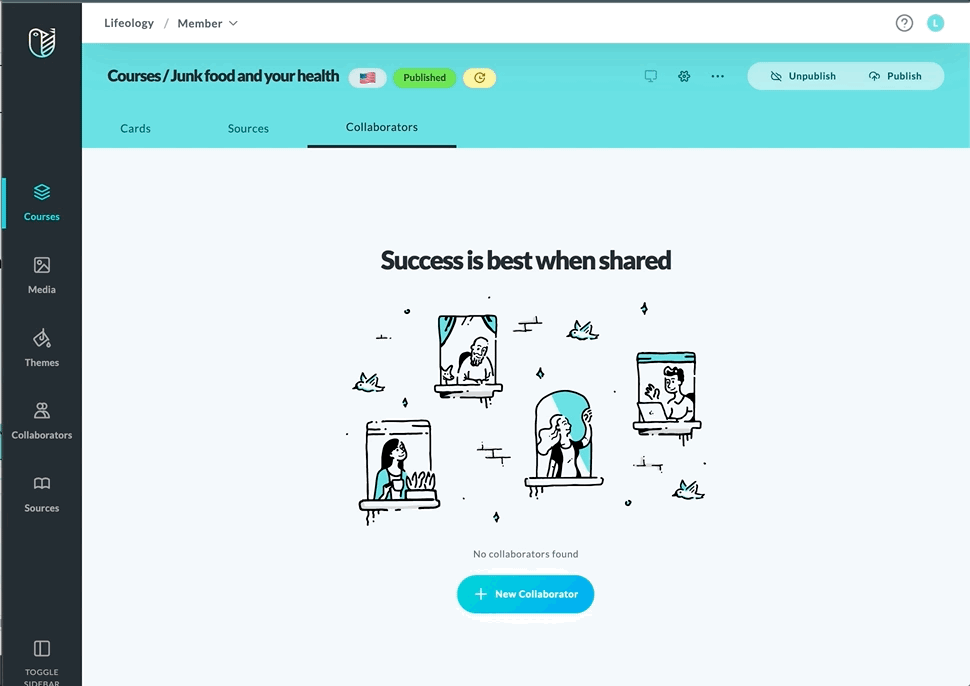
- Attach collaborators to your course (+New Collaborator button):
- Add a new collaborator to your course (this attaches them to your course and stores them in your Collaborators directory)
- Add a collaborator from your Collaborators directory
- Detach a collaborator from your course (this does NOT delete the collaborator from your Collaborators directory)