

In this article, you’ll learn:
- What a Sponsor card is
- How to add a Sponsor card to your course
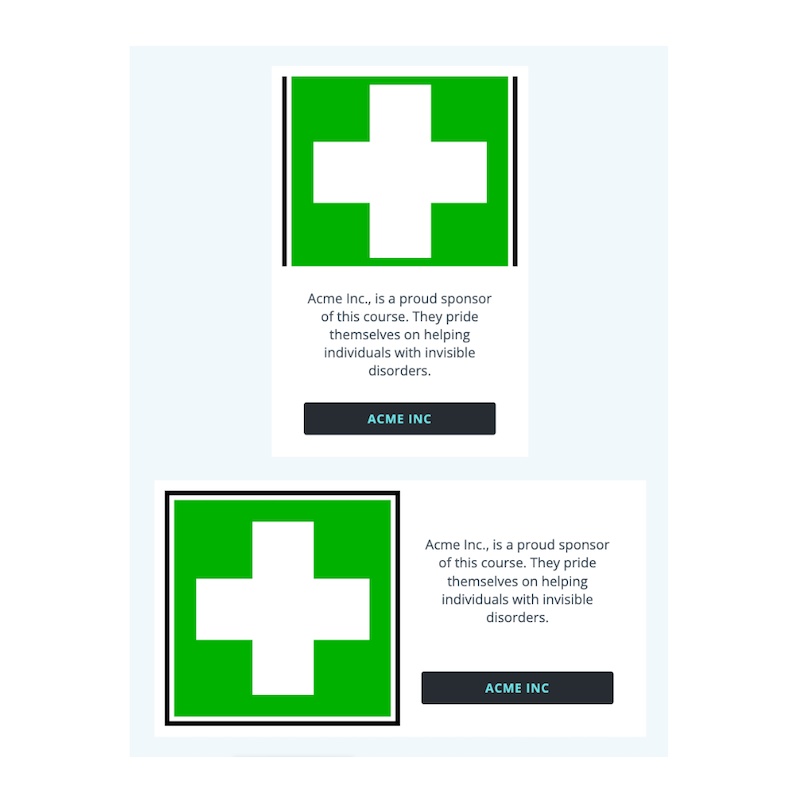
Sponsor Card
Sponsor card(s) allow you to give a nod to those that helped make the course possible. You can include an image, some text, and a link to their page.
To add a Sponsor card to your course:
- Follow the Add a Card procedure.
- Select the Sponsor card from the Type dropdown.
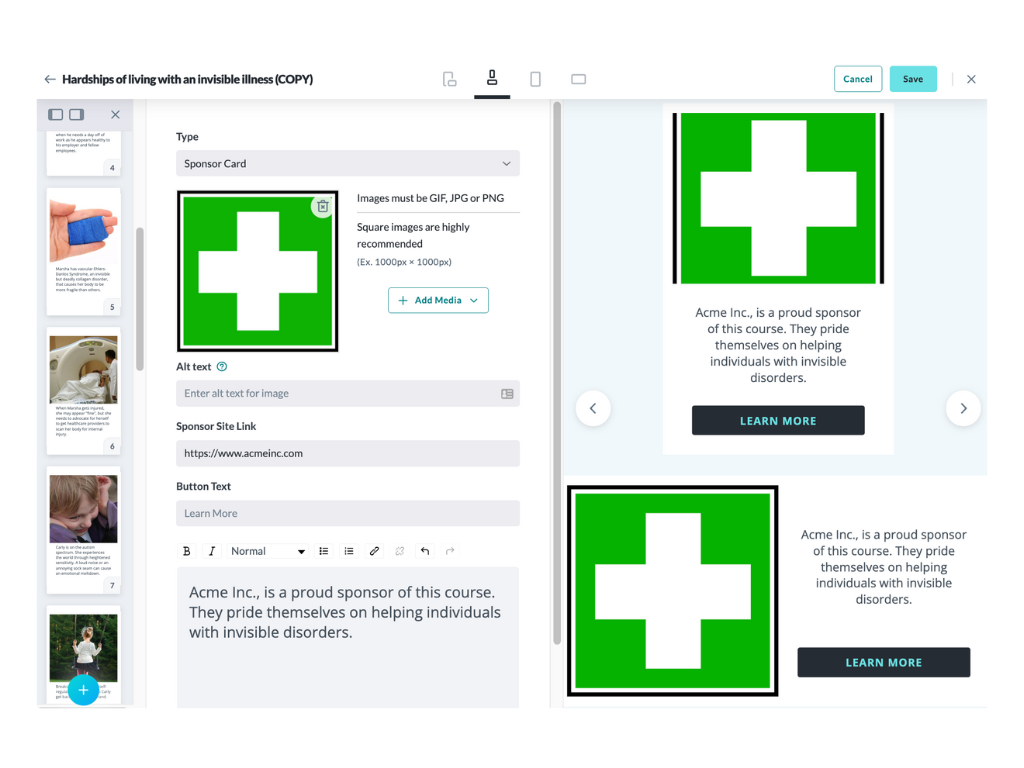
- Add your media (square-shaped GIF, JPG, or PNG, EX: 1000 x 1000).
- Add the link to the sponsor’s website (link must begin with https://).
- Add the text you wish to display on the button.
- Add a description in the provided textbox.
- Add Narration to your card (optional) by clicking the “+” to the right of Narration, then click “+ Add Narration Script”. To learn about adding Narration, click here.
- Click the Save button on the top right of the builder.
To continue adding cards, click the + found at the bottom of the card preview pane of the builder screen.
Preview Options
Use the icons along the top of the screen to change the preview options to see how your course page looks on a mobile/tablet device or desktop/laptop.
Other card types available for building your course:
Next: Adding Sources