
In this article, you’ll learn how to:
When building a new course, you can use a template for a speedy way to add cards with text and images to your course. One example is typing the card text in a Google doc, then copying and pasting each card text from the .doc into a line of the template. You can also upload an image for each card, but images will only upload if you’ve added the filename for the image under the card_media field for the related card in the template.
Users who craft their course using the template can finish editing or adding cards, features, and more in the Builder.
Note: A blank template can be downloaded, completed, then imported only when starting a new course.
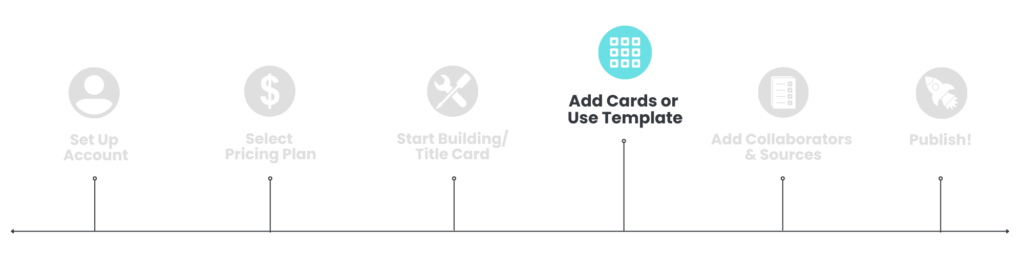
Build a Course Using a Template:
- In the New Course window, select the Import tab.
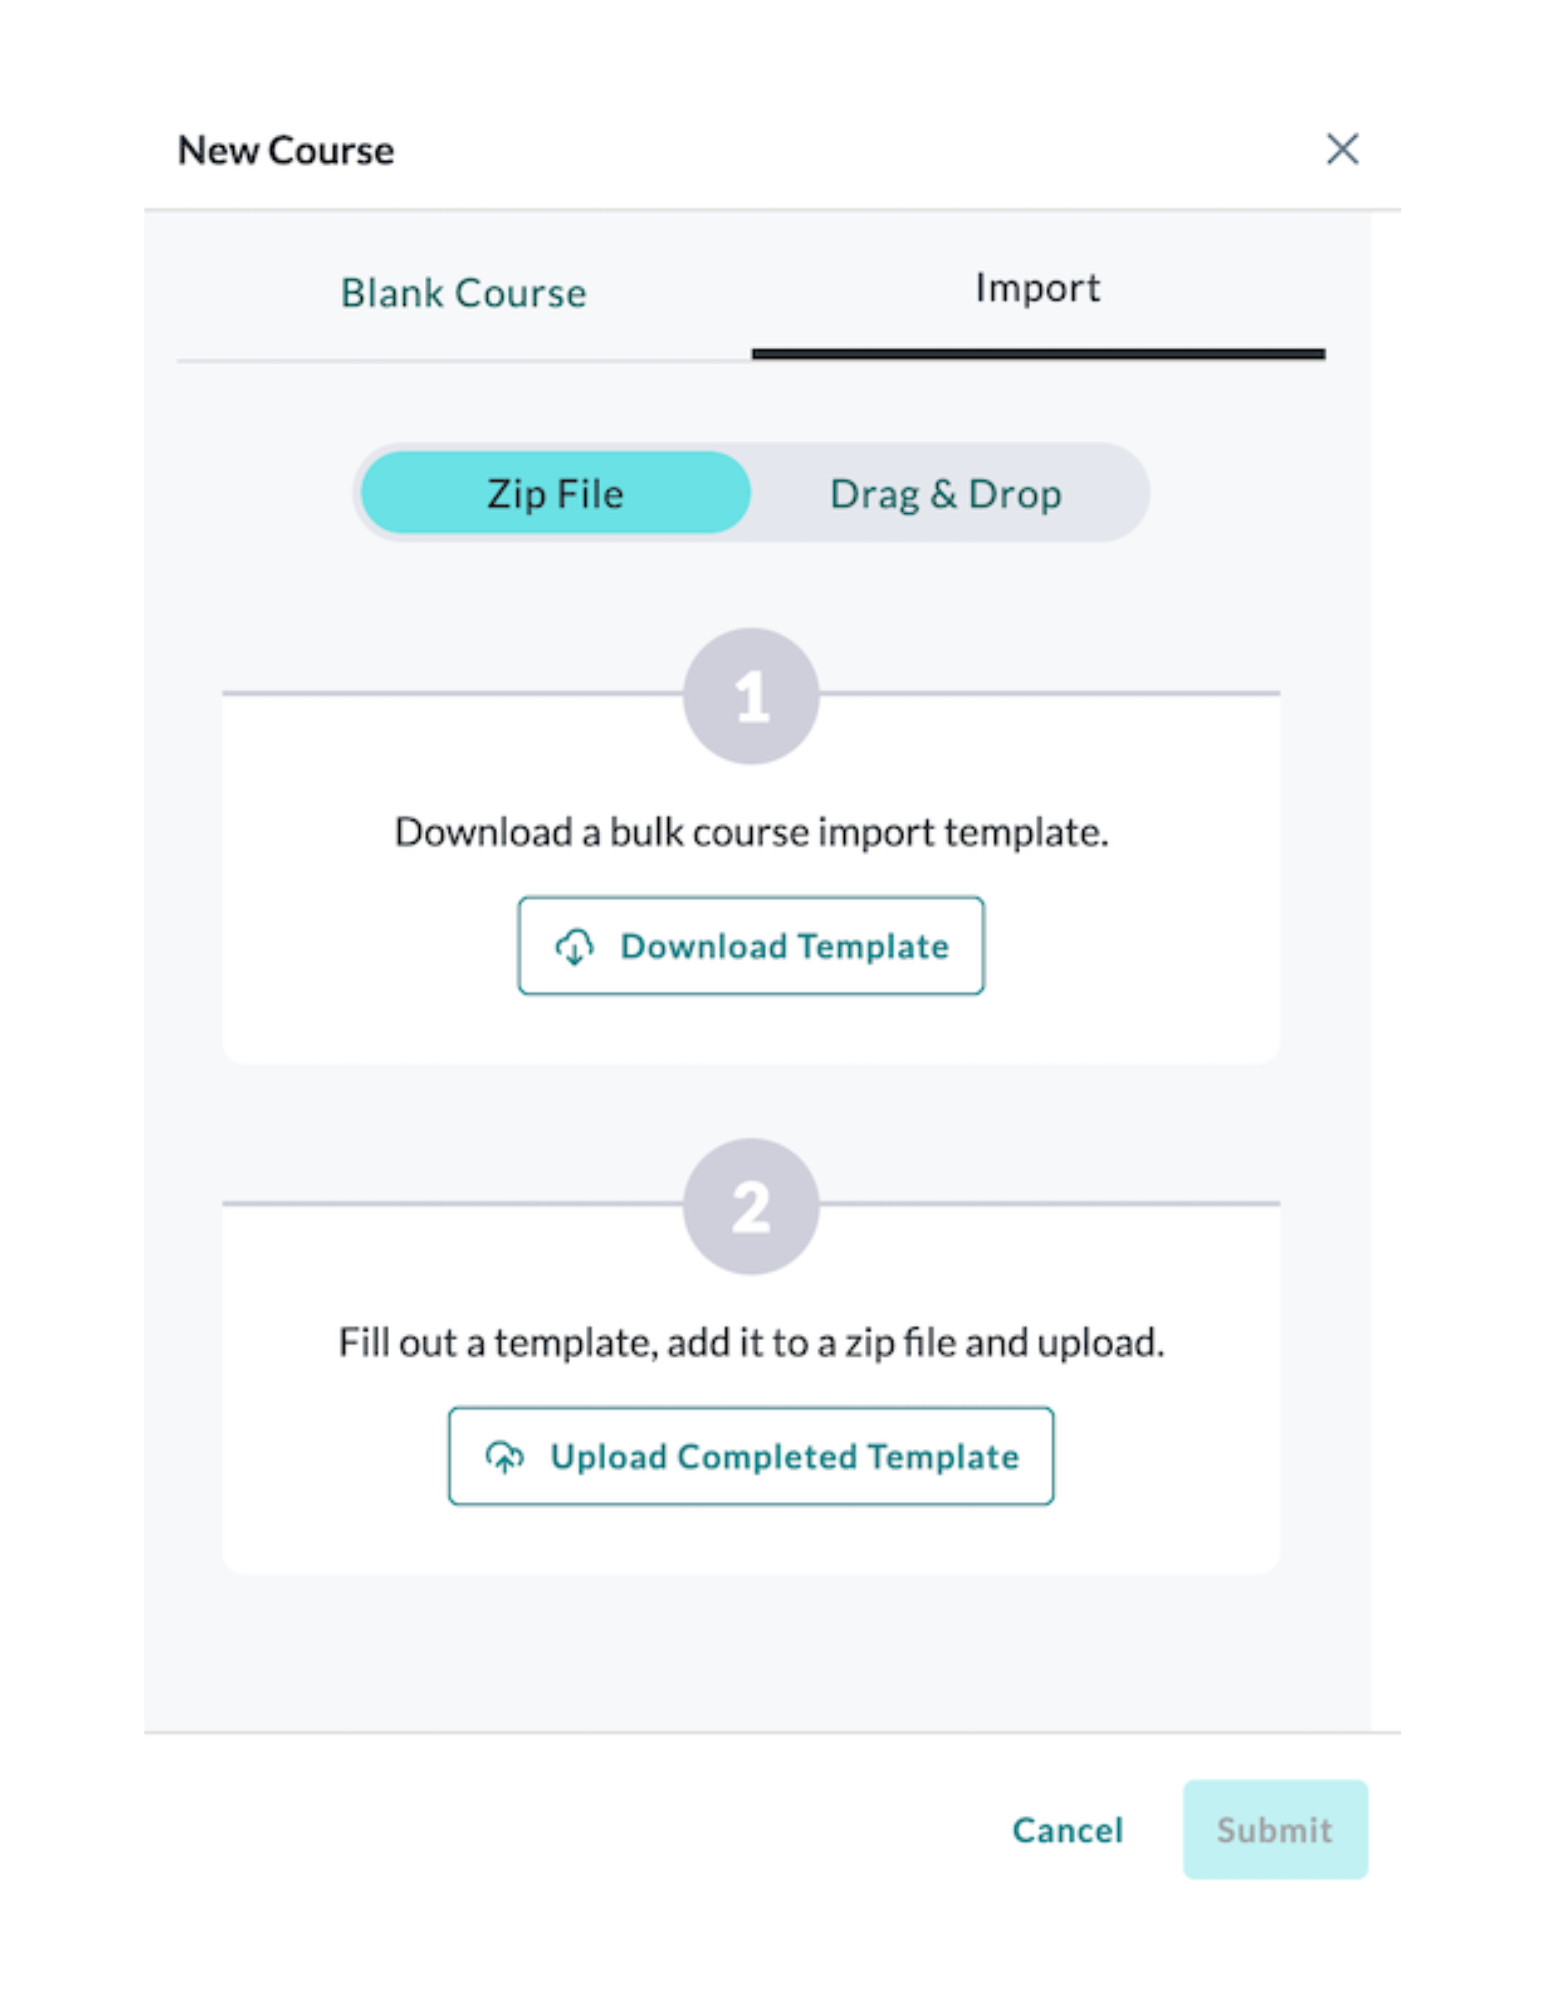
- Click the Download Template button found under Step 1.
- Open the downloaded template (shown below) and complete the “course definition” section by replacing the text after each colon in the template with your course information.
Note: Instructions for using the template are preceded with a ###.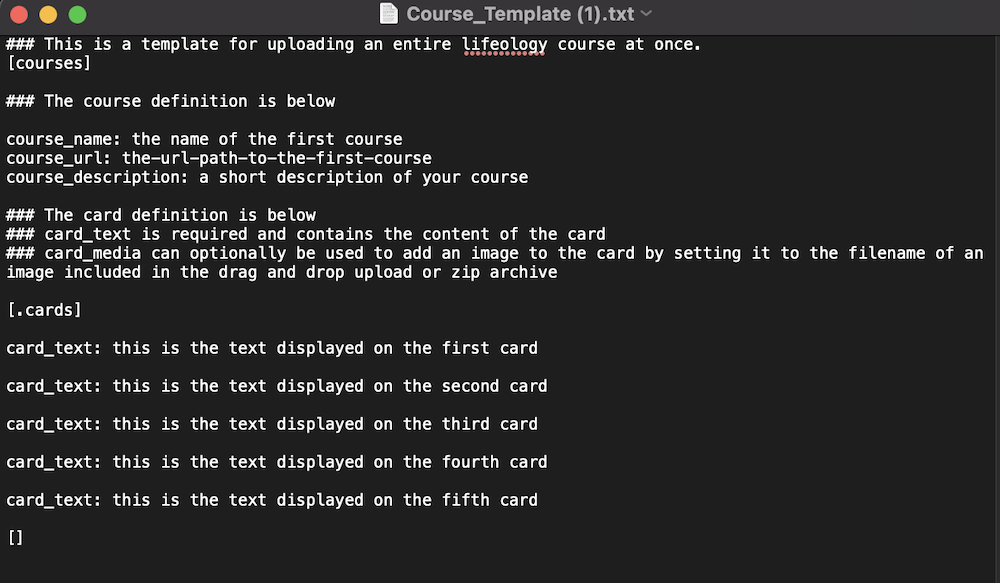
- Add your card text:
- The [.cards] is the start of a group of cards and the [] is the end of the group.
- The text you enter after each card_text: is the text displayed on each card.
- You can add more cards by copying and pasting card_text: onto a new line.
- Add media to your card (Lifeology requires media to be a 1:1 ratio):
- On the card you’d like your image placed, click on the line below card_text and type card_media: uploaded_filename (replace “uploaded_filename” with the name of your uploaded image). See the portion of a completed template below for an idea of what this looks like.

- Click File, then click Save in the text editor menu at the top of your screen.
- On the card you’d like your image placed, click on the line below card_text and type card_media: uploaded_filename (replace “uploaded_filename” with the name of your uploaded image). See the portion of a completed template below for an idea of what this looks like.
- Open the Builder and click the + New Course button at the bottom of the screen.
- Click the Import tab.
- In the New Course screen, add your files:
- For non-zipped files, click the Drag and Drop tab, then drag and drop the completed course template into the “Drag and drop files here” window (or click Browse files…, select the template to upload, then click Open).
- For zipped files or folders, click the Zip File tab and upload them there.
- Click Submit.
- You will get a success notice. Add the image files by clicking + Browse files…, selecting your image, then clicking Open.
- If your image is not square, click the crop icon to select the square part of your image to display (not doing this leaves the power to select a 1:1 portion of your image to our bot).
- Click Submit. A new window opens, letting you know, “The imported course will appear in the courses list shortly”.
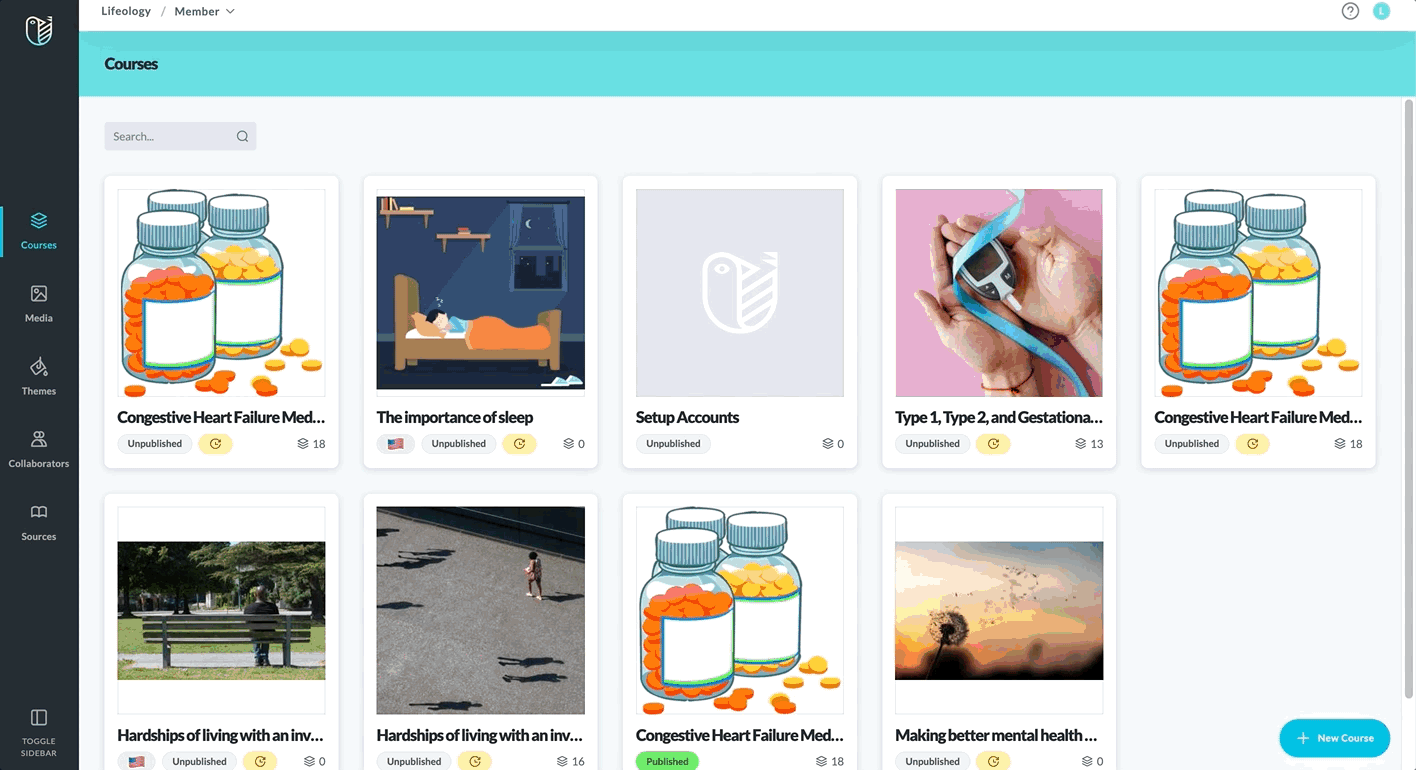
You can then view your new course in the Builder Courses list and continue adding cards or edit the existing ones.
Export a Course
Exporting a course downloads a zipped folder of a template of your course content and any media used for the course. Exporting a course is one way to download your current course, make small modifications to it, then import the updated template and media as a new course. This is not a frequently used feature. If you are interested in exporting your course, we recommend you reach out to our team to see if this or some other action will serve your needs.
The Export course button is located by navigating to your Courses page ![]() , then hovering your mouse on the course tile you wish to export (the course tile will present tool icons). Click the … icon and select Export
, then hovering your mouse on the course tile you wish to export (the course tile will present tool icons). Click the … icon and select Export ![]() . A zipped folder with the template and images of your course will download.
. A zipped folder with the template and images of your course will download.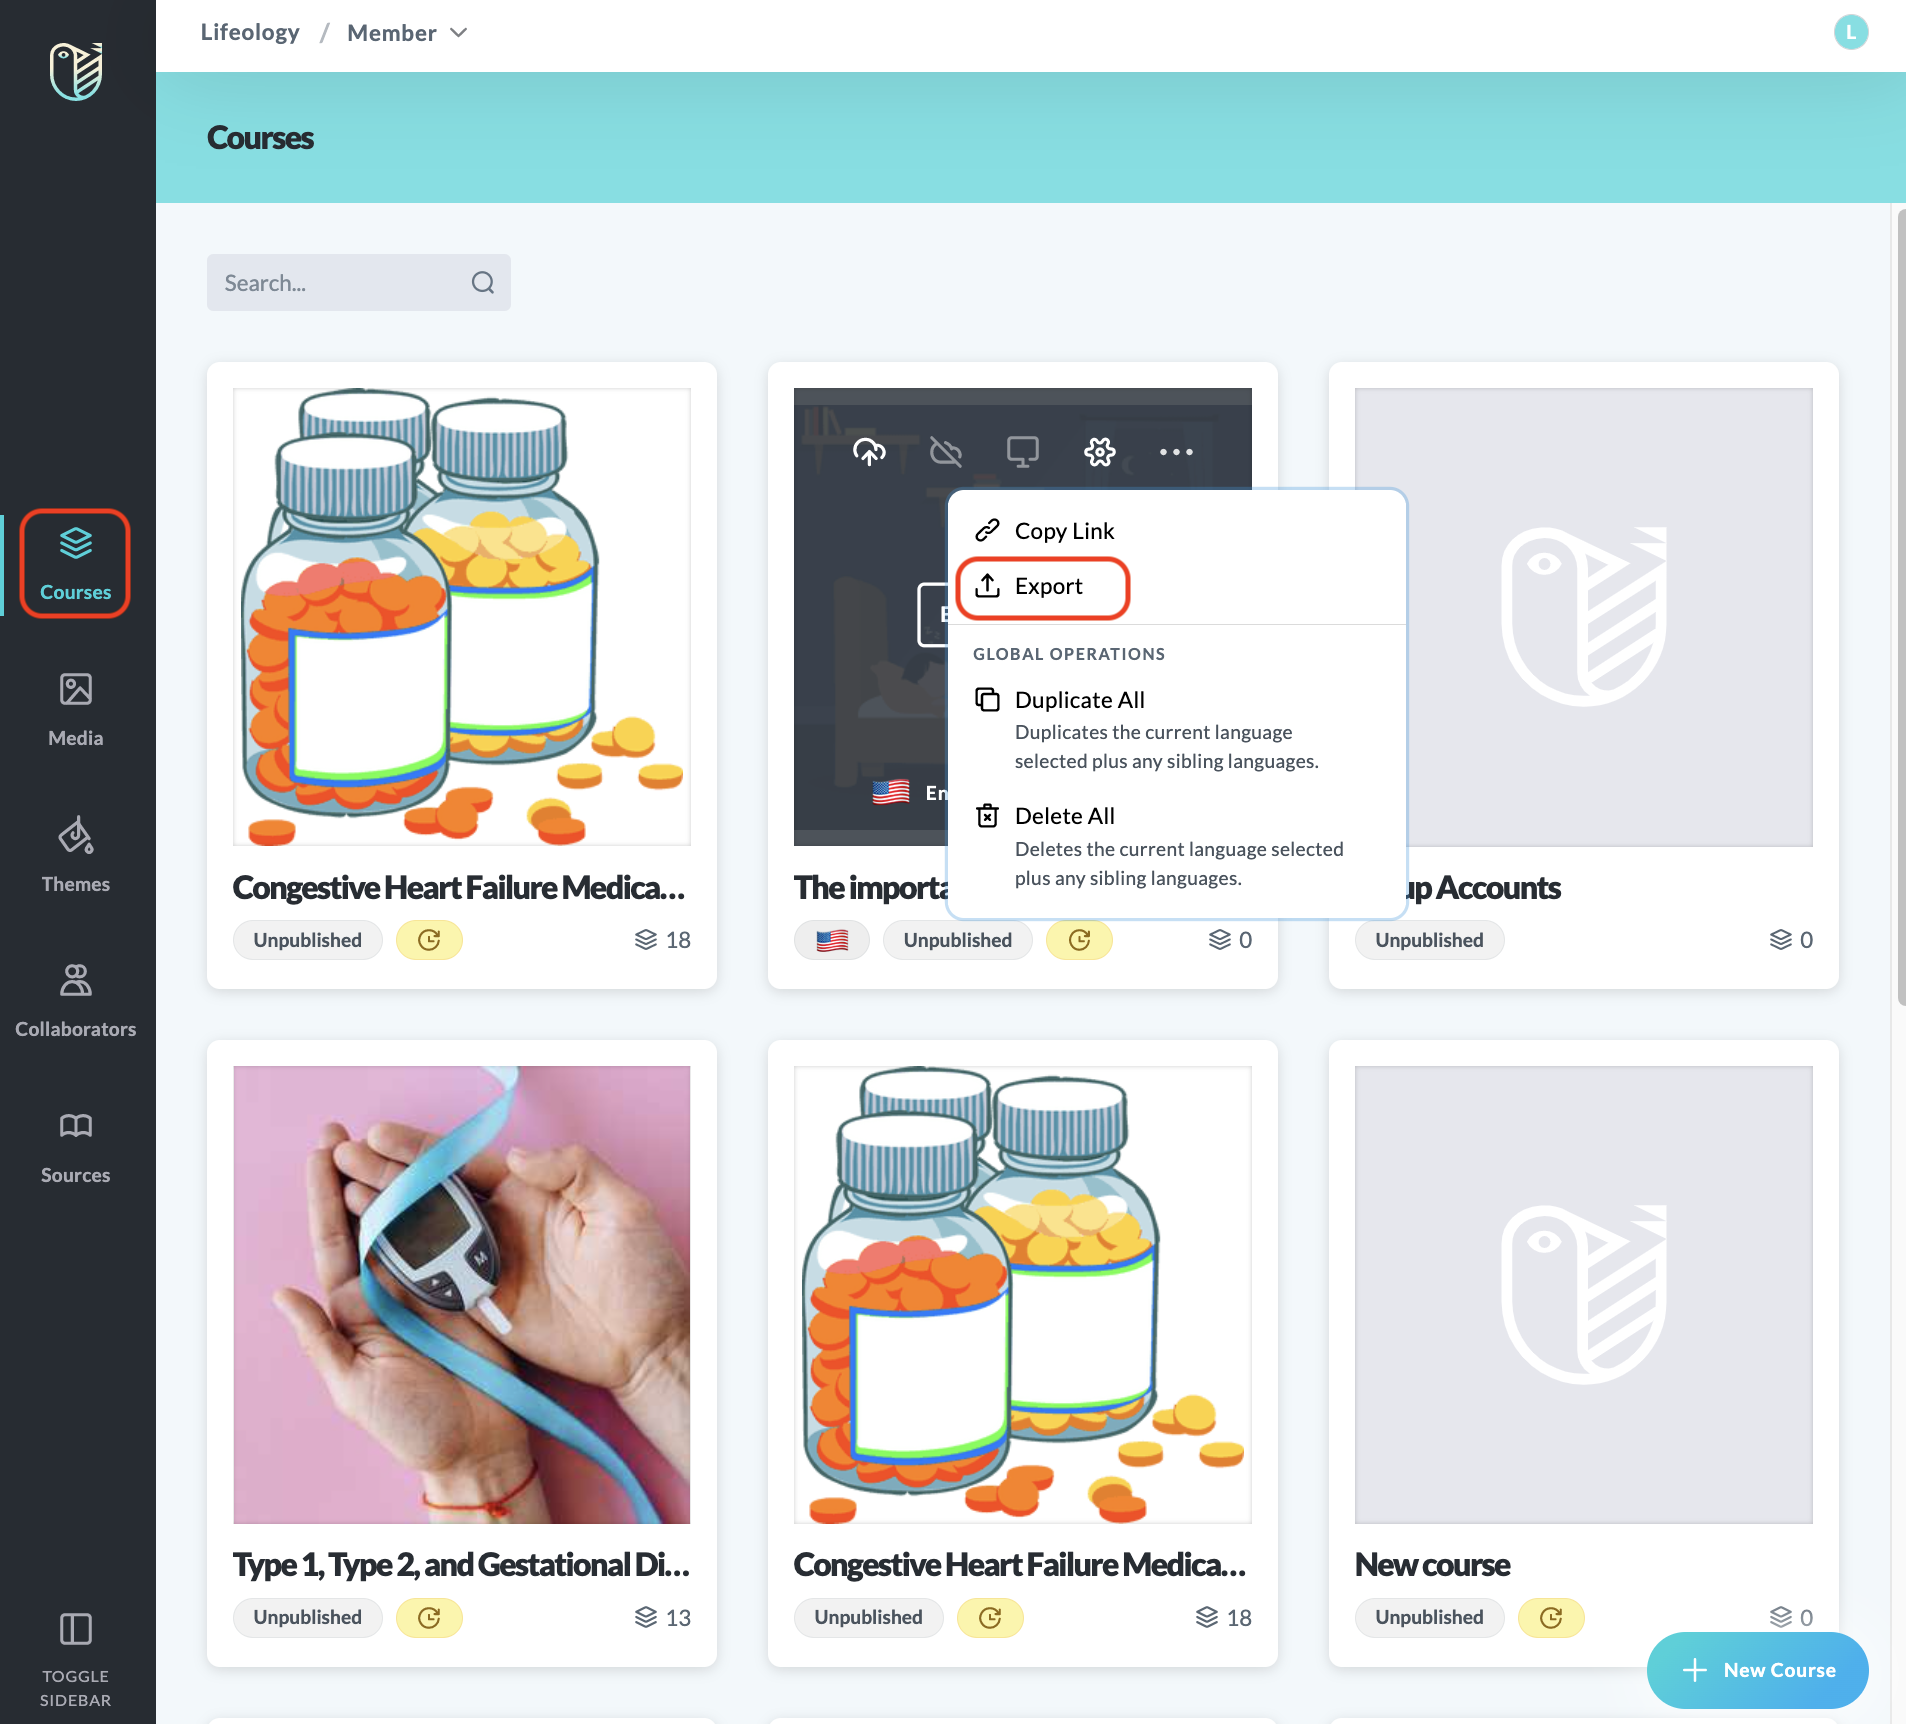
Note: Exporting, modifying, then importing the revised template will NOT modify an existing course because the act of importing a template creates a new course.
Next: Add a Card