
Our step-by-step guide will help you use the Lifeology Course Builder to bring your ideas to life.
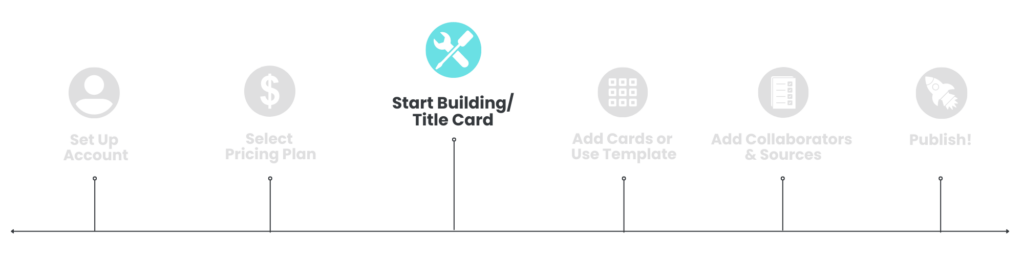
Before we get to creating, you’ll need to log in to the Lifeology Builder. If you have yet to do so, create an account and log in, then select your pricing tier.
To learn more about the layout of our Builder, click here.
To Start Building a Course:
- First-time users, click the Get Started button. (Existing users, click on Courses.)

- Click the + New Course button. In the New Course window that opens, the Blank Course tab is selected by default (recommended). The information completed in this New Course window will be displayed when you copy and paste the course link to another location.

- Add a square photo (Ex. 1000px x 1000px, GIF, JPG, or PNG) for your course thumbnail by either:
- Dragging and dropping your media into the image window.
- Clicking the + Add Media button, then either:
- Choosing an image from your library (images previously uploaded to Lifeology are saved in your Lifeology library).
- Uploading an image from your computer.
- Name your course.
- Select your language for the course.
- Assign search tags to make your course easier to find.
- Give your course a description.
- Toggle on Autoplay narration (audio) to have it narrate when the course begins. (optional)
- Click Submit.
You can also use the Import tab to build your course with the course template. Click here for more information on using templates.
Next: Add a card to your deck