In this article, you’ll learn about:
- Subscription tiers and pricing
- Billing setup
- Updating or deleting billing info
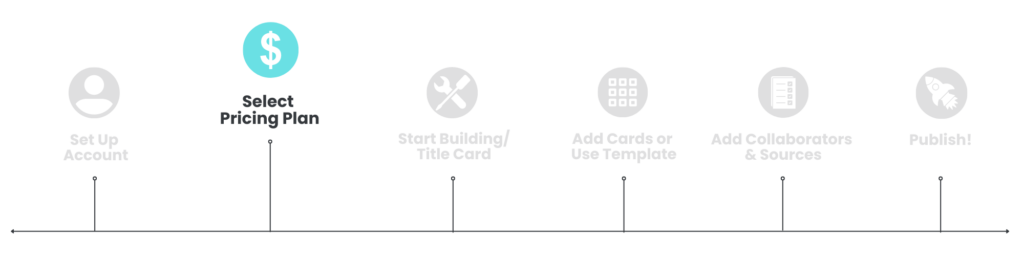
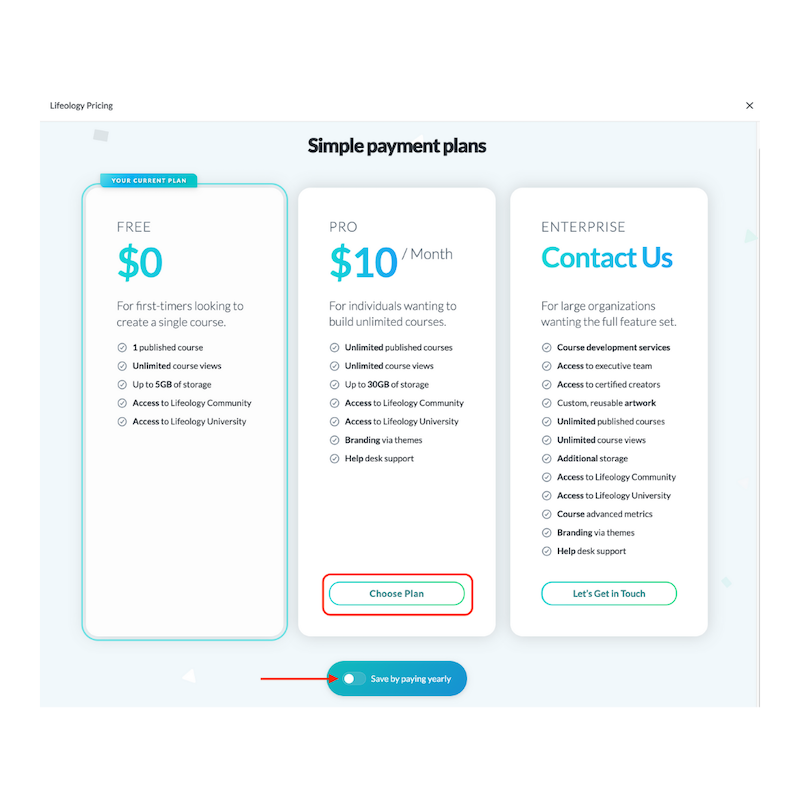
Subscription Tiers
During the signup process, new users will be asked to select the subscription tier that matches their needs. We offer three tiers: Free, Pro, and Enterprise.
Note: If no plan is selected, it defaults to the Free tier.
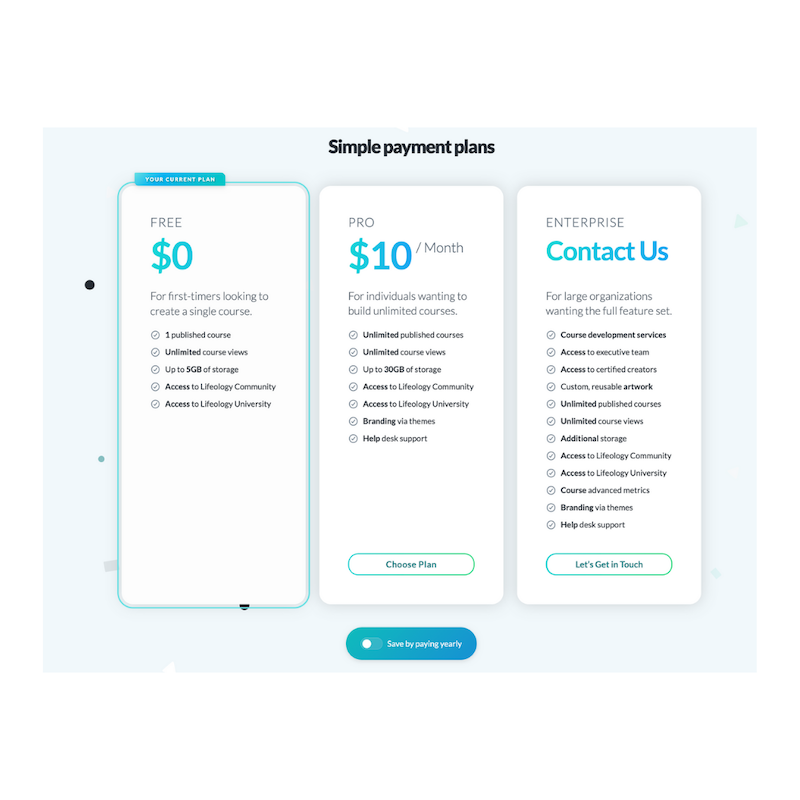
Free
The Free tier allows you to try out the builder and includes:
- Unlimited course views
- Create an unlimited number of courses
- 1 published course
- Up to 5GB of media storage
- Access to Lifeology Community
- Access to Lifeology University
Note: If your needs exceed the limitations of this tier, you can upgrade your subscription.
Pro
The Pro tier is for those wanting to build unlimited courses and includes:
- Unlimited course views
- Create an unlimited number of courses
- Unlimited published courses
- Up to 30GB of media storage
- Access to Lifeology Community
- Access to Lifeology University
- Branding via themes
- Help desk support
After selecting the Pro tier, you’ll be asked to enter your billing information.
Note: If your needs exceed the limitations of this tier, contact the Lifeology team to discuss if the Enterprise tier is for you.
Enterprise
The Enterprise level is for large organizations looking for the full package. Contact us to upgrade to this tier. The Enterprise tier includes:
- Course development services
- Access to executive team
- Access to certified creators
- Custom, reusable artwork
- Unlimited published courses
- Unlimited course views
- Additional storage
- Access to Lifeology Community
- Access to Lifeology University
- Course advanced Metrics
- Branding via themes
- Help desk support
Billing
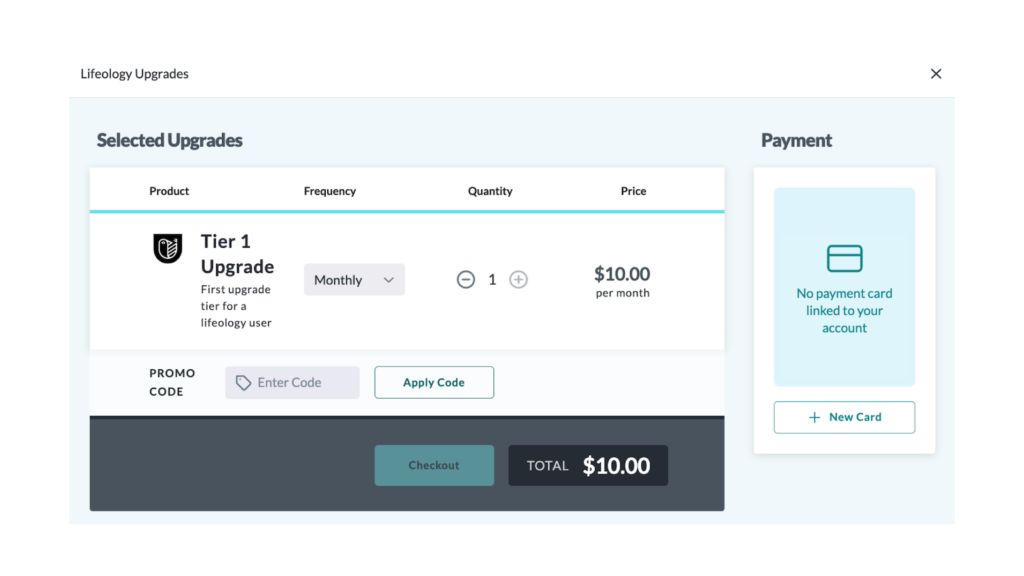
New users who have selected the Pro tier or users upgrading from the Free tier to the Pro tier, will be asked to enter their billing information:
- Click + New Card and input your payment information.
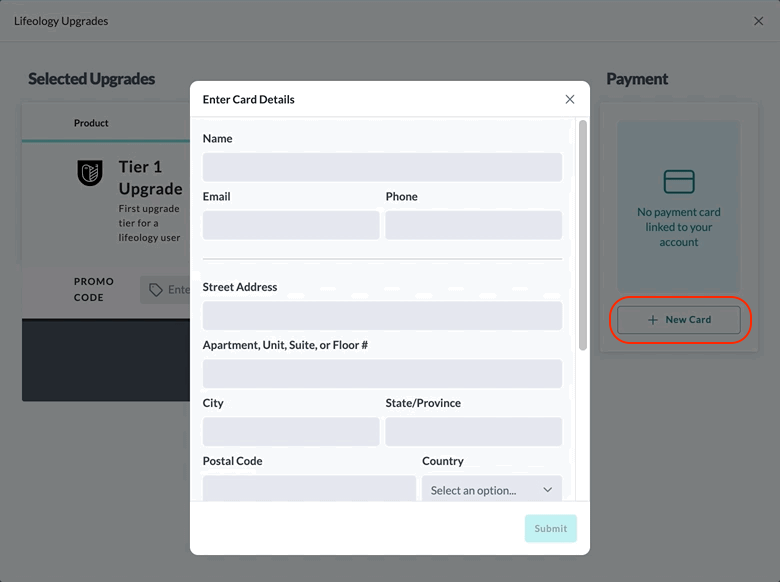
- Select the billing frequency from the Frequency dropdown menu ($10/month or save with the yearly payment of $100/year).
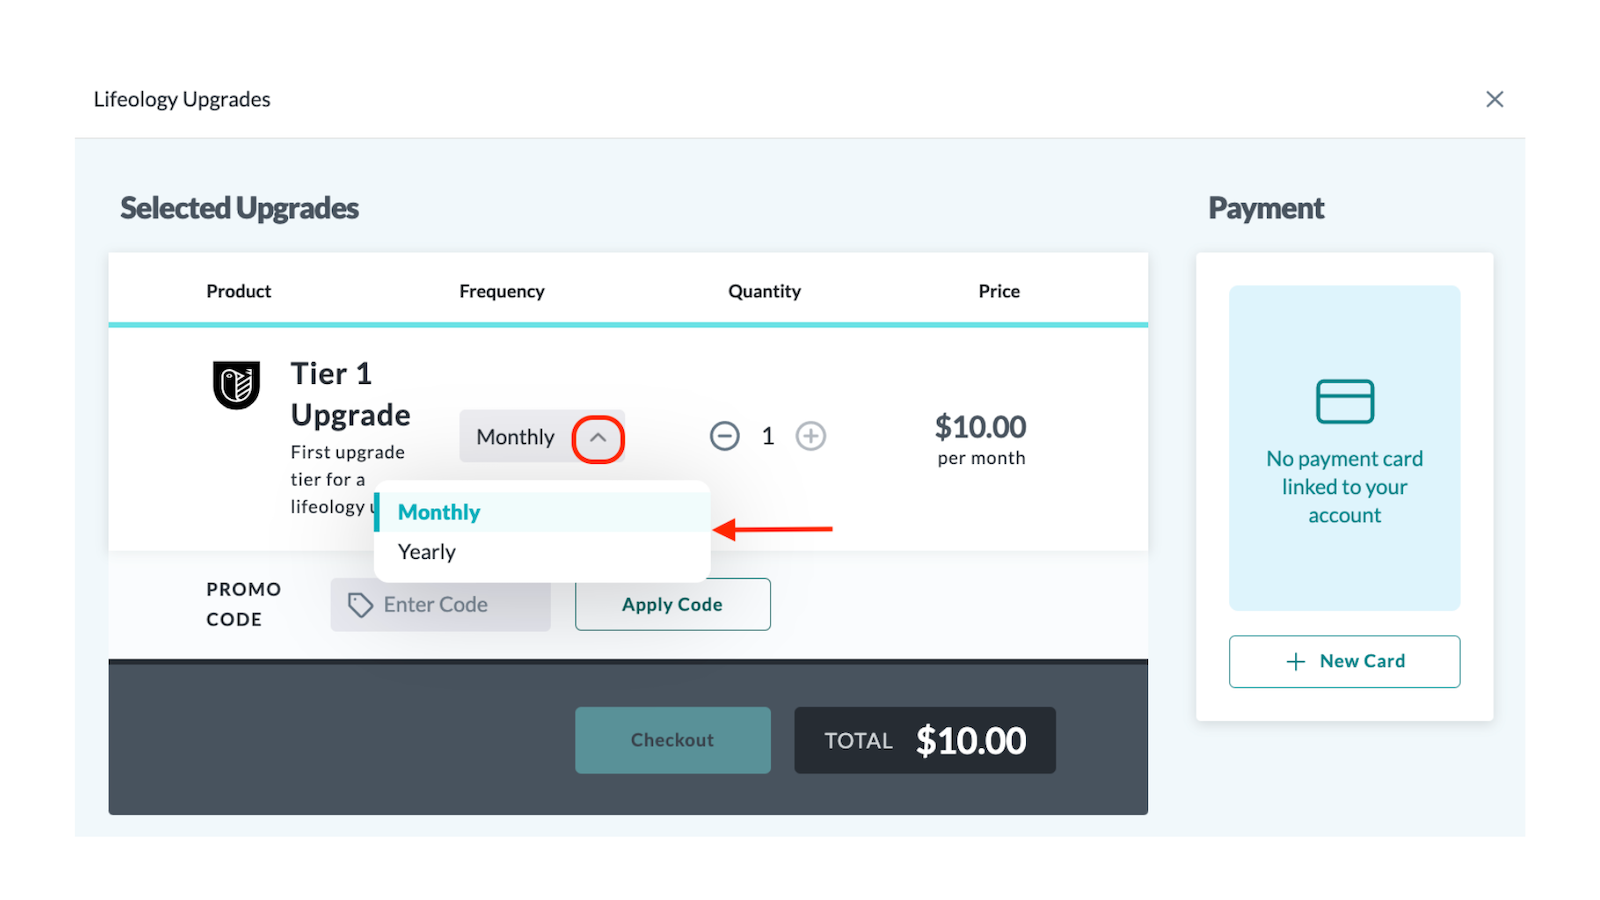
- If you have a promo code, enter it in the Promo Code box, then click Apply Code.
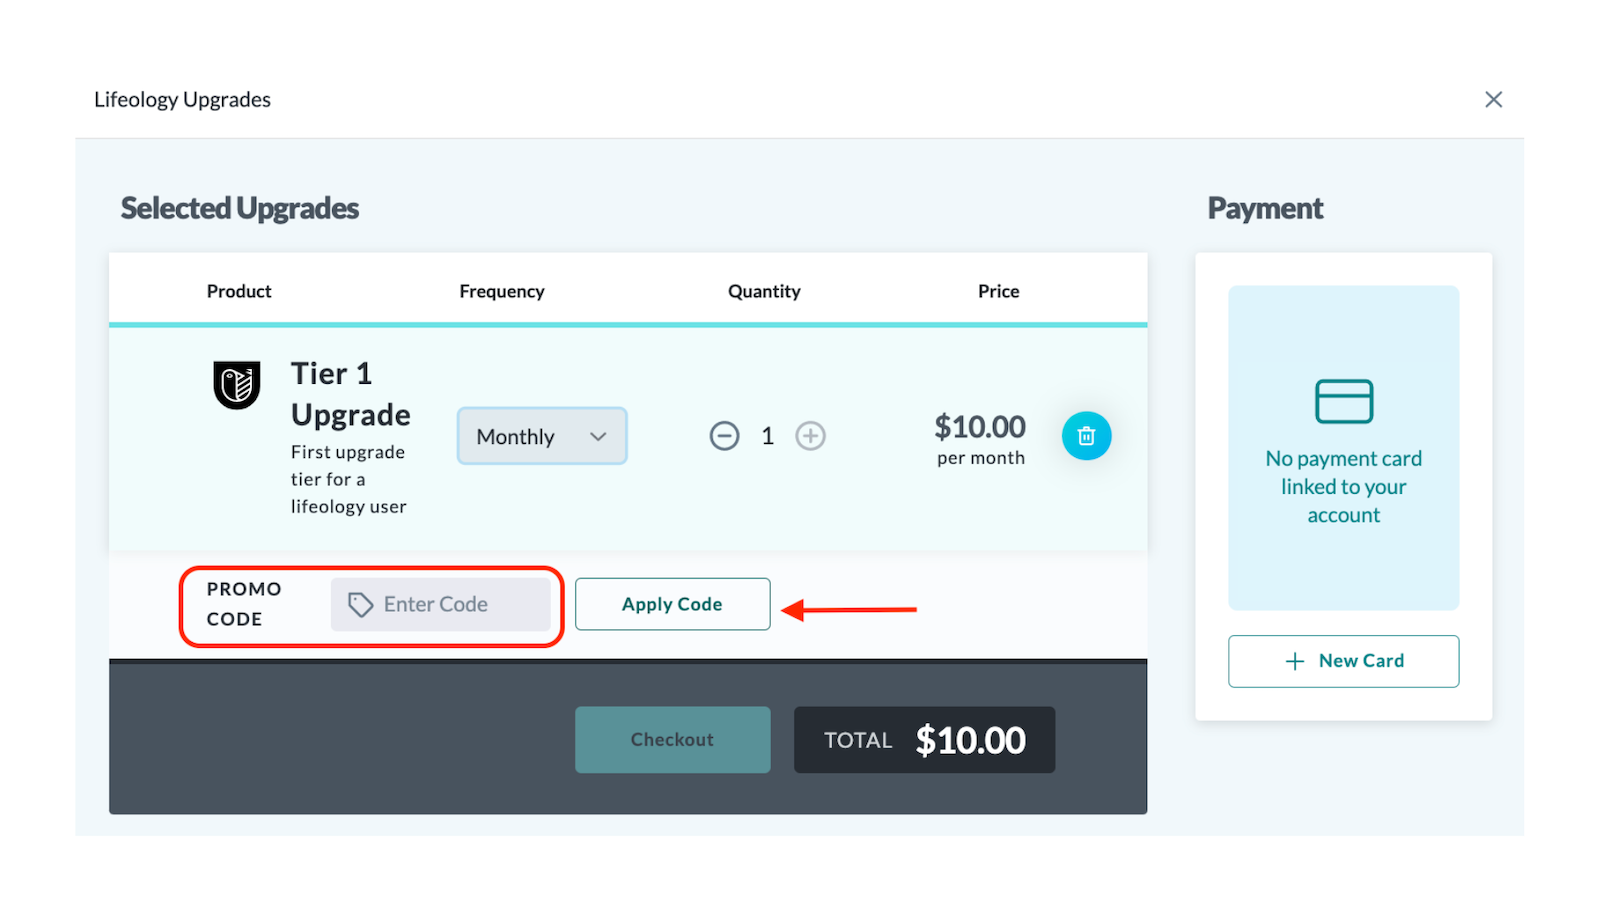
- Click Checkout.
Note: Selecting a yearly billing frequency saves you $20 for the year.
Organizations interested in the Enterprise tier should reach out to Lifeology for pricing and billing.
Updating and deleting payment type
To update payment card:
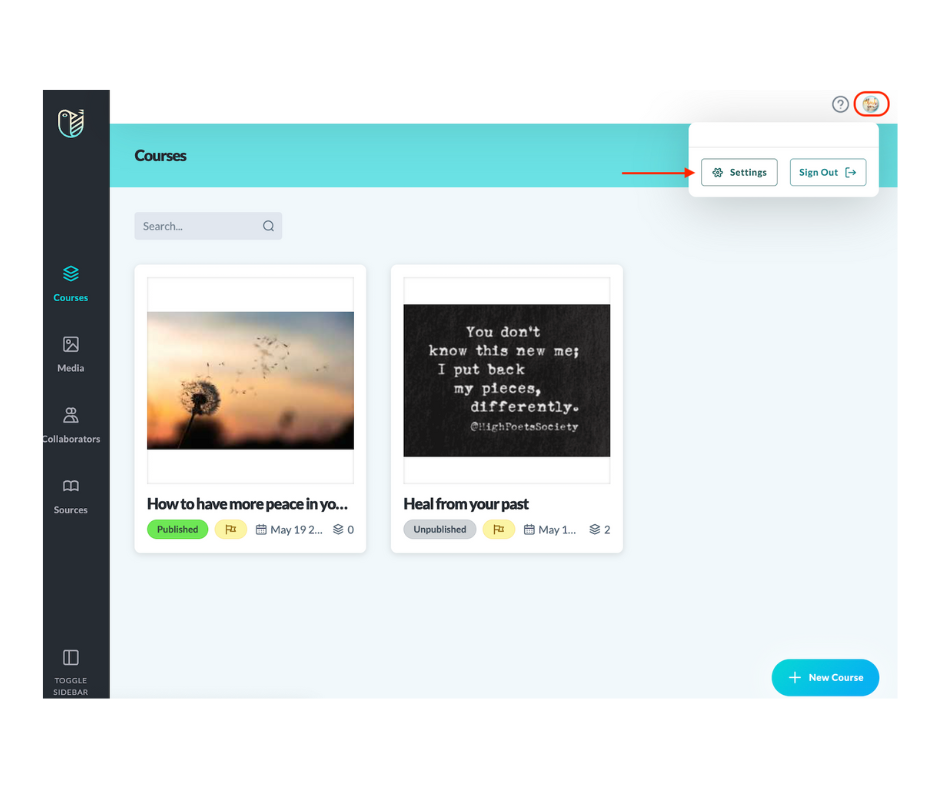
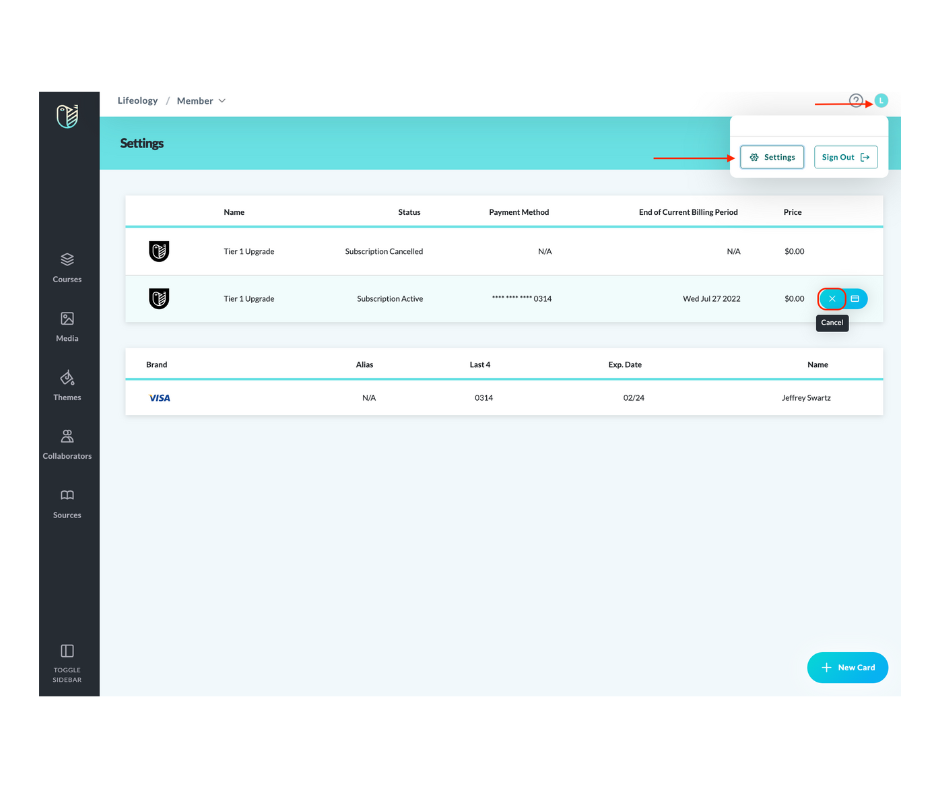
- From any screen in the builder, click the icon in the top right corner of the screen. Then in the dialog box that opens, select Settings.
- On the Settings screen that opens, cursor over your subscription information till the subscription editing tool icons appear.
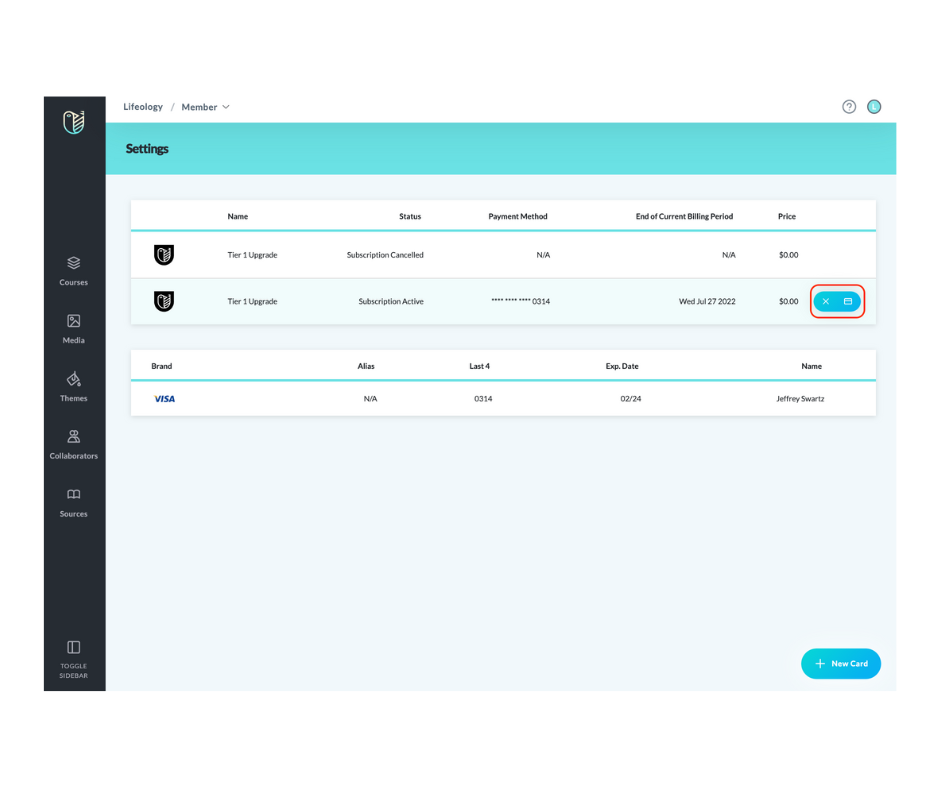
Select from:- X – Cancel your subscription, click this and if you wish to cancel your subscription, click Confirm.
- Credit card icon – Click this to change your payment information. You can:
- Edit your current card info
- Select a different payment card on file from the dropdown
- + Add a new card
- Click Submit.
To delete your payment method:
- From any screen in the builder, click the icon in the top right corner of the screen. Then in the dialog box that opens, select Settings.
- Cursor over your credit card information in the second box on the screen till the trash icon appears. Click the trash icon.
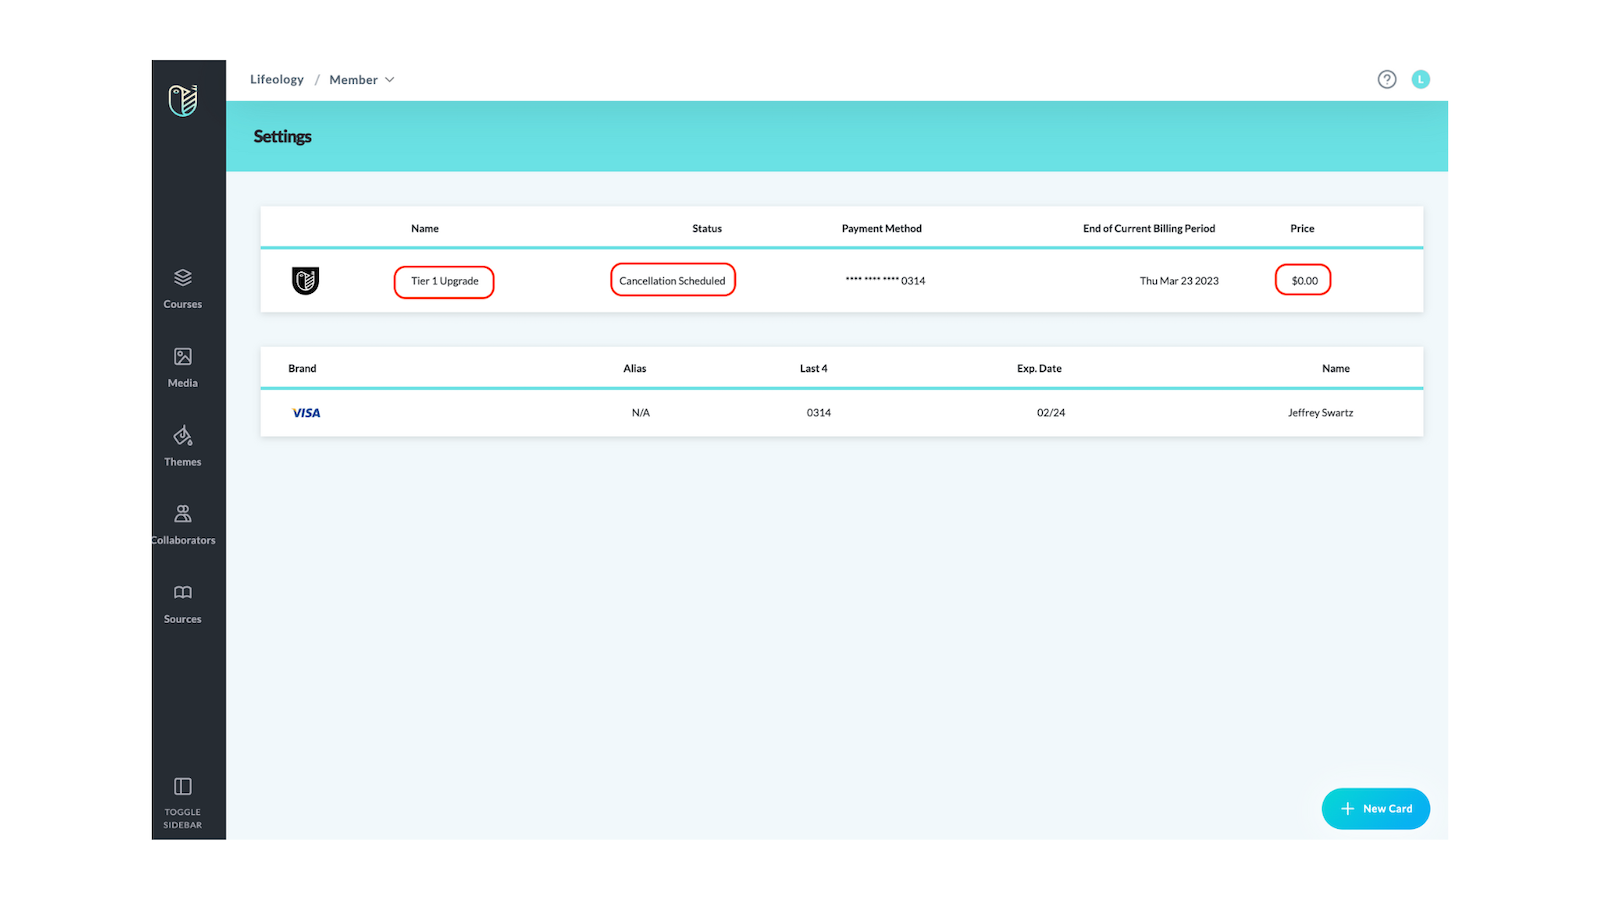
- Click Confirm. You can now see the updated settings:
- Status reads “Cancellation Scheduled”
- Price updates to $0.00
Note: Deleting your payment will cause your subscription to cancel at the end of the billing cycle unless a new card is added.
Upgrade your subscription
For existing users who want to publish more courses and access more creative tools, consider upgrading your subscription tier. Free users can upgrade at any time:
- Click the Upgrade button on the top right of the screen.
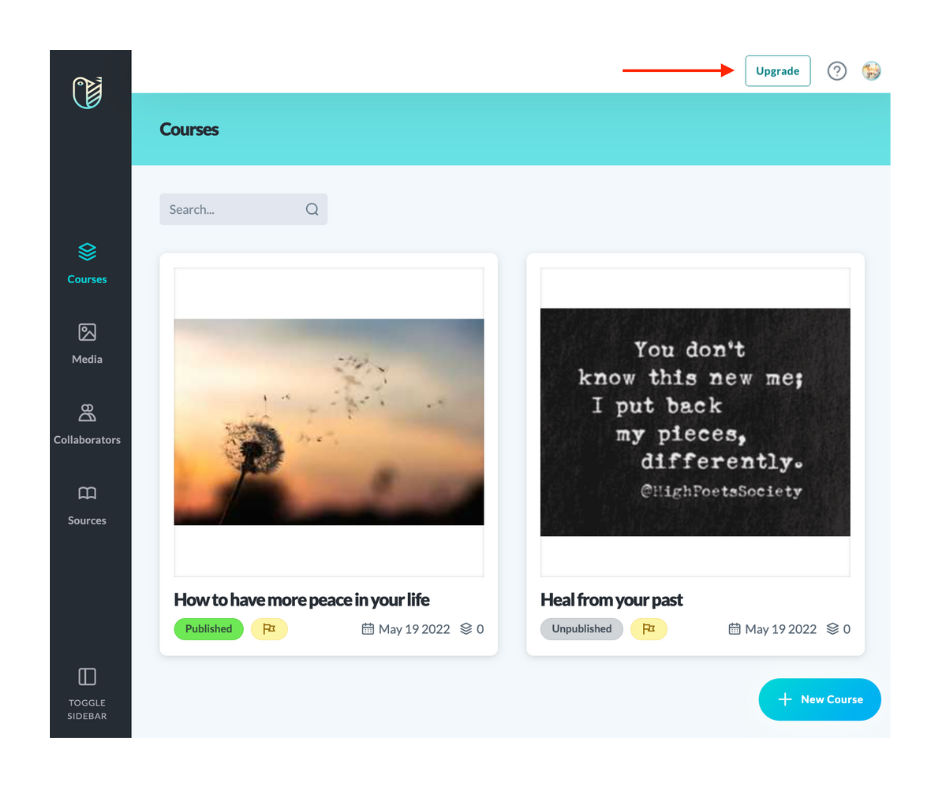
- Select the Pro plan (optional: toggle to pay yearly for a $20 savings).
- On the billing page that opens, input your payment information (see billing for more information).

- Click Checkout to complete your upgrade.

Note: Free tier users who have published their one allowed course and are trying to publish another course will be asked to upgrade their subscription. If you aren’t ready for an upgrade but want your new course published, you can unpublish your existing course, then publish your new course. Click to learn how to unpublish and publish a course.
Cancel your subscription
- From any screen in the builder, click the icon in the top right corner of the screen. Then in the dialog box that opens, click Settings.
- On the Settings screen that opens, cursor over your subscription information till the subscription editing tool icons appear. Click the X cancel icon.
- Click Confirm. You can now see the updated settings:
- Status reads “Cancellation Scheduled”
- Price updates to $0.00
Next: Builder Layout