In this article, you’ll learn how to:
- Add and Crop Media to your Media Library
- Delete Image from Media Library
- View More Details About an Image in Your Library
Adding Media to your Lifeology Builder Library is a quick way to upload images and gifs to be able to add to any of your courses. You can also add Alt Text to an image or gif to increase the accessibility of your course. It is recommended that all media be in a square format (1:1) to be compatible with the desktop and mobile versions of the finished course deck. When uploading the media, we offer a crop option to make this process easier.
Note: We recommend you take the time to crop your images to the 1:1 ratio, selecting the part of the image you wish to display. Our builder will not prohibit you from uploading and using an uncropped image.
Add and Crop Media
How to add media and crop it (if necessary) to the 1:1 ratio:
- Click on Media in the side panel.
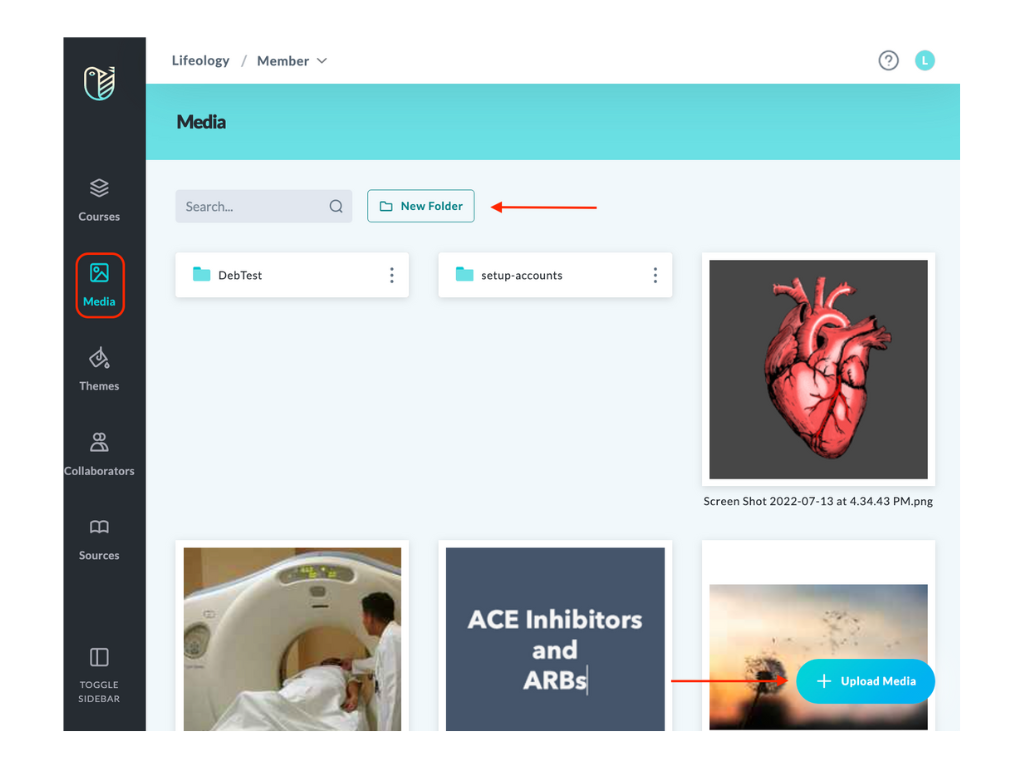
- Create a New Folder (optional) by clicking the New Folder button on the Media Library screen.
- Click the + Upload Media button at the bottom right of the screen.
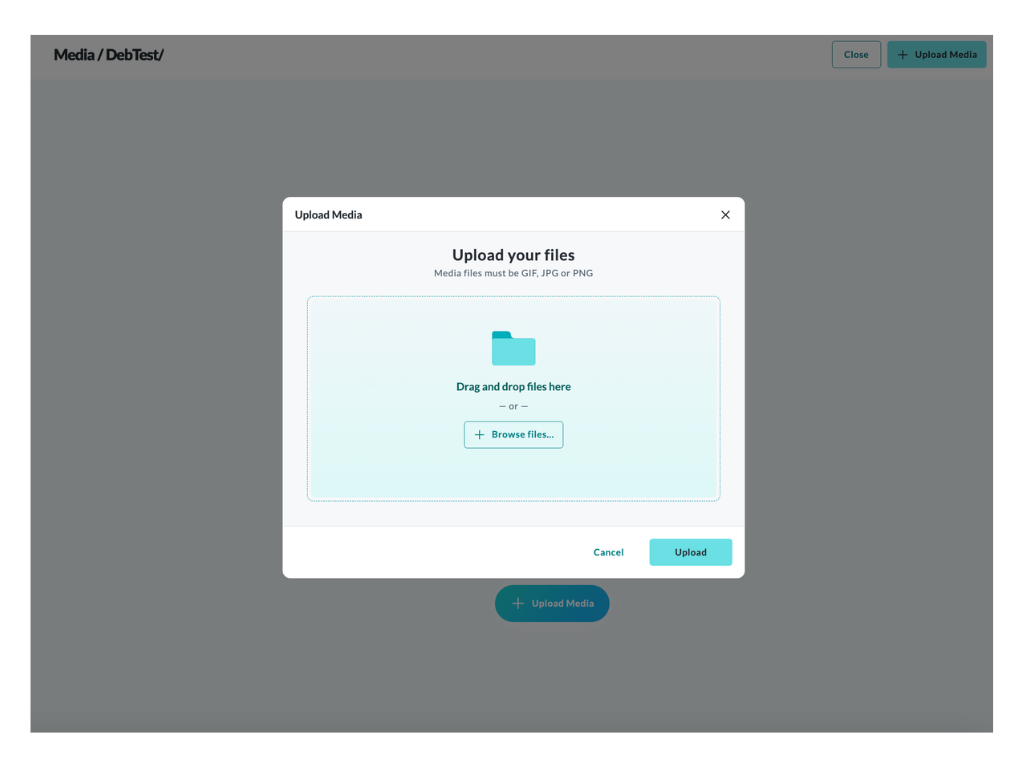
- On the page that opens, drag and drop your media into the window or browse for files.
- Crop your image if it is not a square 1:1 ratio:
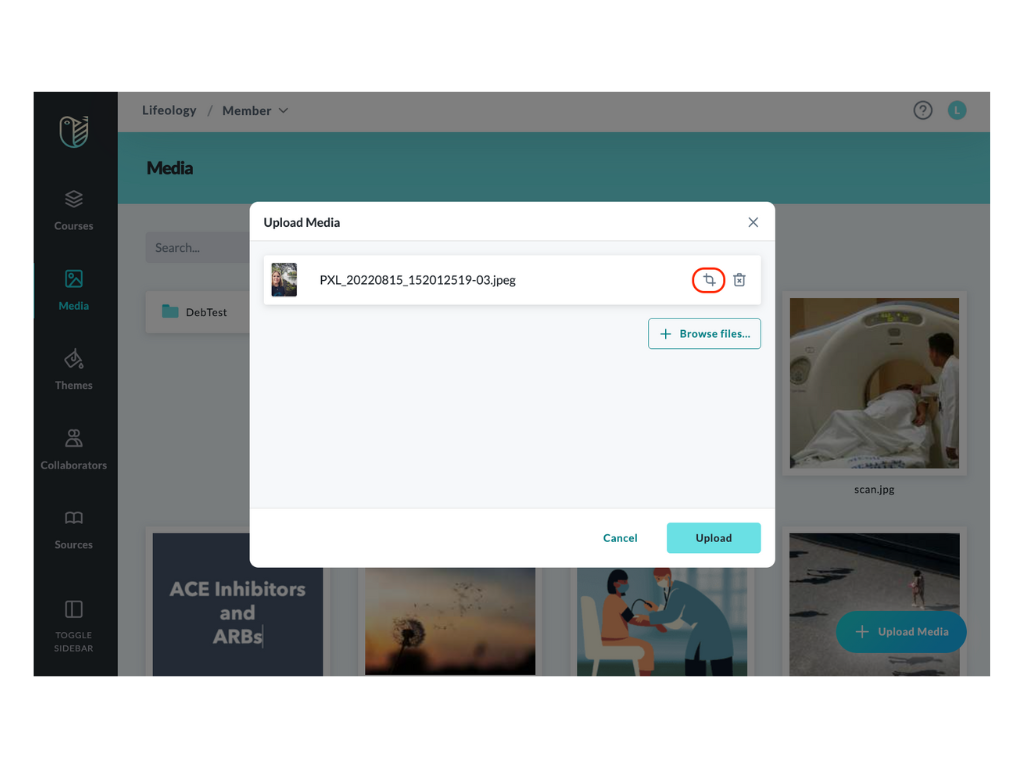
- In the window that opened for your media file, click the crop icon
 beside the file name. If you’ve selected the wrong image, you can click the delete icon
  and select a different image.
 - The image opens. Click the bottom right corner of the selection box and drag it around the part of the image you want to be displayed (the 1:1 ratio is locked). You can move your cursor to the selected part then click and drag the selection screen to a different part of the image.
- Scroll to the bottom of the image window and click the Crop button.
- Click the Upload button.
- In the window that opened for your media file, click the crop icon
Delete Image from Library
To delete images from your Media Library:
- Click the Media tab from the side panel.
- Hover your cursor on an image till it darkens and tools present on the image tile.
- Click the delete icon.
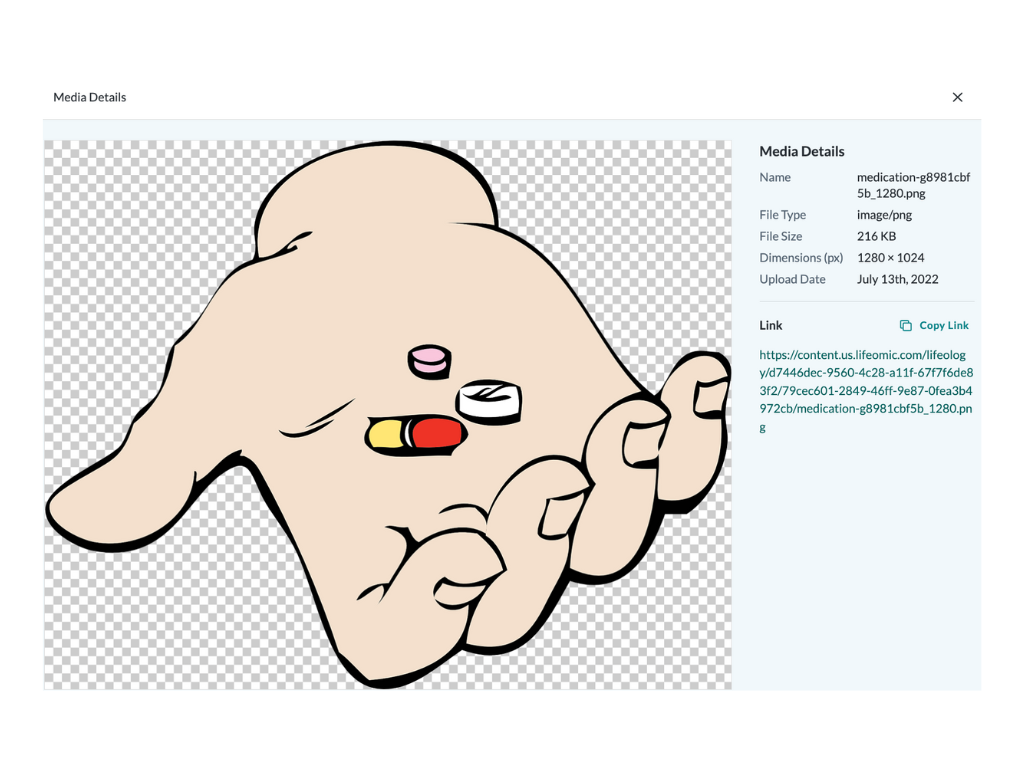
Media Details
View the details of your image or gif by hovering your cursor on an image till it darkens. Then click the Media Details button.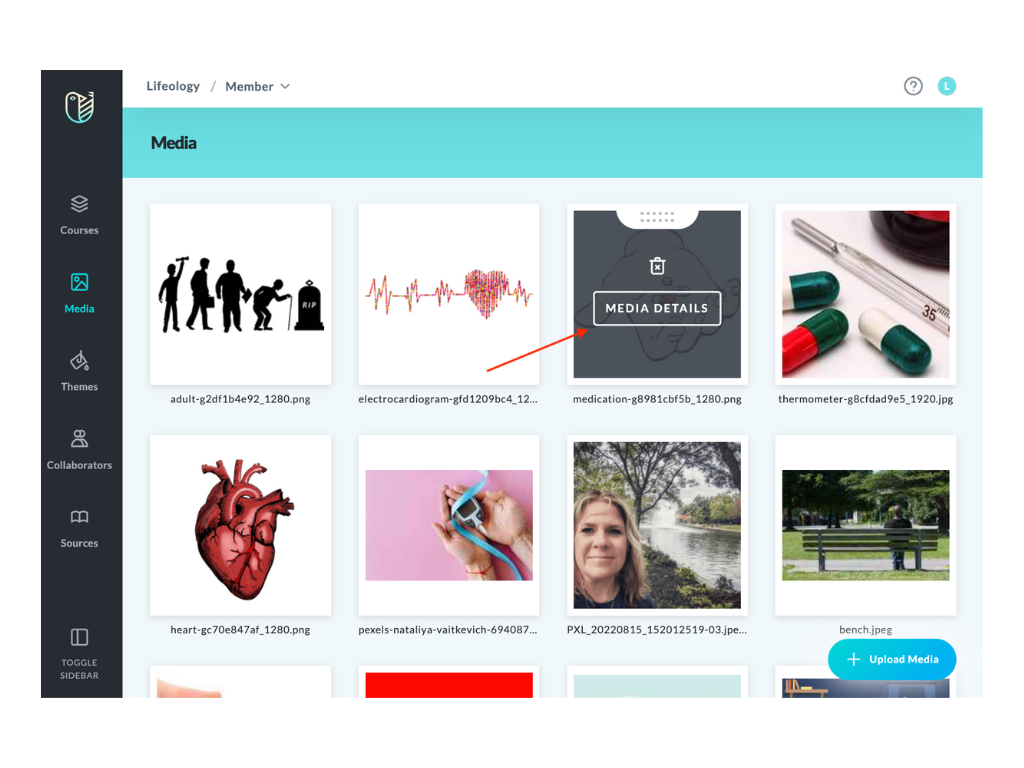
The Media Details page includes:
- The image or GIF
- Details: Name, File type, File size, Dimensions (px), and Upload Date
- An image link (Copy Link
 ) to copy to your clipboard
 - A URL to download the image to your computer