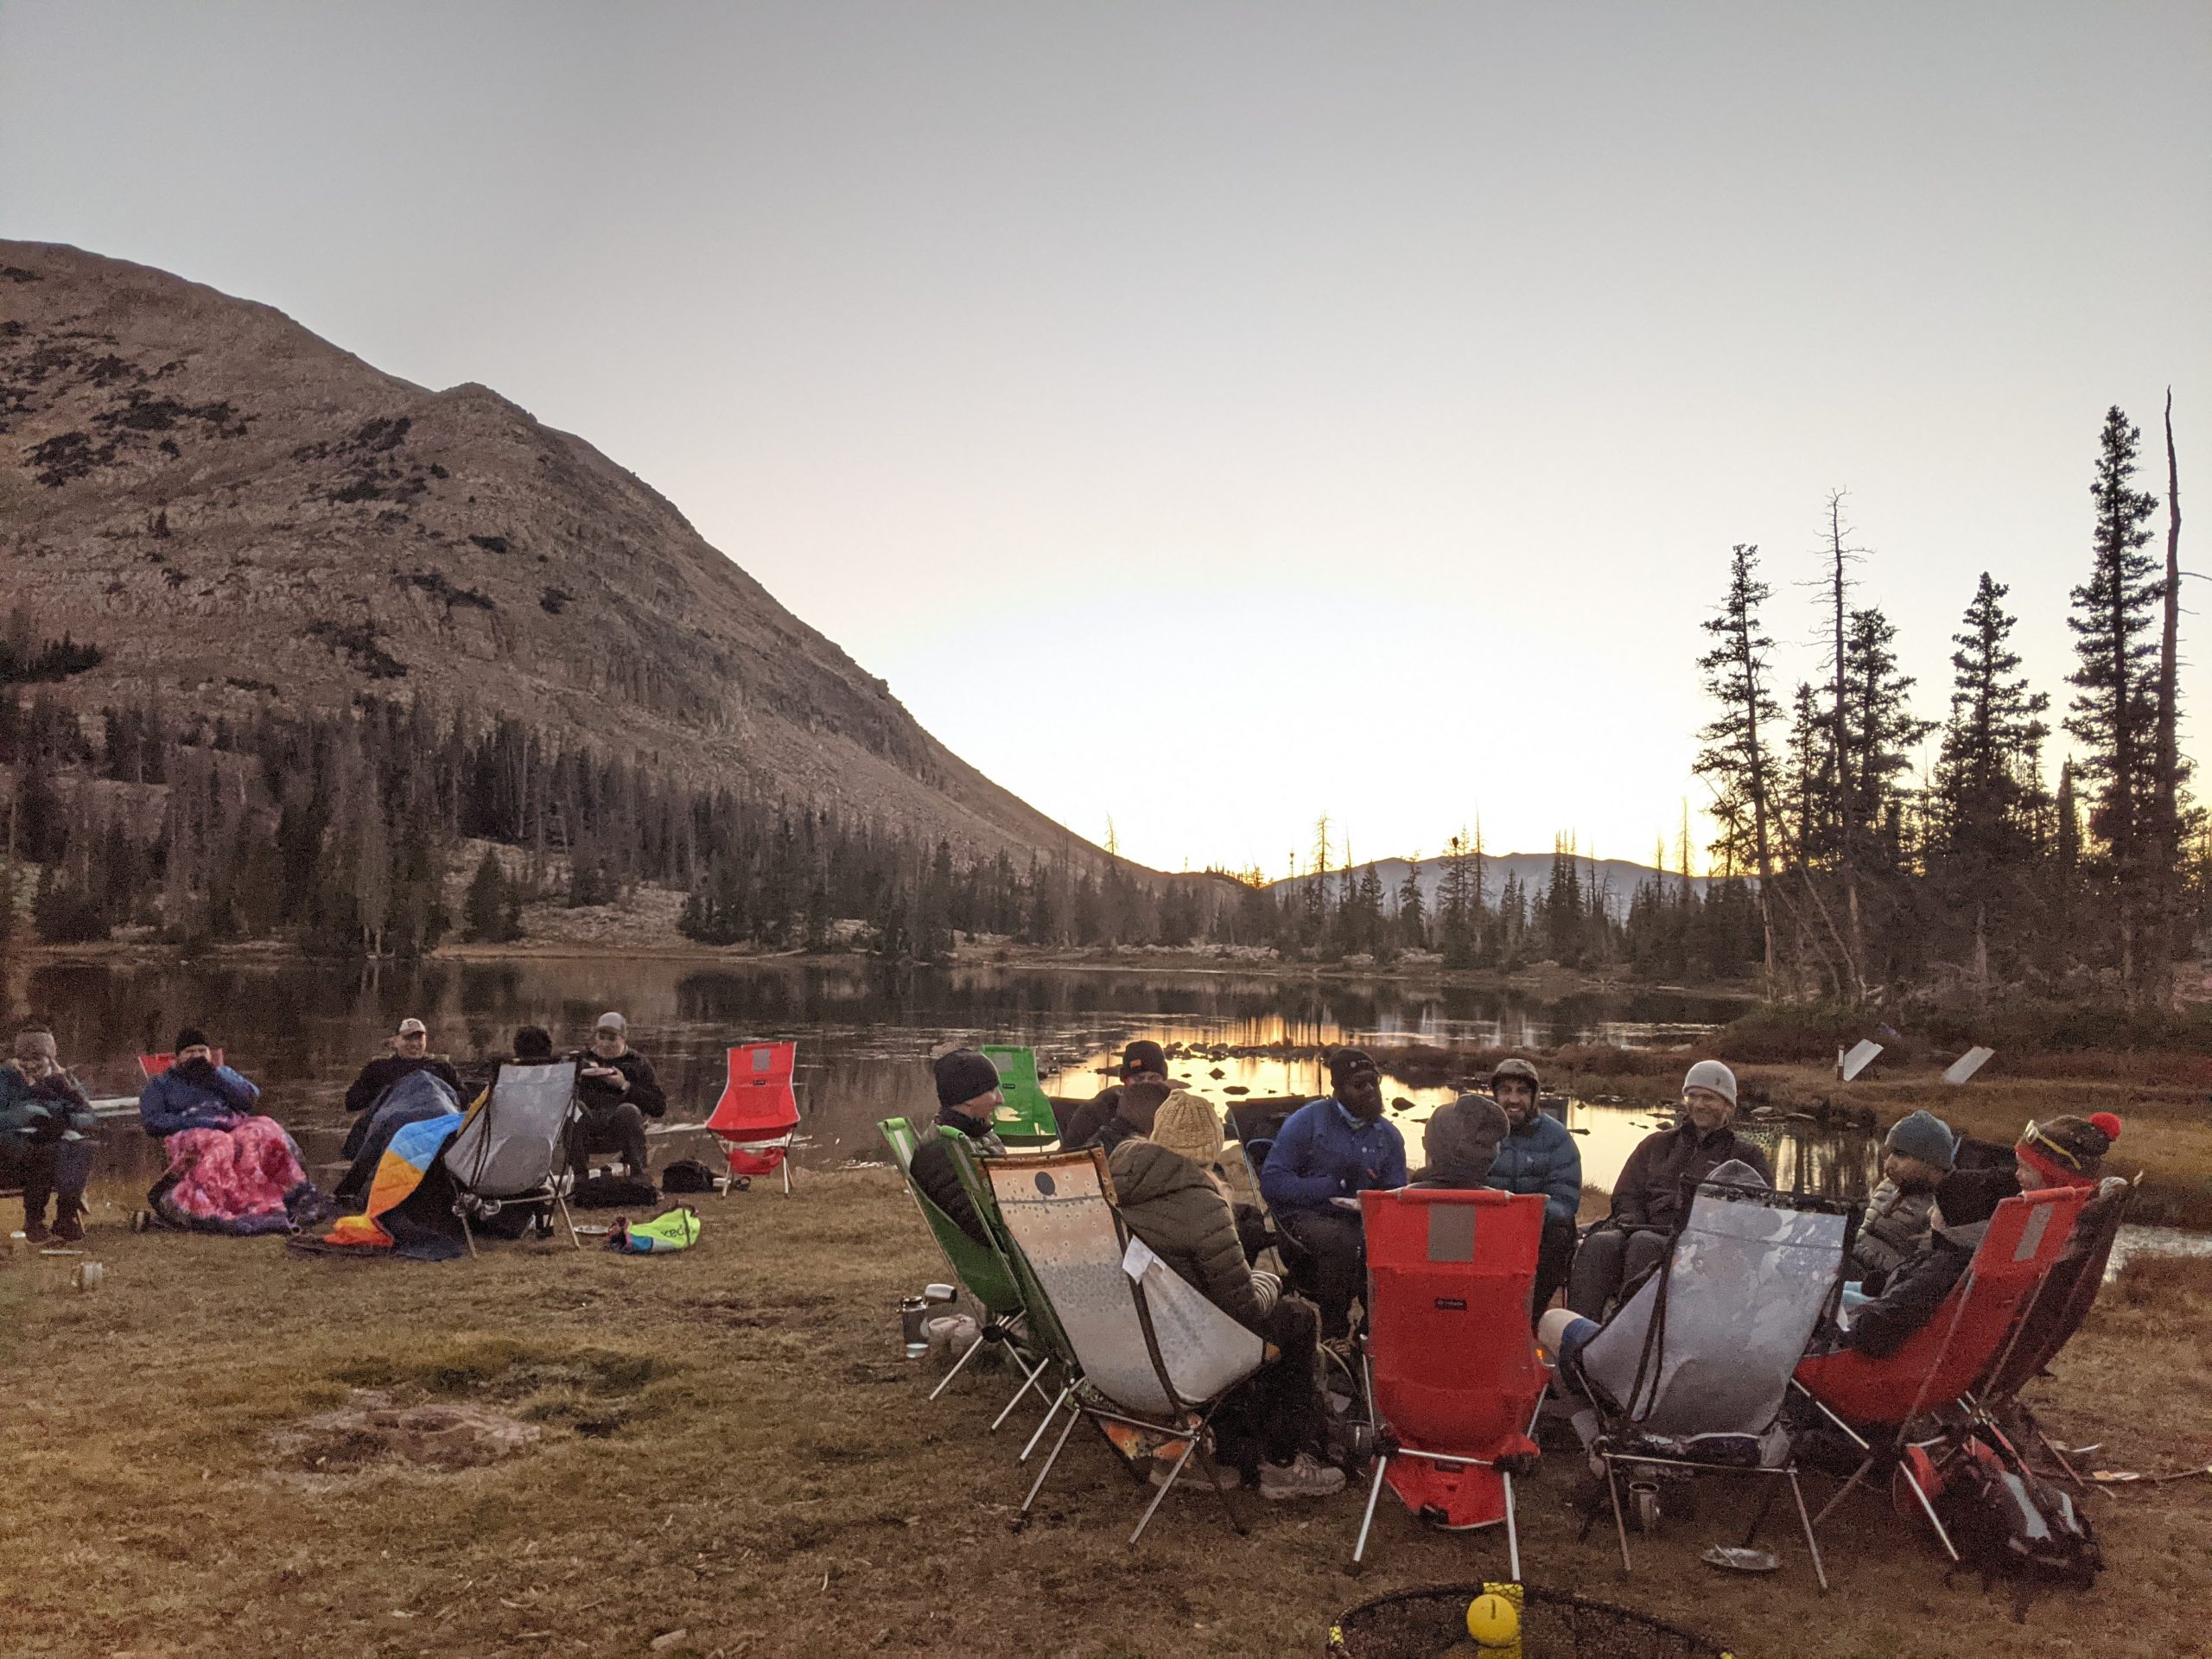
The basecamp of the retreat at sunset. Photo credit: Candace Luebbehusen
For the 5th consecutive year, LifeOmic hosted a wilderness retreat for its employees, which includes those of us on the Lifeology team as well as the company’s other products and solutions. The retreat, located in the Uinta Mountains of Utah, allows for standard wilderness activities such as hiking, fishing, rock climbing, and sitting by the fire. We also participated in some less-standard activities such as plein air painting, archery, foraging—and a photography workshop.
Rebekah Stevens taught the photography workshop, and our team learned a lot of tips and tricks. A handful of this year’s participants had their own cameras and considered themselves well-versed in photography. However, those people still learned a thing or two from the workshop. Others, considered themselves novice photographers and were eager to learn more about taking pictures with the brick in their pockets. Nowadays, most people have pretty powerful cameras built into their phones—it’s just a matter of knowing how to use them. Below, some of the workshop participants from the LifeOmic team bring you some tips and tricks for using your smartphone to take captivating photographs.

Candace Luebbehusen, Marketing Manager
Google Pixel 4
This was my first photography class ever and being able to take advantage of the beauty in the Uinta Mountains was the perfect canvas. I learned how to use my Google Pixel 4 phone to take professional grade photos.

Photo credit: Candace Luebbehusen
A few things I learned was that auto settings on phones are actually really good, but I needed to identify the story I wanted to tell with my photo. For example, do I need the mountain and all of the trees? Or do I want to use portrait mode and focus on a tree branch with the mountain blurred in the background. Identifying my subject helped me decide how I wanted to take my picture. I’m excited to take what I learned and practice at home!
Candace’s Bonus Tip: When using Portrait mode, you can never get too close!
As the photographer, you guide where the subject looks and elements such as lighting and depth of field (how close or far you are) can help you do that. -Candace

Melissa Crandall, Administrative Specialist
Samsung Galaxy S20 Ultra
I worked as a portrait photographer in the past, but gave it up long ago. While I understand how to use my DSLR, I tend to fall back into auto settings on my camera, maybe out of a lack of patience. These usually work fine for quick snaps of easy subjects without putting a ton of thought into the shot, but I definitely wanted more out of my photos during the retreat, especially the photo hike!
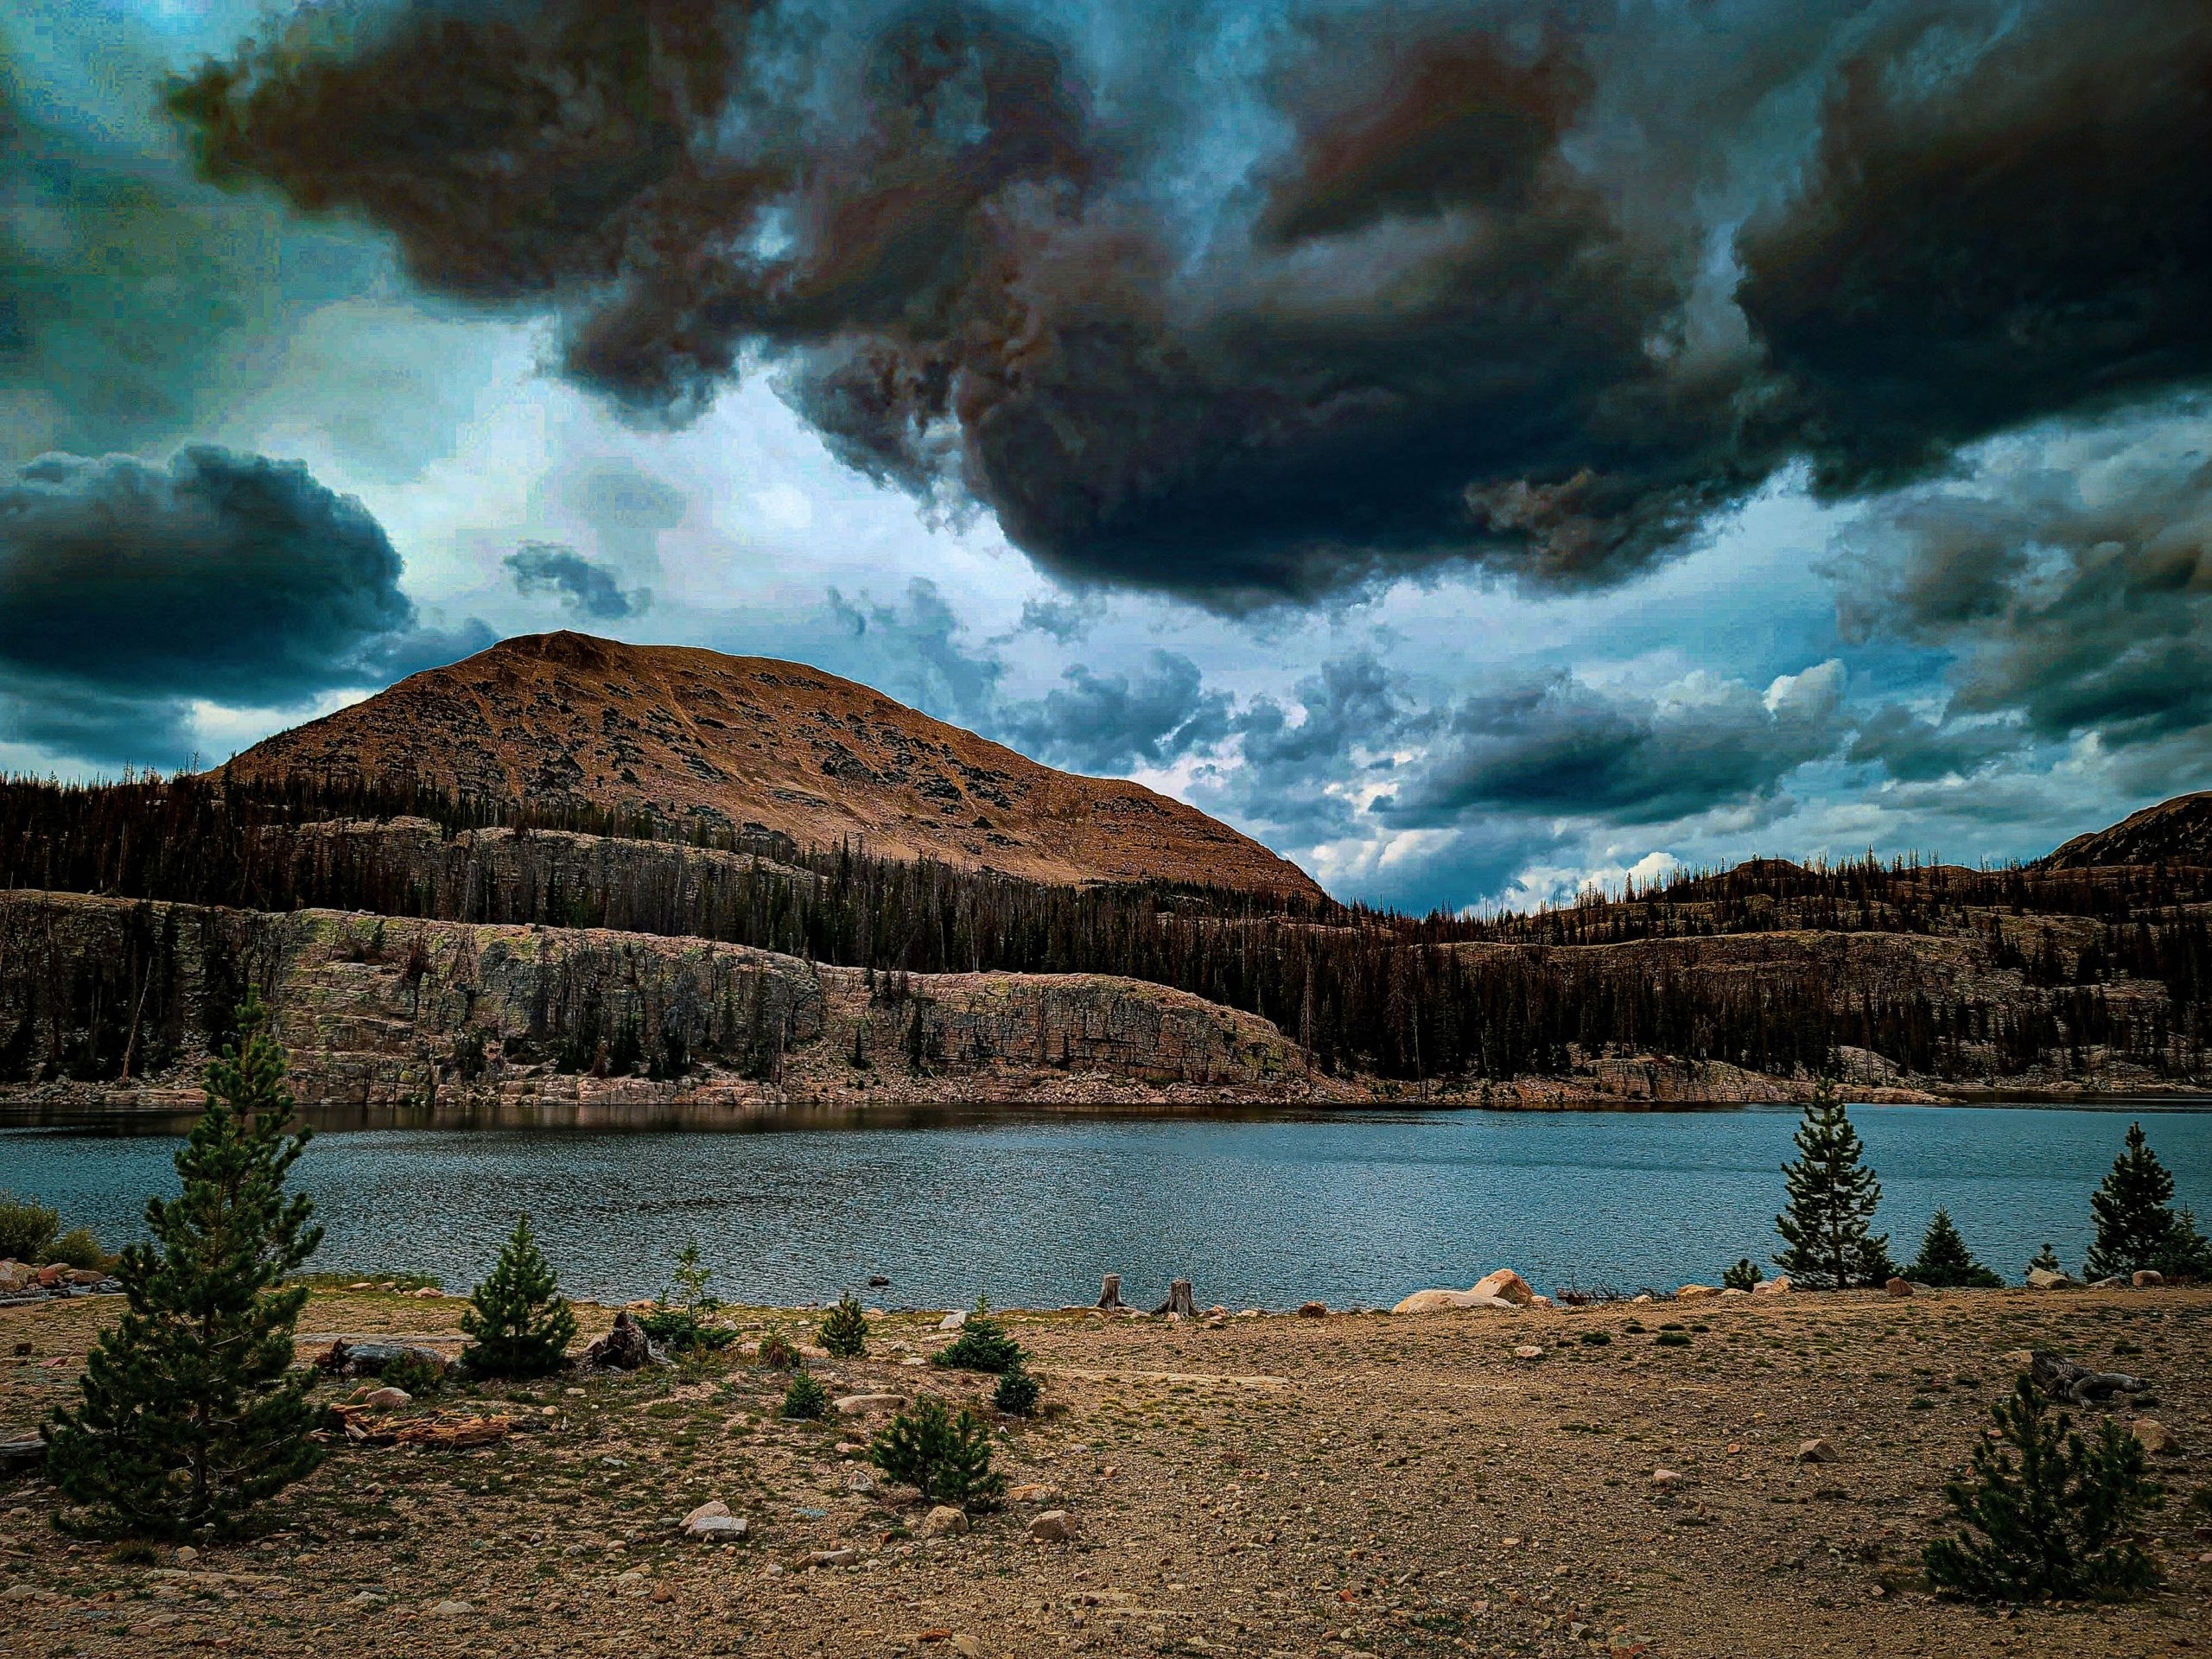
Photo credit: Melissa Crandall
It’s so easy to get bogged down with the technical side of photography, but being in an area as beautiful as the Uinta Mountains, it felt better to just be present and notice the surroundings.
Melissa’s Tips:
- Don’t be afraid to take several photos of the same subject! Slight adjustments to distance, angle, lighting, presets, and subject framing can make a world of difference.
- Use the rule of thirds. If you break your image into thirds, both horizontally and vertically, you’re left with 9 frames. Avoid placing your main subject in the center thirds (outside intersections are ideal, especially for smaller subjects). This will help draw a viewer’s attention to the subject while creating a sense of motion and depth. Landscape horizons can fall along the top or bottom horizontal gridline depending on if you are trying to capture more air (clouds/mountains), or earth (land/water). Of course rules are meant to be broken and there are definitely exceptions to the rule of thirds, but it’s a tried and true standard in photography as well as other forms of art.
- Take photos with intention. Try to understand why you like how your subject looks so you can try to capture the same feeling in your photographs.
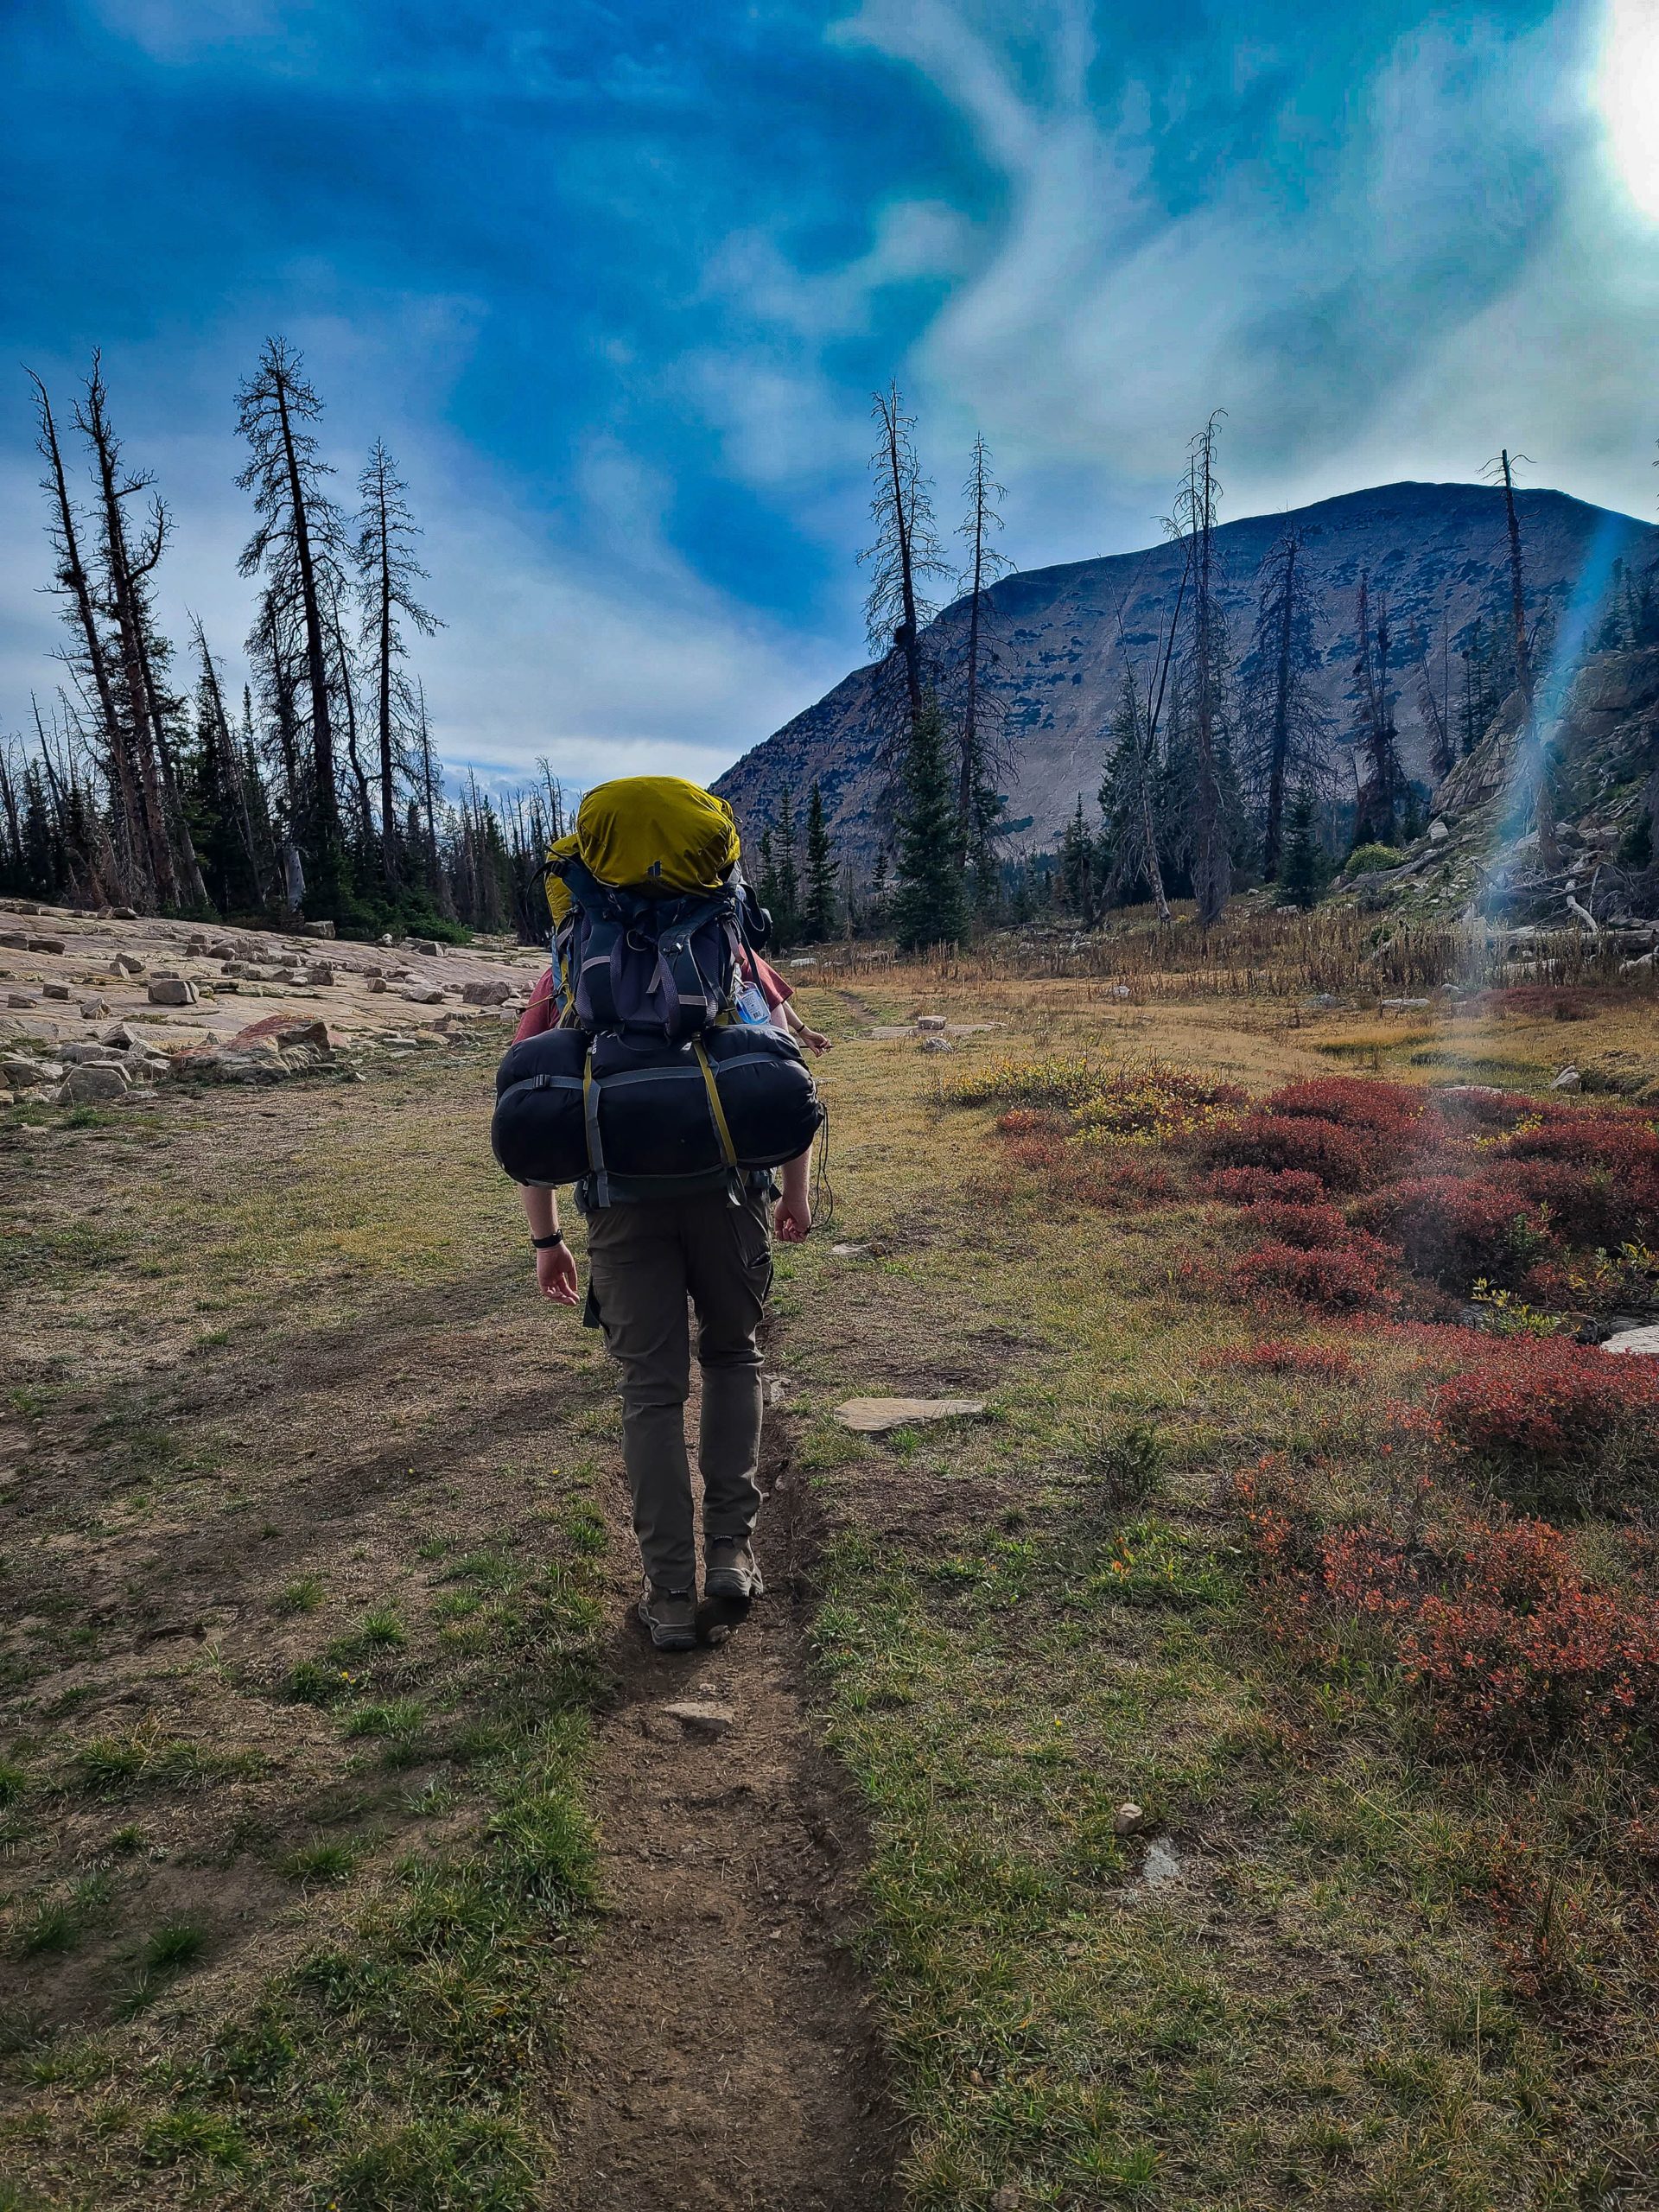
Photo credit: Melissa Crandall
I found that putting my DSLR away for a little bit and just using my Samsung Galaxy S20 Ultra in pro mode produced some stunning photos and served as a nice reminder that you don’t need the most expensive camera and lenses to capture beautiful moments. – Melissa

Matt Ferguson, Senior Product Manager – Mobile
iPhone 12 Pro Max
I have a really nice phone, but I never felt like I was truly getting the most out of the camera features, which was one of the biggest selling points in getting the model I did. A lot of the options were just confusing or went over my head. The class really helped distill all of the different options down into a couple of key takeaways, mainly depth of field, composing the picture, lighting, and how to do some basic things like change the exposure or the f stop.

Photo credit: Matt Ferguson
Matt’s Tips:
- Use Portrait mode as much as possible! When in portrait mode, change your f stop lower for more blur, and higher for less background blur.
- When shooting in normal mode, you can long press on where you want your picture to focus, then adjust the exposure to get the lighting just right and even provide a little blur in the background if you want.
- For landscapes, it can help to focus about a third of the way into the shot, and using landscape mode is typically better.
- No matter what, when shooting with a phone, it will be really hard to give broad landscapes the grand feeling that your eyes can see. One way to try to do this is frame a subject or other object in the shot to give the picture depth, which will help give the viewer a sense of the scale
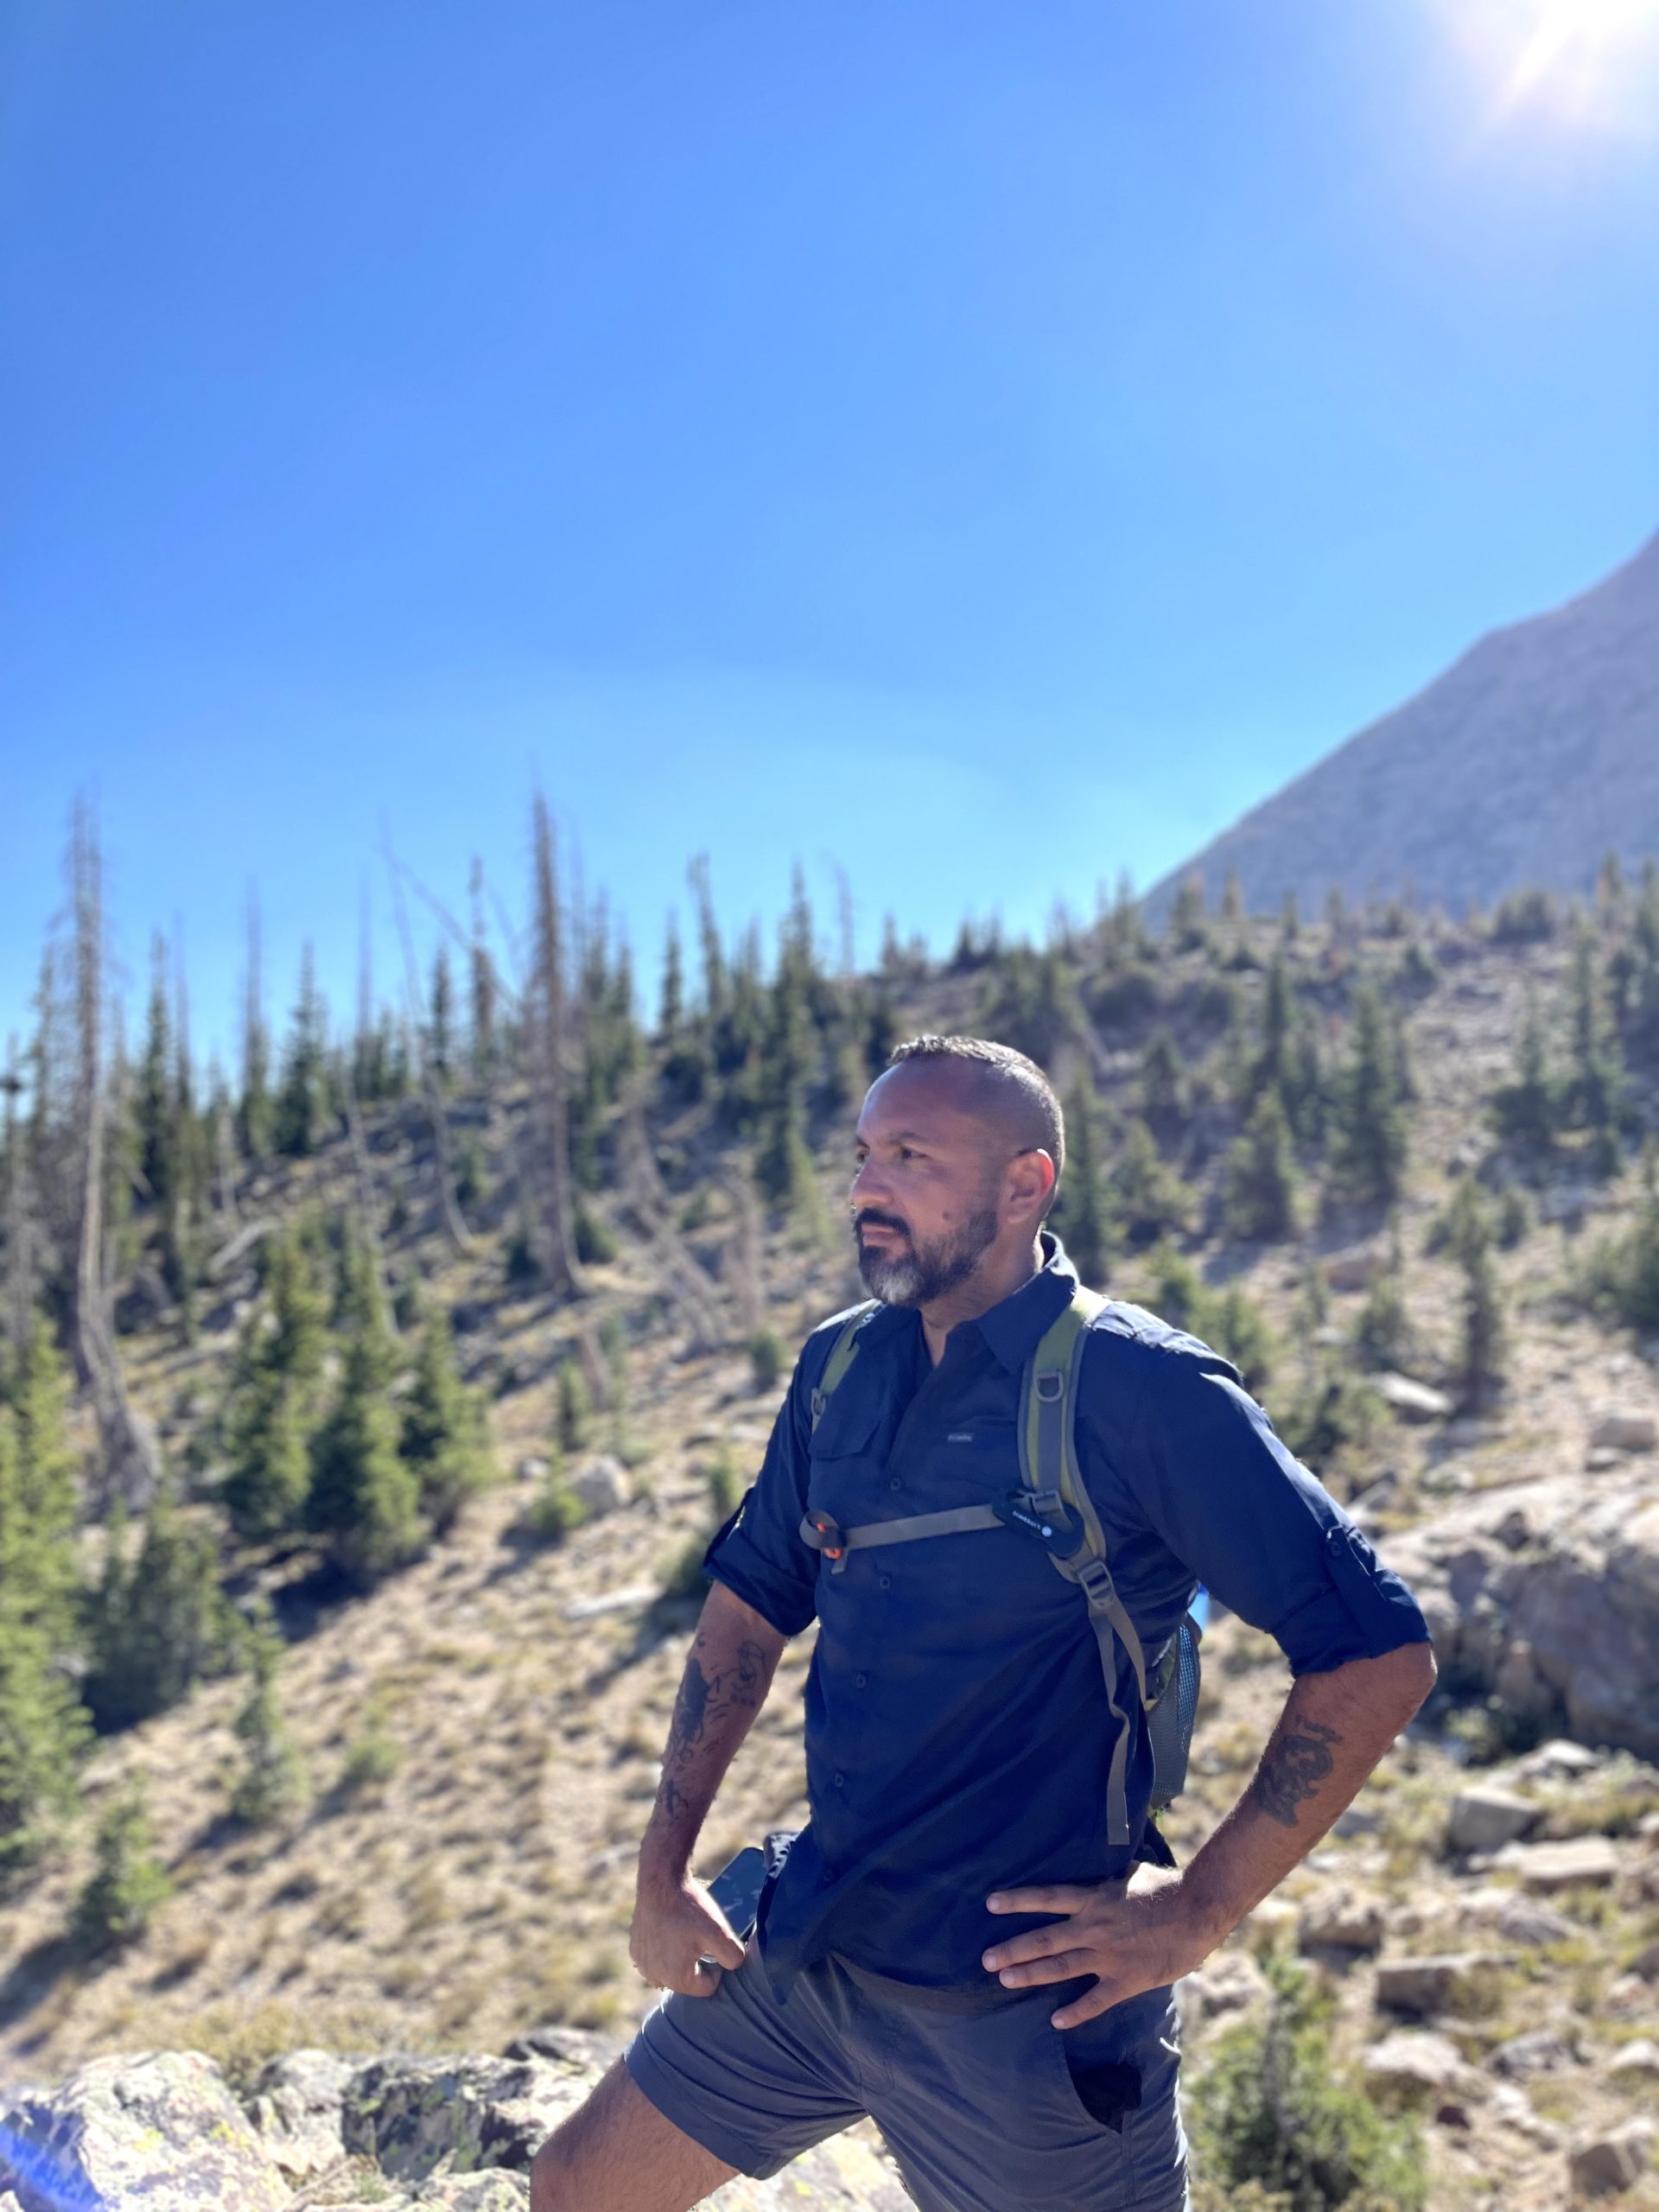
A photograph of Doryan, Lifeology’s co-founder. Photo credit: Matt Ferguson
I’m still no pro by any means, but my pictures are already looking better and I’ll be a bit more mindful when composing my shots now! – Matt

Juliana DeLong, Growth Marketing Manager
iPhone 11
Since I take most of my pictures on my iPhone, I was stoked to take a photography class that taught some great tips for taking amazing photos on your phone! A few super easy and really impactful takeaways from the class…decide on your subject or story, the rule of thirds, and the importance of depth and lighting.
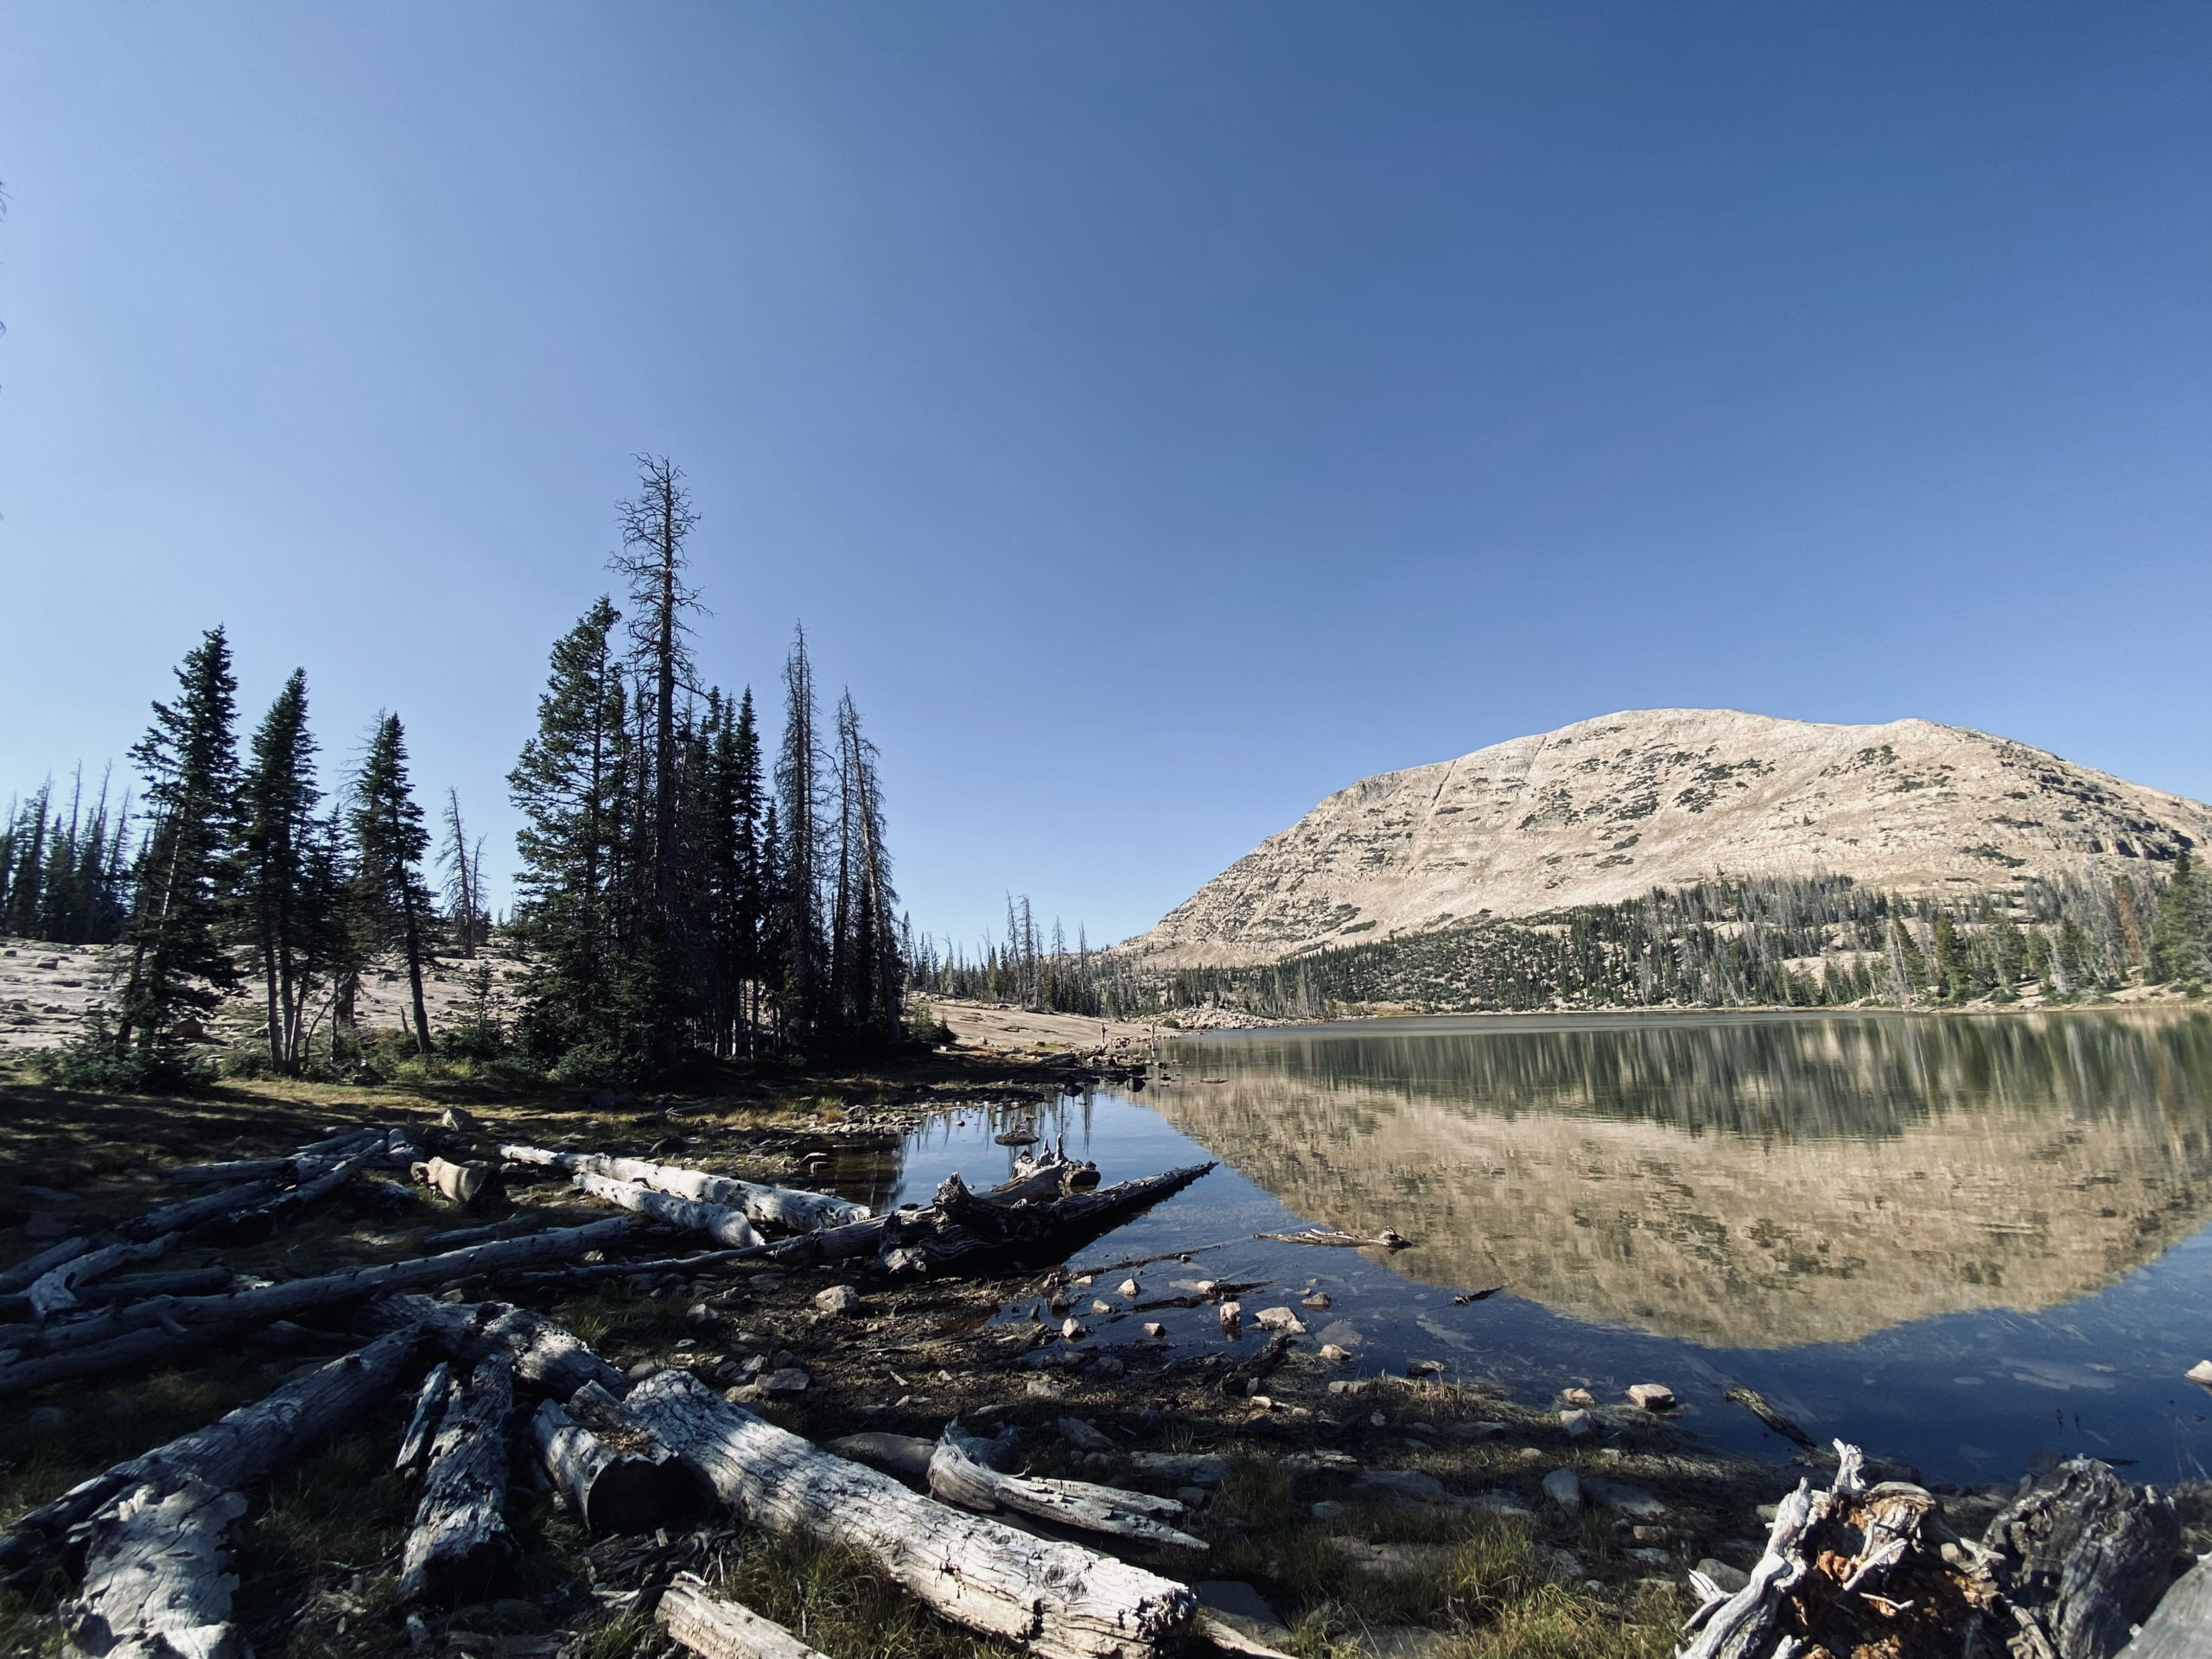
Photo credit: Juliana DeLong
In terms of deciding your subject or story, figure out why you’re taking the picture or what you want it to show before just snapping a photo. This will help give direction to your photography.
Next, the rule of thirds simply means placing your subject in the left or right third of the image, leaving the other two third more open. In other words, avoid having your subject in the center of the photo. This allows the photo to lead a more compelling story. You can even use the grid feature on your iPhone to show dividing lines by thirds. For depth, move closer to the subject or scenery than you think and even use the “f” feature on portrait mode to adjust from f1.4 to f16 for depth.
Lastly, lighting is key. Consider if you want a front-lit or back-lit photo and align yourself between the sun or studio light accordingly. You can also hold down on your screen where you’d like to focus and can slide your finger up or down over the sunshine icon to adjust additional lighting.

Photo credit: Juliana DeLong
Without spending too much time adjusting settings, I can take much more thoughtful and focused photos on my phone! – Juliana
