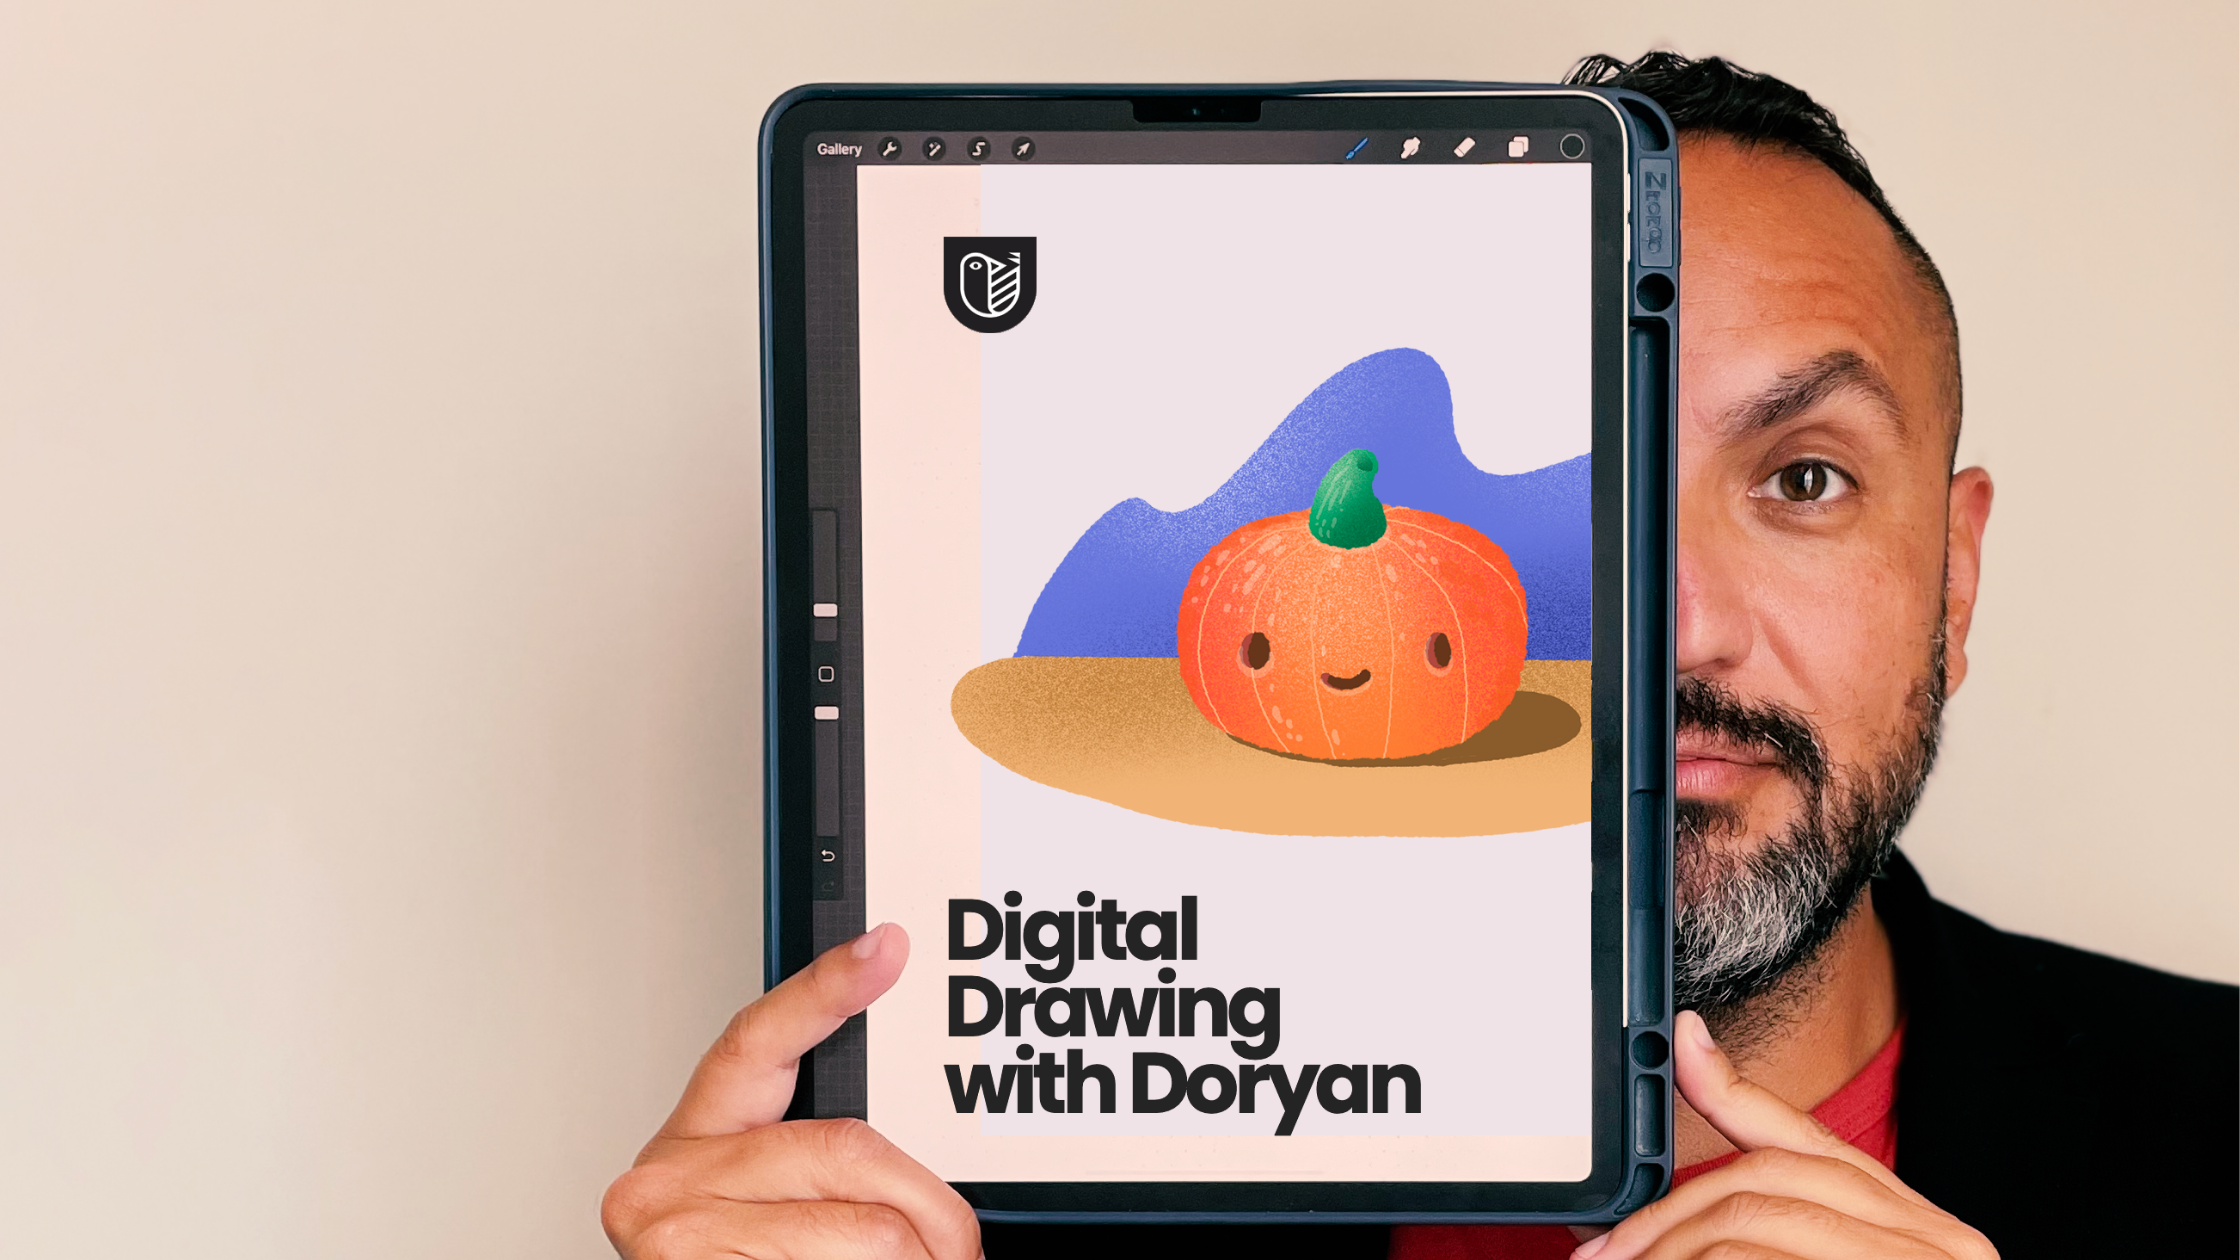
Are you ready for Part Two of a new series where we pick our co-founder’s brains? It’s time for Doryan to make a special monthly appearance and share some Procreate love.
In our last installment, we focused on five basic tips to help with your workflow. Today, we’re going to focus on masks. Is it a coincidence that Halloween is just around the corner?
Masks are fantastic tools; they can change up your appearance quickly–and they can do the same for your drawings! Clipping masks, layer masks, and alpha lock will be the main focus of this blog post.
Incorporating Procreate masks in your work increases your creativity, improves your workflow, and makes your work look better! Let’s find out how to use them. You’re in for a treat!
Why use masks?
Masking in Procreate gives you the ability to cover or conceal part of an image. Best of all, unlike an eraser, a mask layer is a non-destructive way of manipulating a drawing quickly. You can reverse or edit changes you’ve made on the fly.
Using Alpha Lock in Procreate
We touched on Alpha lock in our last installment. Alpha Lock allows you to draw within a shape’s boundaries by locking a layer’s transparency. Once you lock a layer, you can only draw inside what already exists. It’s an easy way to change a layer’s fill color. We also love to use it to block off an area and use texture brushes to shade.
You can use a gesture to activate Alpha Lock—swipe right with two fingers on your canvas. The modifier applies to the layer you are currently in. You can also activate Alpha Lock by opening the Layers menu and tapping on a layer. The display menu will pop up, allowing you to select Alpha Lock. Once Alpha Lock is activated, you will see a checkerboard background appear in the thumbnail layer.
Let’s walk through the process with Doryan. He selects his canvas size and then begins by blocking out a shape in a new layer.
- Begin by blocking out a shape in a new layer or find the layer you want to apply your brush. In this example, I want to add a shadow texture to the pumpkin shape.
- Tap the layer and tap Alpha Lock in the Layer Options menu. You can also swipe right with two fingers on the layer to lock the alpha.
- You can tell that Alpha Lock is enabled because the layer thumbnail will have a checkered background. Here's where you'll see what Alpha Lock does in Procreate. While Alpha Lock is active, you will only be able to paint inside the area that already has paint on it.
- If you want to touch up your edges or add to them, just turn the Alpha Lock off and make the changes. Once done with your changes, turn Alpha Lock back on to preserve the alpha once again.
Alpha Lock Pros
- Quick and easy results
- Great for making clean edges
- Great for shading using brushes
- Can easily use the Fill Layer option to fill all the pixels on that layer with a solid color
- Any color can be used to paint on top of the alpha layer
Alpha Lock Cons
- Destructive because all of your elements are on one layer
- If you erase or adjust opacity it affects the entire layer
Doryan’s Pro Tip: "If you’re using Alpha Lock, always make a copy of your original layer, so you have a backup copy handy — you can always delete the copy when you’re ready to commit."
Using Clipping Masks in Procreate
Clipping masks are non-destructive. Using a clipping mask allows you to use the contents of a layer and mask the content using a layer above. The separate layer enables you to adjust highlights, shadows, and layer adjustments while making it look like these effects are on the actual shape. If you don't like the results, you can adjust the clipping mask layer without destroying the original image underneath—allowing for greater flexibility.
To try using clipping masks in Procreate, follow these simple steps:
- Create a new layer and draw a shape of your choice and fill it with color.
- Create a layer above your shape and add some color and texture.
- Select the layer menu and click on the layer you just created to access the fly-out menu. Select clipping mask from the menu.
The color and texture will now be constrained to the layer below it in the layer panel. You can also do this with text.
Clipping Mask Pros
- Textures and details are on a new non-destructive layer
- Greater control and ease of experimentation
- Ability to stack clipping mask layers
- Any colors can be used to paint on top of the parent layer
Clipping Mask Cons
- Additional layers add to your total layer count
Using Layer Masks in Procreate
Layer masks let you erase or reveal parts of your artwork in a non-destructive way.
To create a Layer Mask, tap your layer in the layer menu and then select mask. A new white layer will appear. It will also connect to the primary layer you tapped.
When editing the mask, you will notice that you can only select the neutrals white, grey and black.
Drawing with black on the layer mask conceals part of the artwork. This is great if you want to create transitions and have the artwork fade into the background.
Drawing with white on the layer reveals part of the artwork in the primary layer while using grey will vary the opacity based on the shade of grey selected.
Layer Mask Pros
- Non-destructive
- Greater control due to separate layers
- Ability to stack layers
Layer Mask Cons
- Can only erase or add back to the primary layer.
- Additional layers add to your total layer count
Tune in for our next installment of Digitial Drawing with Doryan in November! If you have any special requests for topics you'd like to see covered or have a question to ask, then email us at Lifeology@lifeomic.com and include Digital Drawing with Doryan in your subject line.

