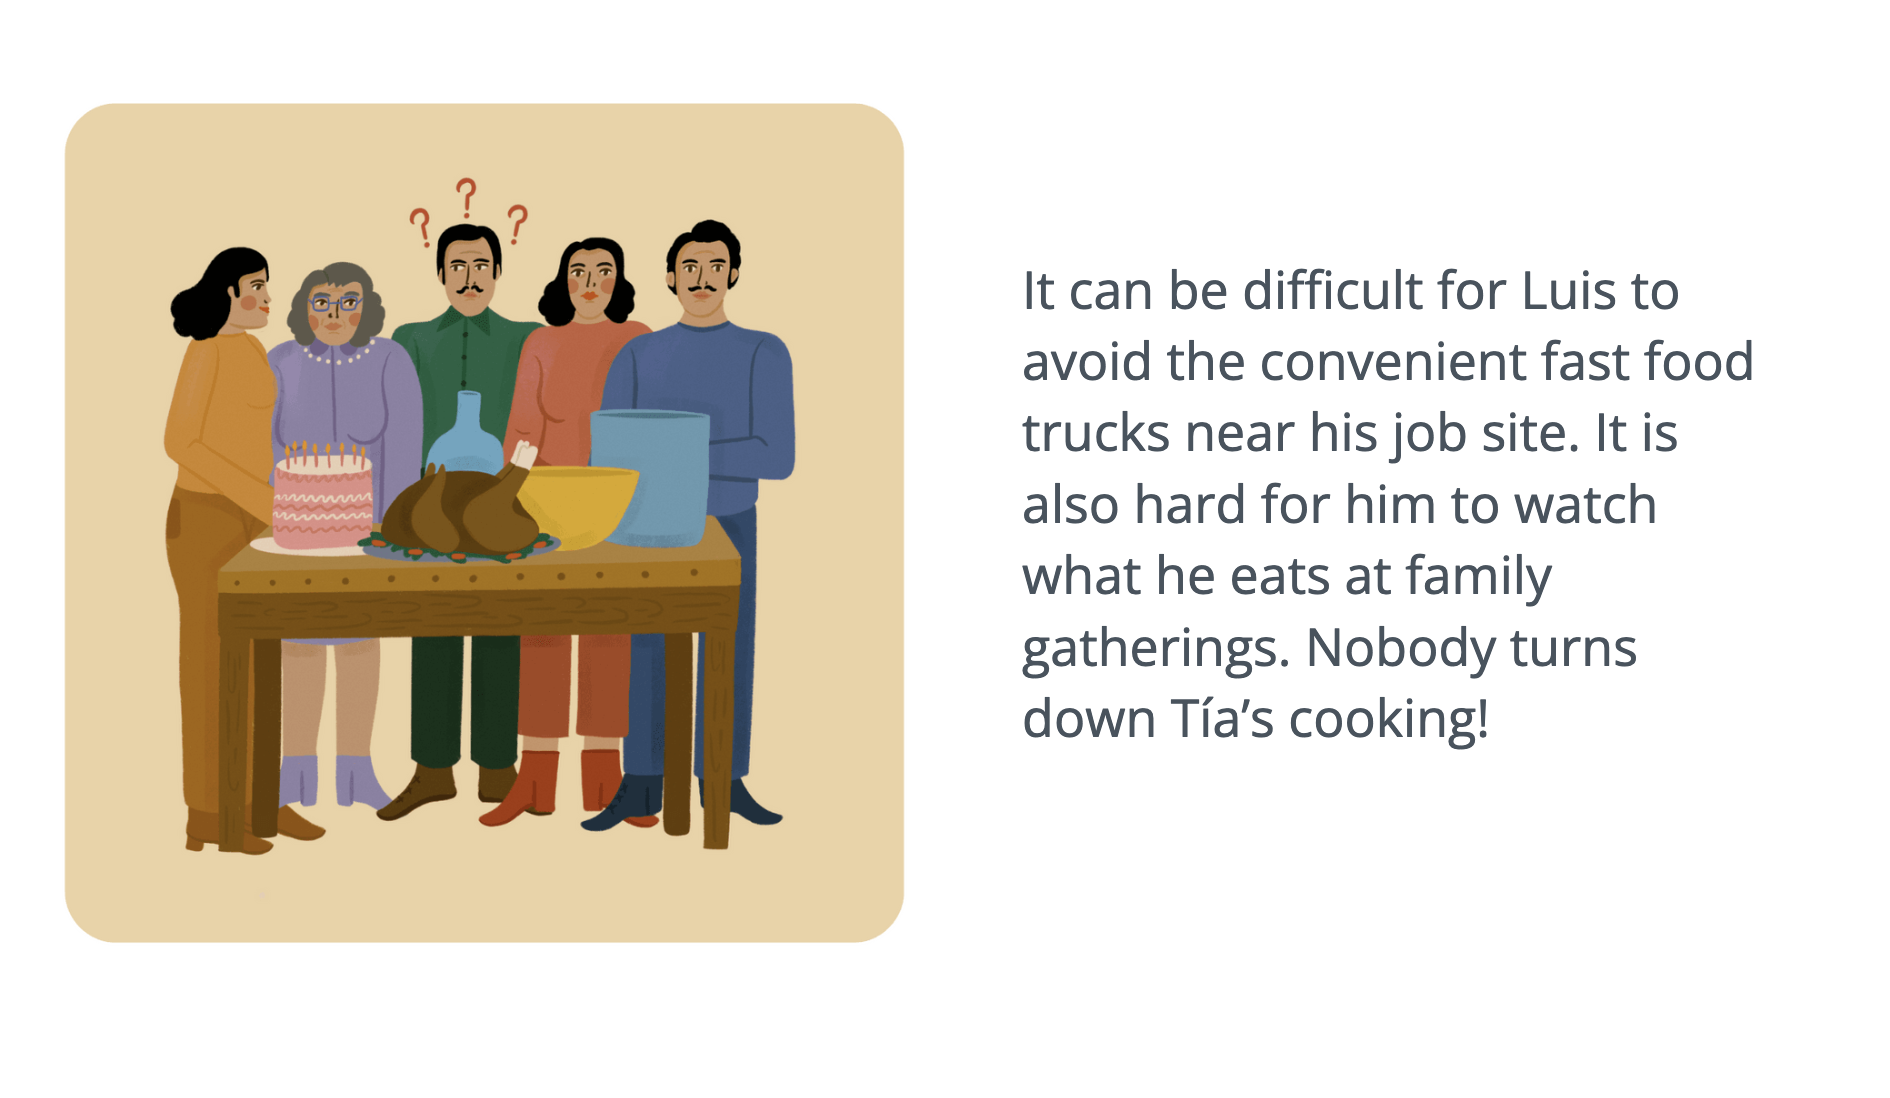
Introducing a new series of monthly blogs – Digital Drawing with Doryan! Are you new to illustration and want to get better at your visual communication skills? Then this series is for you! Each month Doryan will share some of his tips and use examples of work to showcase skills.
The Procreate app is affordable, accessible and requires no hefty monthly subscription fee. As a stand-alone app, it’s pretty nifty! Lifeology artists tend to use Adobe Illustrator, Adobe Fresco or Procreate. We love the affordability and creativity that Procreate offers. It’s time to pick the brains of our Co-founder, who also happens to be LifeOmic’s VP of Design!
Procreate looks simple enough, but it can be easy to miss many features and the learning curve can feel overwhelming. In this series, we will explore the functionality and tools of Procreate, starting with five basic tips to help with workflow and bolster your creativity. Let’s get started!
Tip #1: Organize Your Workflow
You downloaded Procreate and are ready to dive right in, but the interface doesn’t feel personalized. When you first open the app, you are greeted with the canvas overview. The overview will eventually list all of your artwork. However, if this is your first time, it will look bare – but no worries, you’ll be filling this up with amazing artwork soon!
Everyone wants a workspace or interface that feels comfortable and productive. Procreate is no different. You can customize the UI to help organize your workflow, ensuring you get the most out of this application. There are many options to customize your experience, and we’ll discuss those in future posts. For now, these basic options will allow your first steps in Procreate to be more intuitive:
- Interface color preference: Do you prefer a light or dark interface?
- Sidebar navigation: Do you prefer a left or right orientation?
To customize these options, you will need to create a canvas. The interface is organized into three sections: the painting tools (top-right), the sidebar and the advanced features (top-left). Select the top-left advanced features area first, then click on Actions (represented by a wrench icon). Next, go to Prefs to set up the interface color preference.
The sidebar can be dragged out and placed in your preferred position on the edge of the canvas. Check out these two Procreate tutorial videos to find out more!
Tip #2: Master the Basic Gestures
Mastering the basic gestures means that you become a more efficient artist. Use the gestures instead of navigating through menus to find an action. Like the gestures on a smartphone, gestures in Procreate enable you to carry out actions at the tap, pinch or swipe of your fingers. Here is a list of default shortcuts that come with Procreate. You can also customize actions by going to Actions > Prefs > Gesture Controls.

Tip #3: Organize and Group Layers
Layers are a great way to organize your work and increase productivity. Think of a traditional landscape painting; for example, it has a foreground, a middle ground and a background. When creating an illustration, you can use layers to group elements of objects together. It’s always good practice to name your layers and groups. Doing so makes it easier to access a particular layer as well as make adjustments. Especially important if you’re creating an intricate piece that has many components. Also, beware that a maximum number of layers exist, depending on your canvas’s resolution and the DPI (dots per inch). The higher the DPI, the greater the resolution. If you’re creating a piece for print, you need a higher resolution than for digital use only.
An example of how I sometimes use layers is that I always have a sketch layer, which I use as the base for my stroke layer (main linear drawing). Once I have that, I create a layer beneath the stroke layer to do my coloring. Having this separation gives you more options when you need to make changes or experiment. – Doryan Algarra
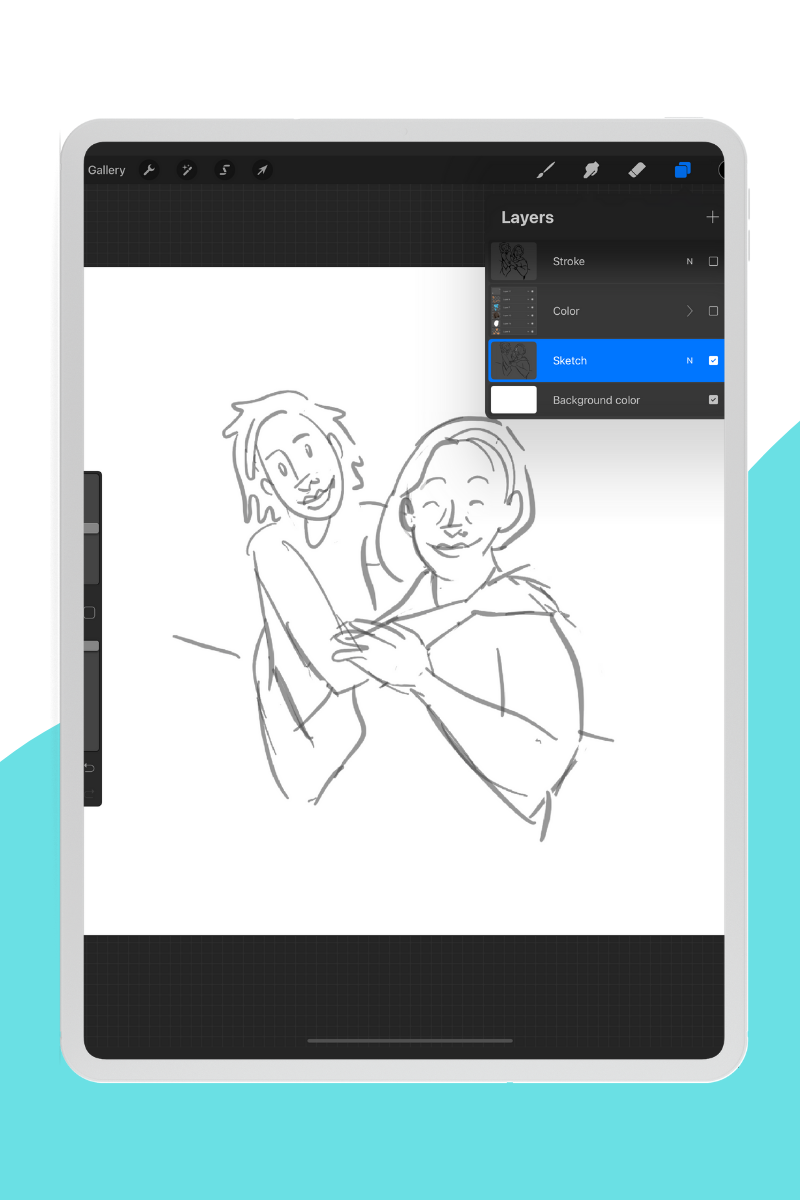
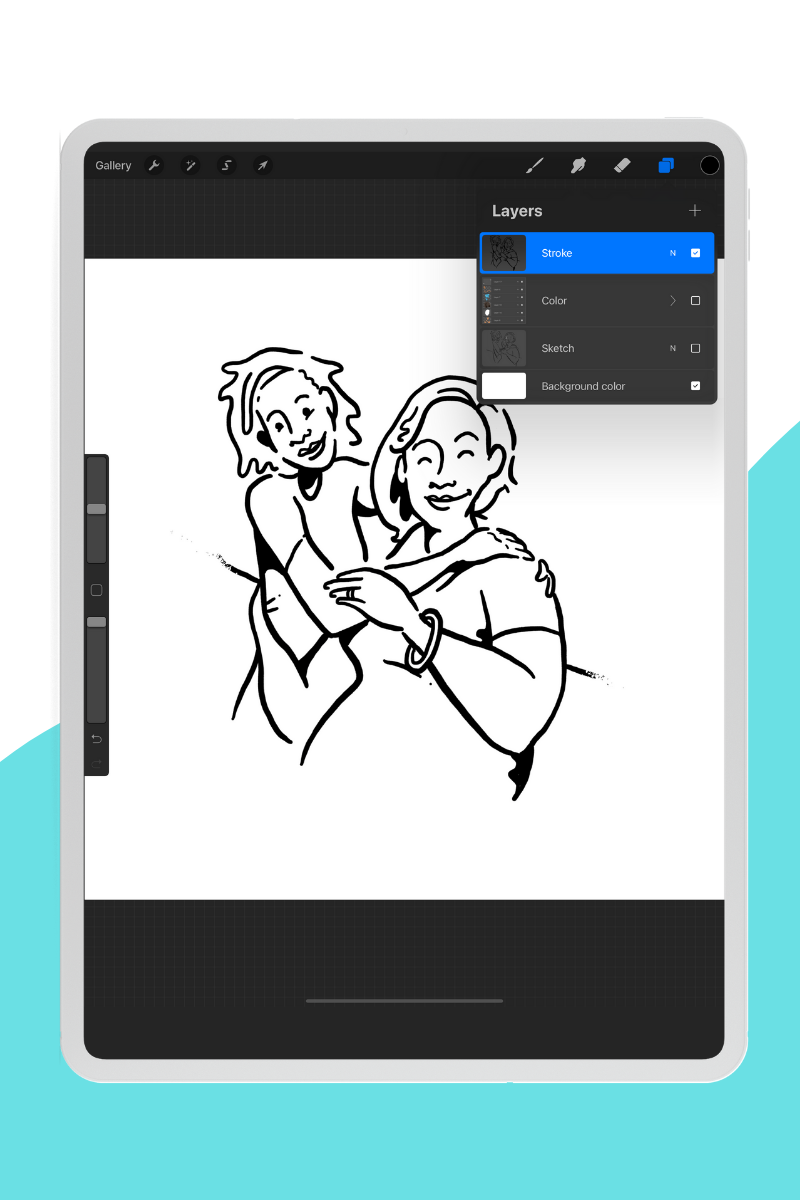
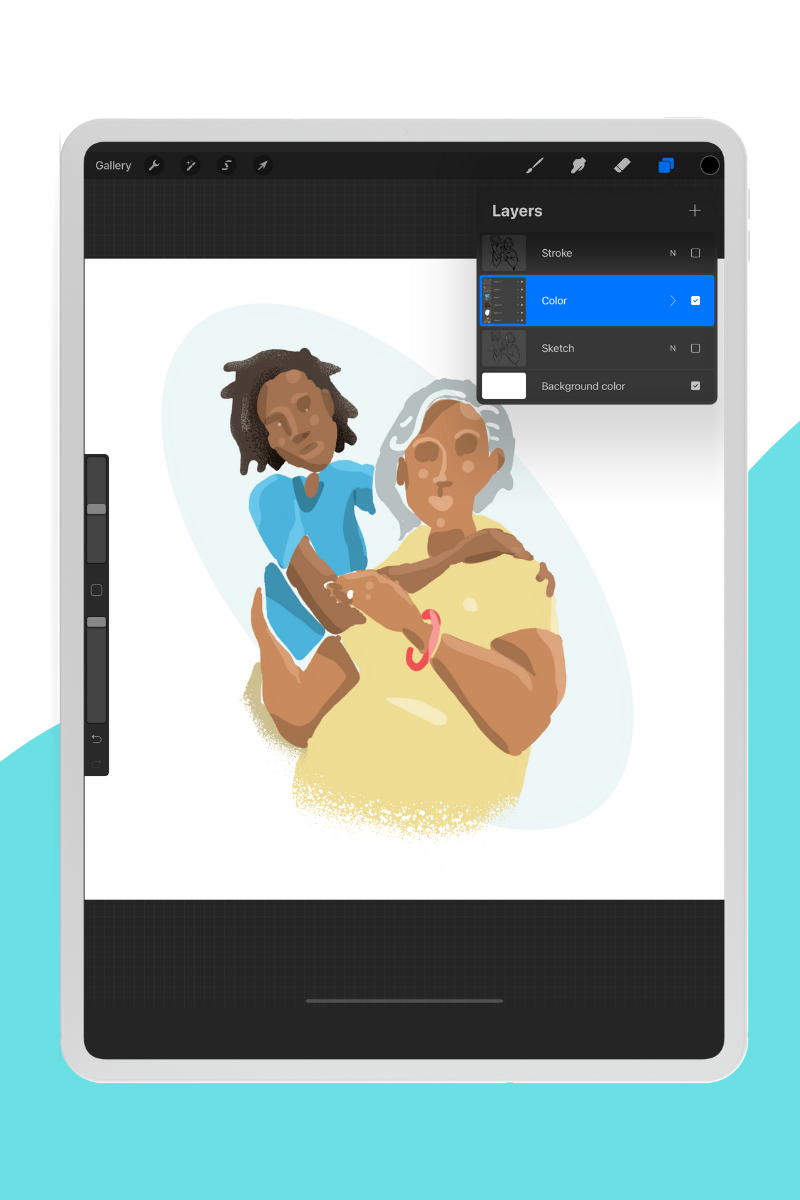
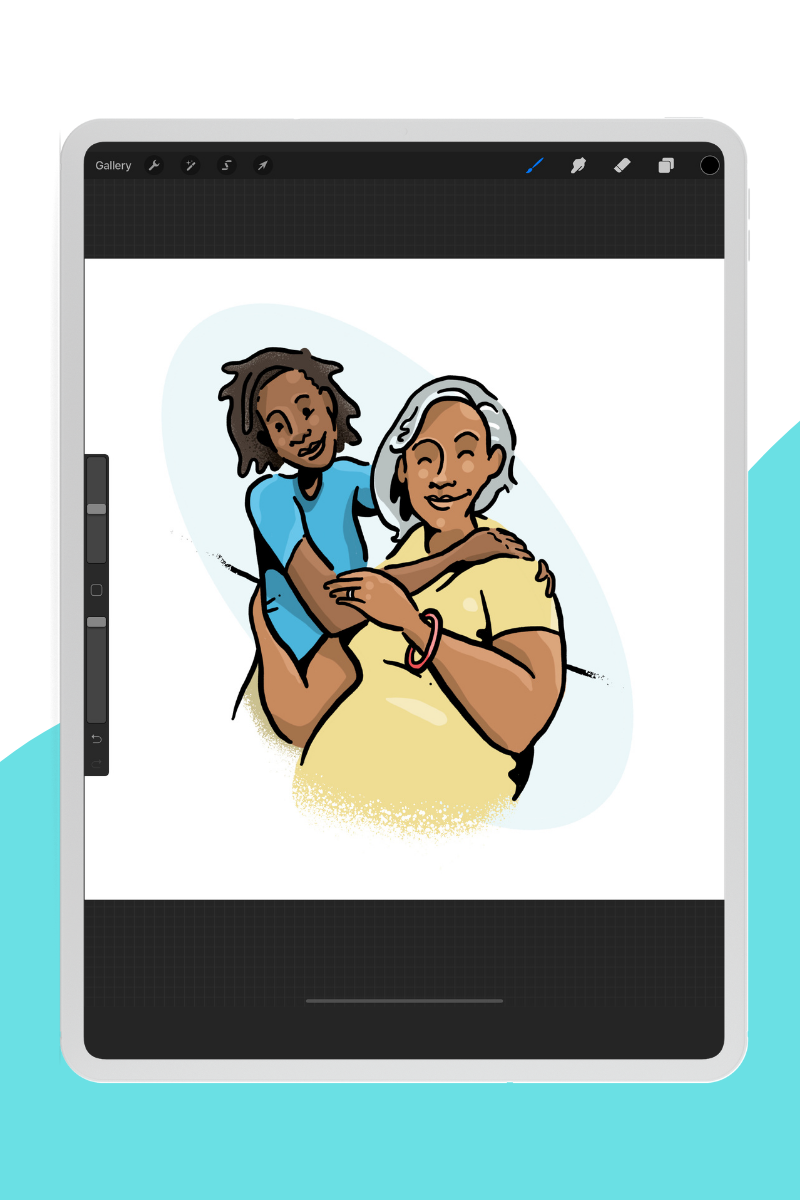
Illustration screenshots showing the sketch, stroke, color layers and the final illustration.
Artwork by Doryan Algarra.
Tip #4: Use the Quick Shape Command
Procreate requires that you draw as you would with a pencil, and it can be tricky to draw perfect shapes while you’re getting used to drawing on a screen. The quick shape command is an easy way to draw that perfect geometric shape. This command straightens lines, creates smooth curves, it even allows you to edit points within the shape.
Tip #5: Practice using masks – Alpha Lock
Using masks allows you to add texture, shading, highlights, images, patterns and more to your illustrations. Procreate has three types of masks: Alpha Lock, Mask and Clipping Mask. Mask options are available in each layer. All you need to do is click on the layer and make a mask choice.
Alpha Lock gives you the ability to draw within a shape’s boundaries. It’s also an easy way to change a layer’s fill color. You can use a gesture to access Alpha Lock. All you have to do is use two fingers to swipe right on a layer.

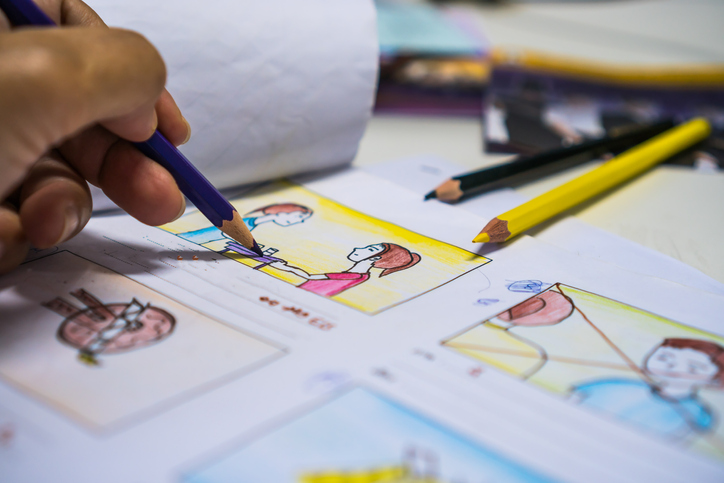
Art in Progress – Doryan illustrating the alpha lock feature.
If you want to learn more about alpha lock and other masks in Procreate, check out the video below!
Tune in for our next installment of Digitial Drawing with Doryan in October! If you have any special requests for topics you’d like to see covered or have a question to ask, then email us at Lifeology@lifeomic.com and include Digital Drawing with Doryan in your subject line.

Doryan Algarra grew up in Colombia before moving to the USA. He is the VP of Design for LifeOmic, where he leads the Design Team and creates pixel-perfect designs for a range of LifeOmic products. He is also an artist, a designer and the Co-founder of Lifeology.