Whether you are writing your first, your 3rd or your 20th Lifeology course, you might need some help and some practice to get used to creating content in this unique format! To help you, I’ve created a list of my own processes and tips for creating better Lifeology courses.

I’ve written or edited 100 or more Lifeology courses on many different topics. Without any artistic skills myself, I’ve had a fantastic time collaborating with artists and designers to complete these courses. While the process of creating Lifeology course visuals is still a mystery to me, I’ve learned a lot about how to write with visuals in mind! I’ve learned to write Lifeology course text in a way that allows the visuals to speak as strongly as the words on the cards. Read on for some hopefully helpful advice about how to write your own Lifeology courses, from making sure the text is succinct enough to fit on the bite-sized text area of your course cards, to embracing the idea that your words are only half of the story!
Start with learning objectives.
Just 1-3 objectives or key learning outcomes will help you focus your course content. What key pieces of information, concepts or knowledge do you hope audiences will walk away? What knowledge will people gain by the end of your course? Will it be action-based? Make them feel better? Will they be more “in the know”?
Once you develop these objectives, use them to focus your course content and information. Cut out any text or details that aren’t necessary to your primary objectives or the learning outcomes for this course!
Consider your audience.
Who are you creating this content for? Imagine a member of your intended audience and consider their age and important demographic information, their likely reading level or preexisting knowledge, their values, their interests, their concerns and fears, their barriers, what they care about and what questions they might have.
Of course, it is problematic to rely solely on your assumptions about your intended audience. If your assumptions are wrong, your content might do more harm than good. You can address this by reaching out to members of your intended audience and talking to them! Ask them what they know about your topic and what they would like to know. Run your ideas by them. Learn more about their daily lives and potential barriers to understanding or action related to your topic. Put yourself in their shoes in order to write more empathetic content about your topic.
Outline it!
Create an outline before you start writing the text for each of your Lifeology course cards. Your outline will help you determine what information you want to include in your course. During your outlining process, you can collect all of the key points of information you want to include in the course without having to worry simultaneously about how exactly you will order this information or explain it in plain language. Try creating a bulleted list of information or details you want to cover and include the references/sources for this information.
Your outline can also help you start to play with how to best order the information for ease of understanding and to keep things interesting. It’s easy to re-order and shift around bullet points. This will get harder as you start to write out your final card script.
Suggested Activity: Create a mindmap for your course!
Grab your writing tools and a clean page! In the middle of the page write down the central idea(s) for your Lifeology course. The central idea is your starting point. Create a mindmap by adding branches to your map. These branches might include related ideas or concepts, key questions, learning outcomes, key pieces of background information.
Write a first draft of your cards in an informal, conversational mode.
Let your imagination flow without your editor’s voice getting too much in the way. Explore different ideas, characters, examples and analogies and follow these through to their logical conclusions. You can make notes of alternative ways of describing things as you go, but try to write the first draft of your cards in one writing session. This will make it easier for you to get into a “flow”, maintain a single narrative or story arc, and avoid the dreaded writer’s block!
Suggested Activity: Grab a piece of paper and something to write with and get ready to unleash your inner genius with this emergent thinking activity! Emergent thinking is a natural process, like daydreaming. It’s the type of thinking that results in “Aha!” moments.
Grab a timer. Set it to 5 minutes Free-write about your ideas – I like to call it writing without worry. Don’t worry about spelling or the grammar police in your head – try not to use your brain as a filter. Ready, steady – write! Ding, ding ding – your 5 minutes are up!
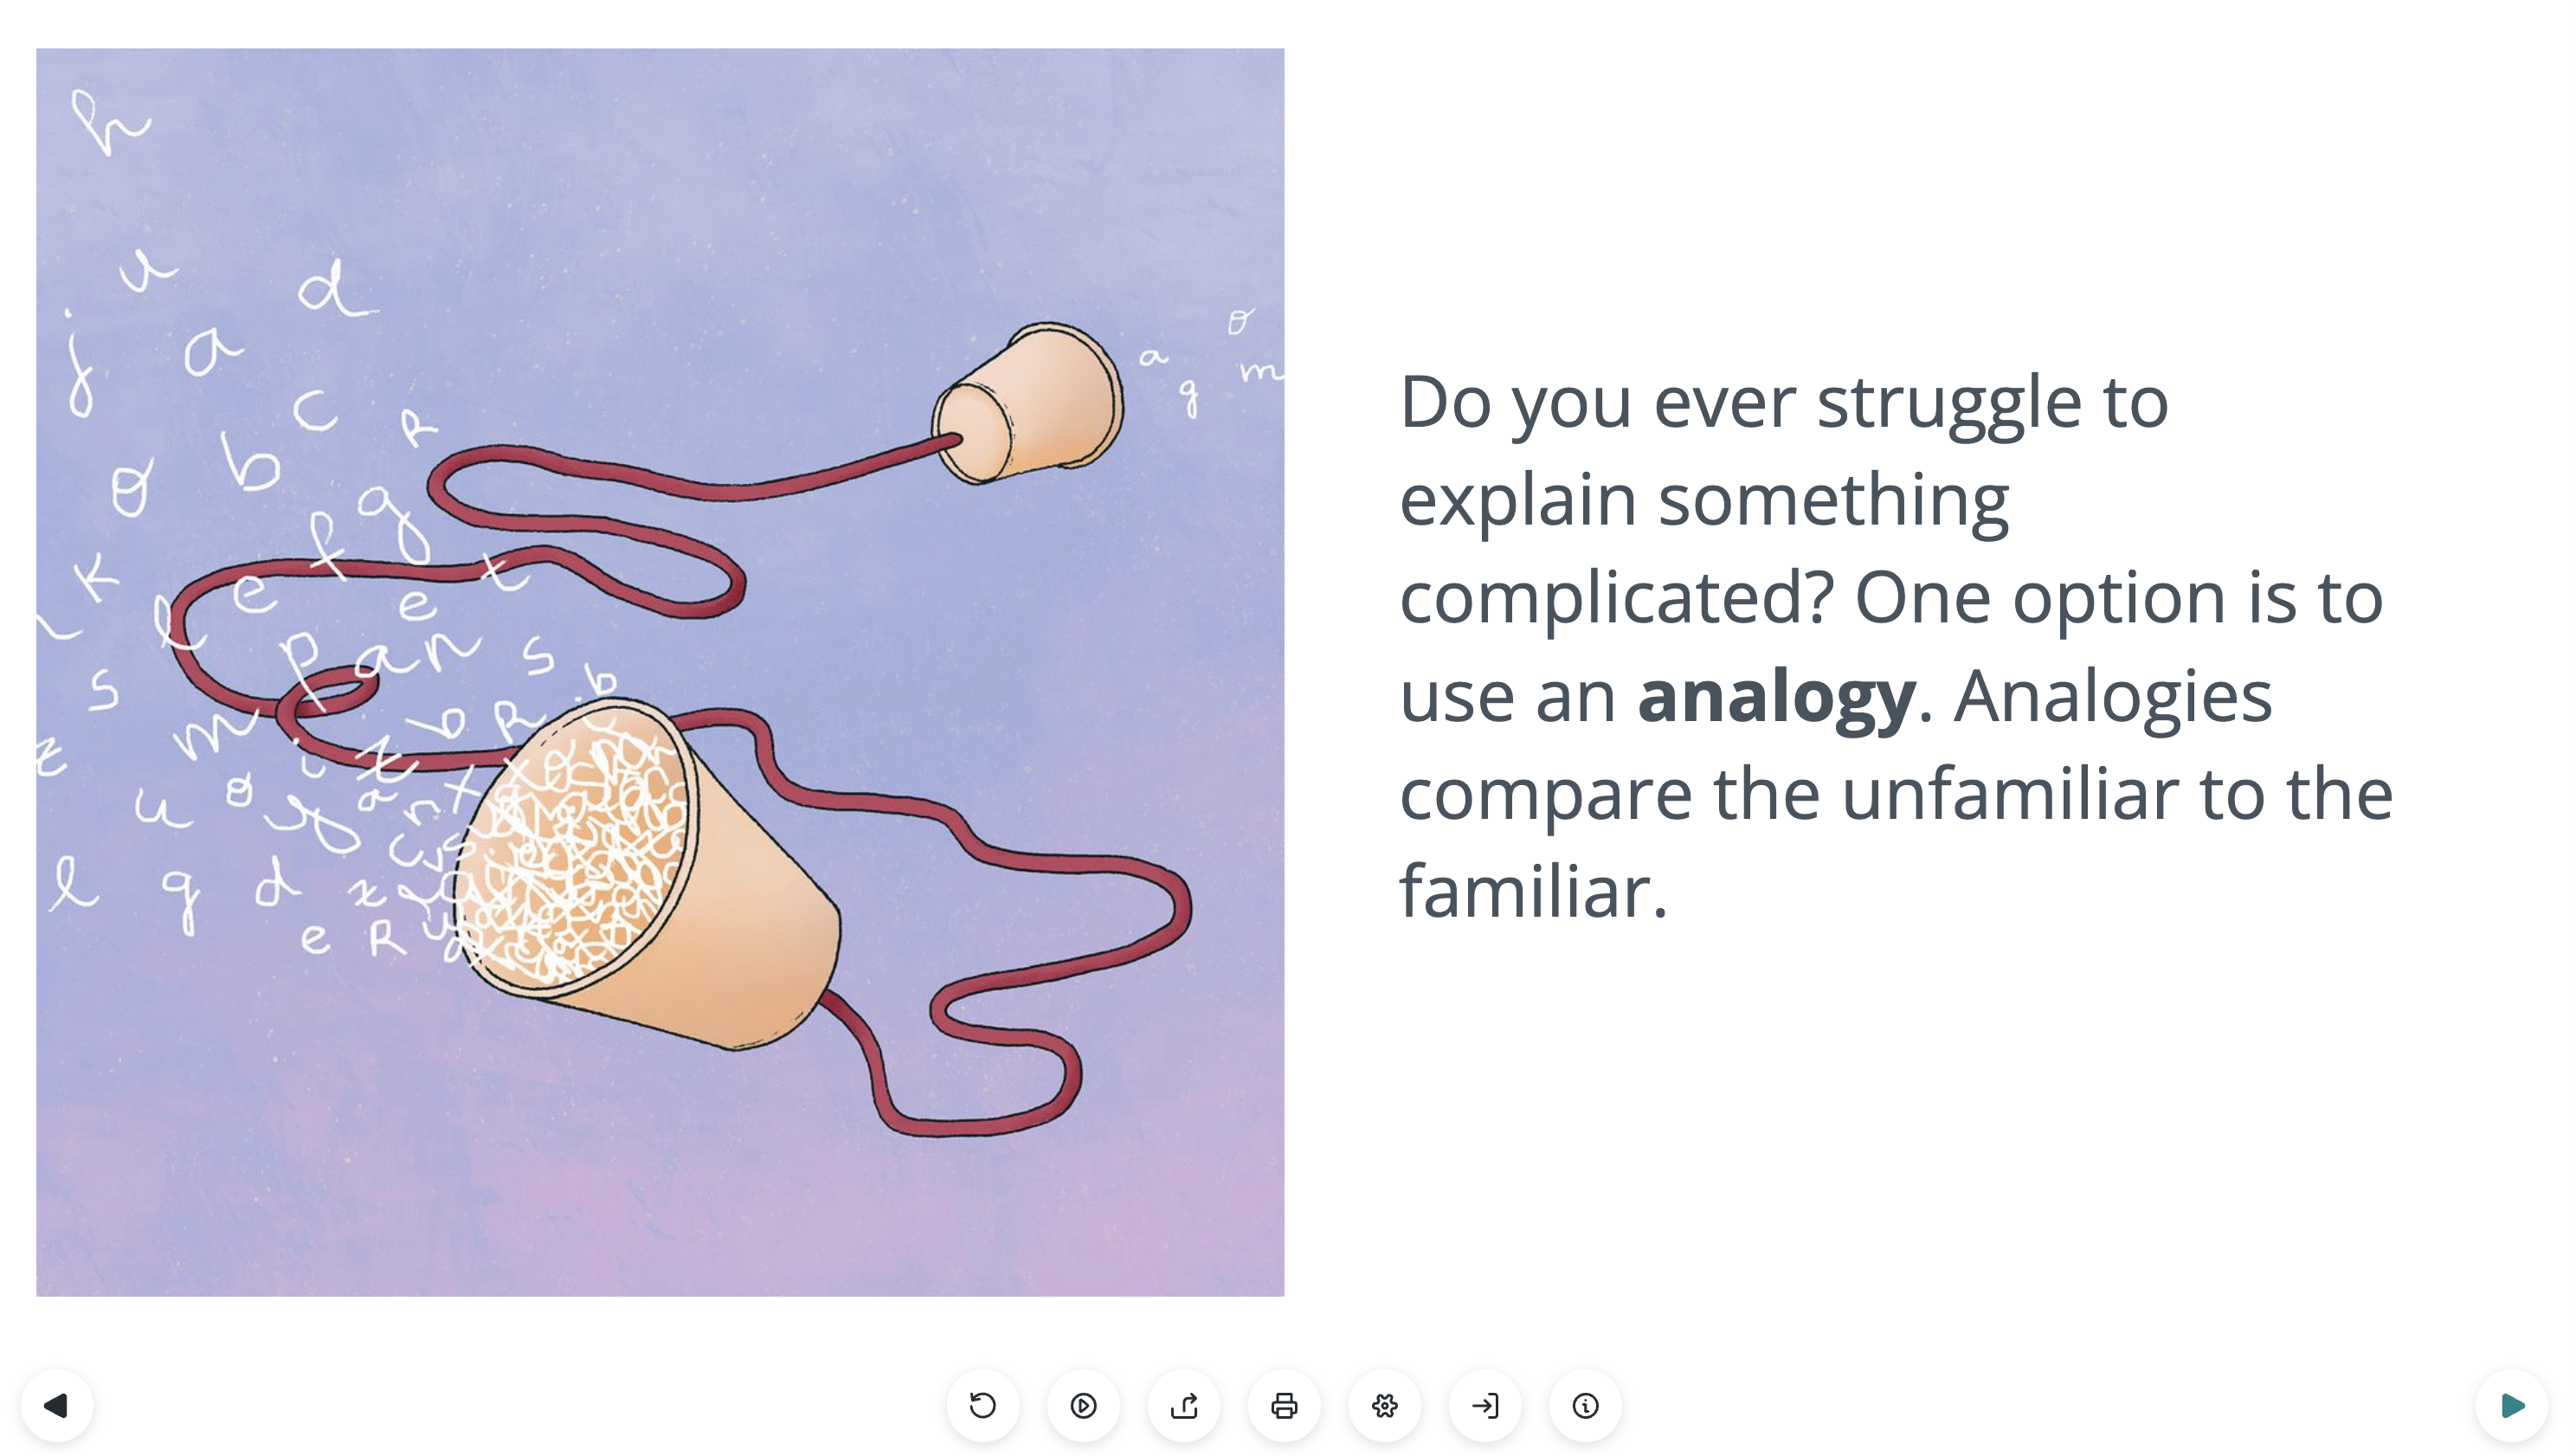
Introduce only one new term or concept per card.
One way to practice this is by bolding any scientific term (jargon) that you think an audience at a 6th-grade reading level might not completely understand. Now, make sure you only have one bold word, term or phrase per card! Also make sure you define this term in language that anyone could understand, or in a familiar analogy or metaphor.
If you notice that you are having to dedicate a lot of the cards in your course to simply defining new terms or jargon that you are introducing, you might be trying to cover too much in this course or including too much detail. Does your audience actually need all that detail, or would a general description of what is happening in everyday language or an analogy work just as well? Even a very educated audience is unlikely to remember more than a handful of new terms or concepts introduced in the span of a 30-card Lifeology course.

Consider the flow of information.
Lifeology cards can make a disjointed narrative or set of facts even more difficult to follow because we can only see one card at a time. Consider how each card connects to the one before and after it. Would a reader be able to anticipate, to some extent, what is coming on the next card? Would they be able to put these cards back in order if they were shuffled like a deck of cards? Is there some amount of repetition, shared language or storytelling from one card to the next that connects them?
Try to have a logical flow of information, whether that is a narrative, a chronological order of events, or an analogy or theme that works as a throughline (for example we could write a “how to” course that would liken a scientific process to baking a cake or making a quilt, with all the steps of the cake or quilt-making process serving as a familiar framework of ordering new and likely unfamiliar science information we are trying to impart.

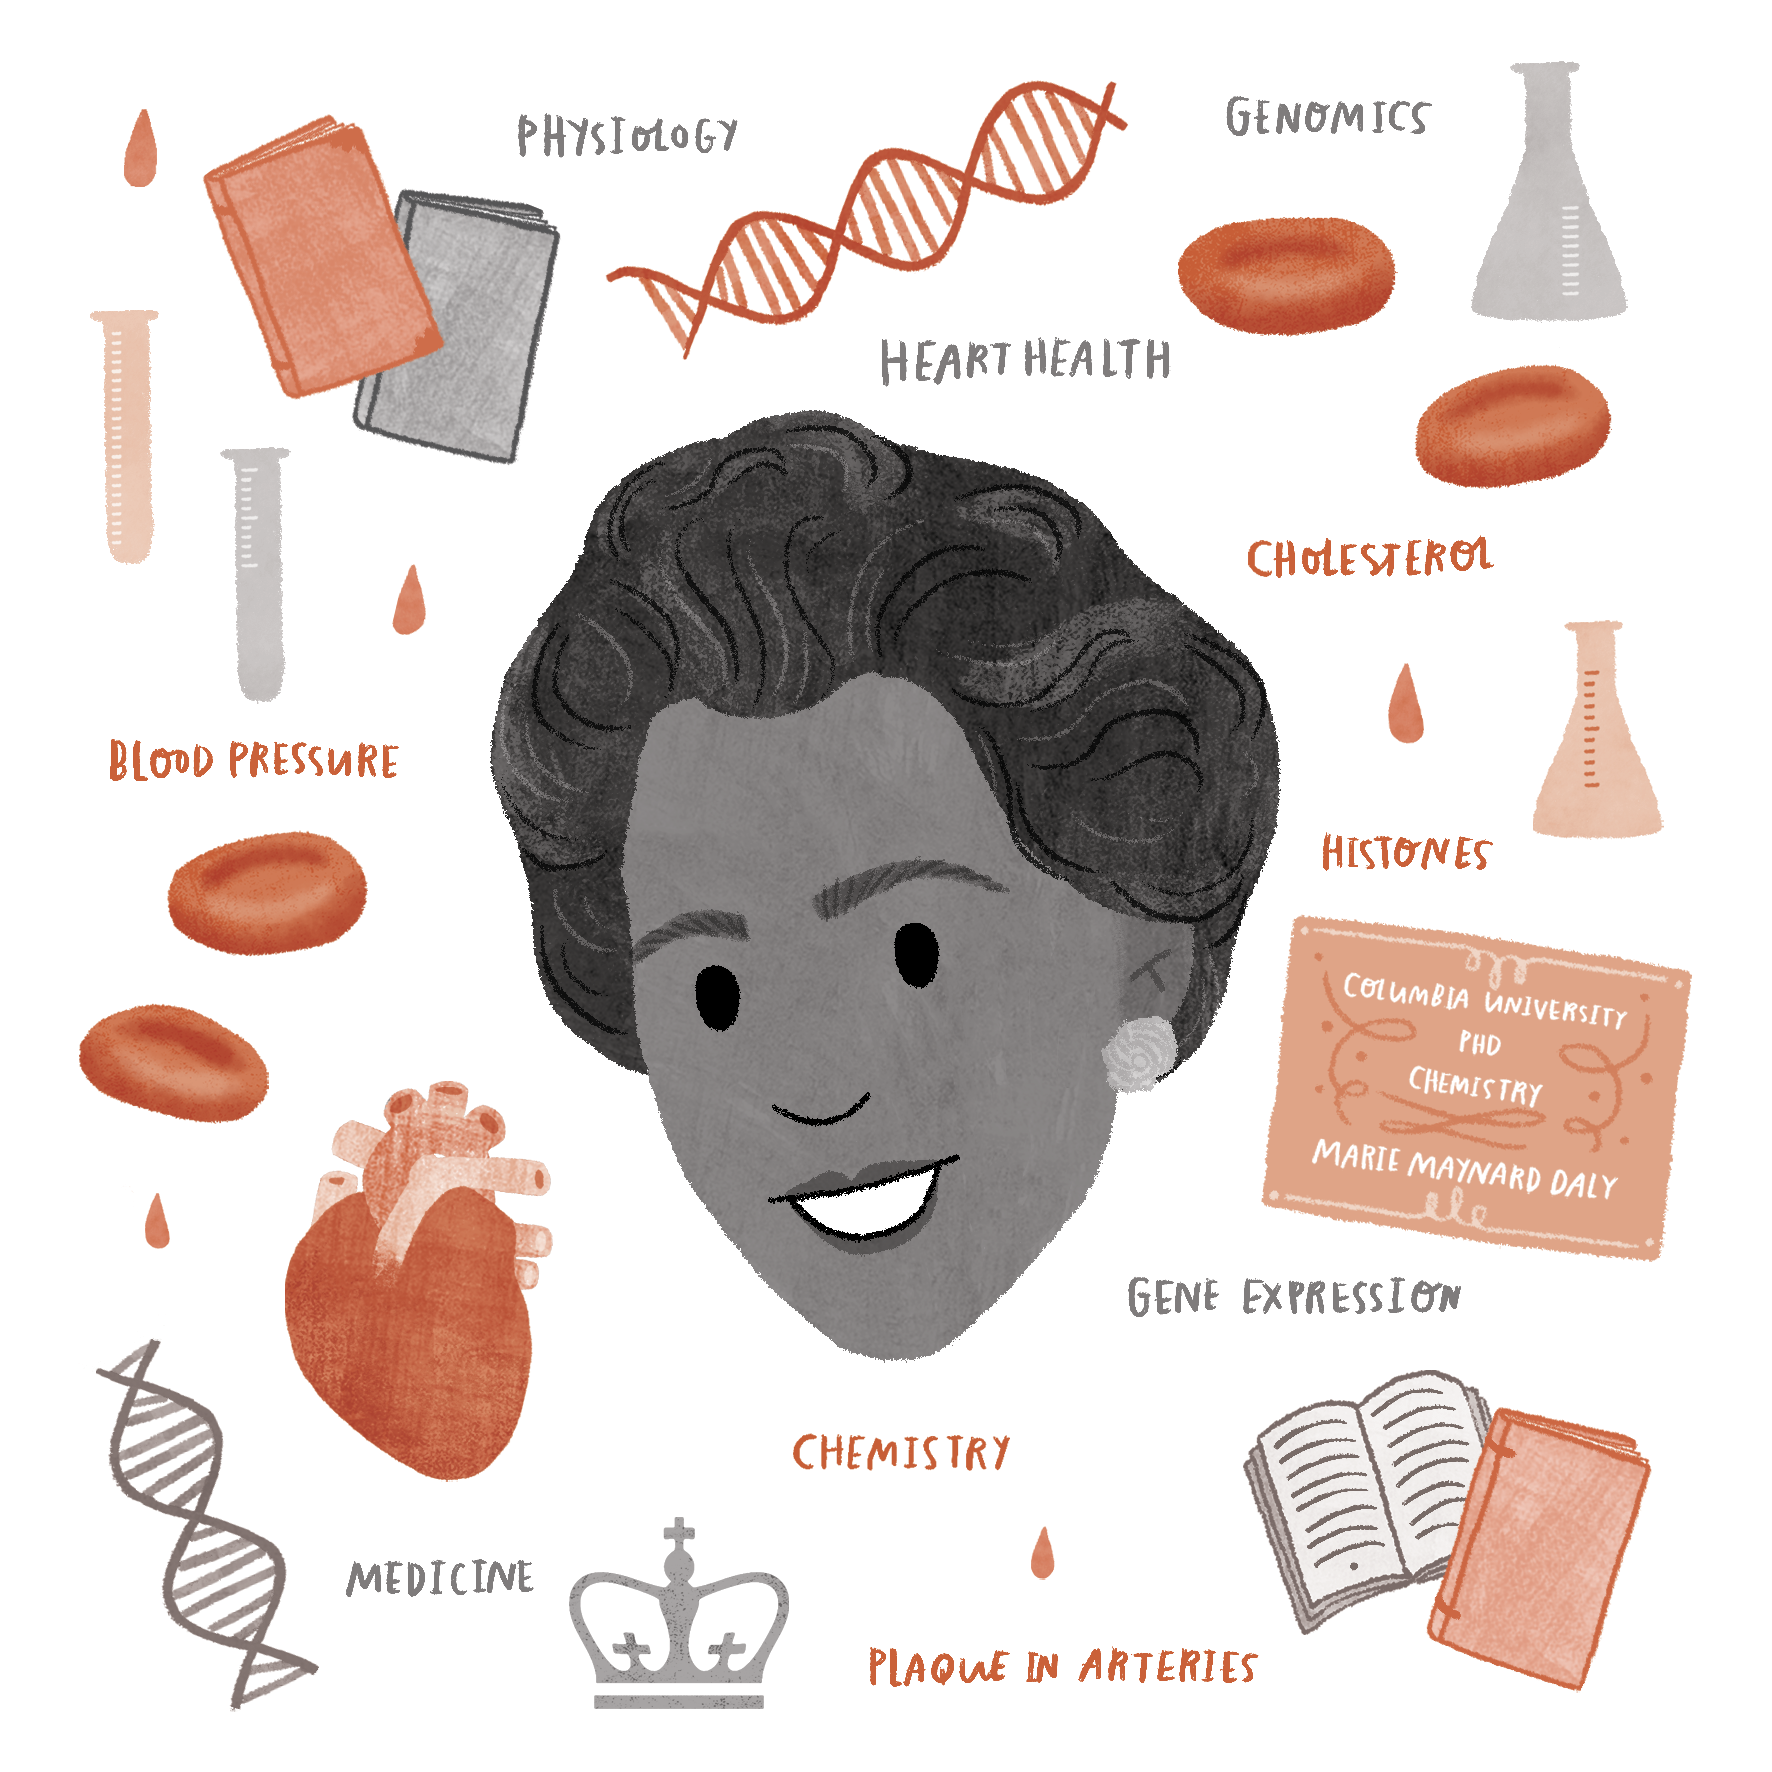
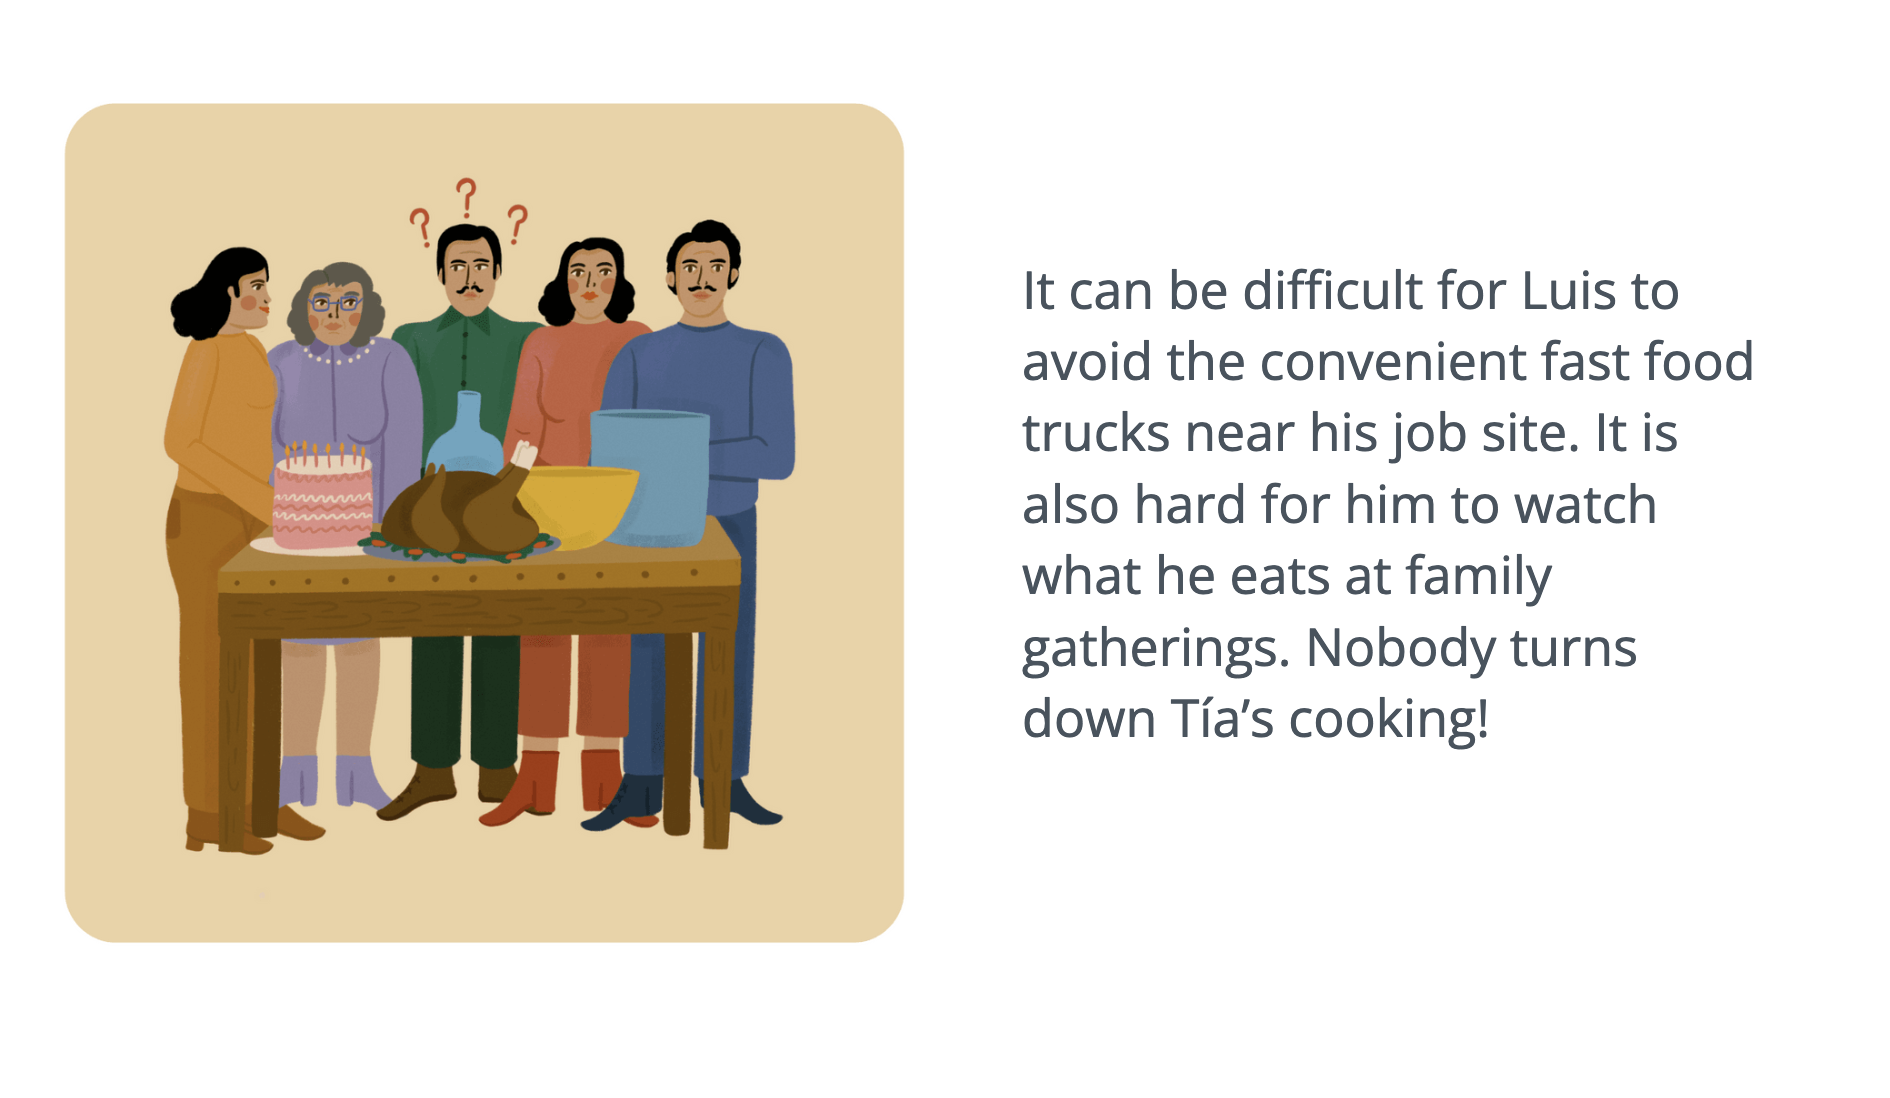
A visual by Abrian Curington for Lifeology SciComm course “How to tell a science story.”
Tell a story.
We relate better to and remember scientific information that is organized into a story. Storytelling helps the audience see themselves reflected in the work. We can empathize with narratives, characters and their emotions.
Try to organize your Lifeology course into an overarching story or narrative arc! If you are struggling to tell a story, it helps to think of story details like scenery, characters, emotions, barriers, a “big problem”, action, changes of perspective, resolution and lessons learned. You don’t have to have human characters, either – the characters in your story could be animals, cells, molecules!
You can also put a story arc in place by trying to make sure that your course has a beginning, a middle and an end. At the beginning, you might set the scene with characters facing a problem or struggle that anyone could relate to. In the middle is where action happens and we (or better yet our characters!) discover things we didn’t know before, things that shift our perspective. At the end, you might solve a mystery, recap what we’ve learned, provide a call to action, or answer a question posed at the beginning of the course.
Each card should advance your story or plot!
No matter how interesting that scientific detail, fact or process seems to you, if it is a “tangent” or side plot from the journey of your main character or your key message – cut it.
Keep your sentences short and sweet.
One easy way to identify a sentence that might be too long, and thus confusing, is to look for commas! Are you having to use more than 2-3 commas in a sentence? It might be too long and complex. Look for ways to simplify and shorten your sentences. (Serial commas between words in a list aren’t as much of an issue, but try to minimize those as well.) Also try to vary the length and complexity of your sentences. A super short and strong action sentence can serve to “jolt” people back to attention between long descriptive sentences!
To keep your writing short and snappy and interesting, also use active voice. This makes it easy for readers to identify who is doing the action of the sentence, and also makes sentences shorter and easier to read and understand. For example, say “researchers created a new string of DNA” instead of “a new string of DNA was created…”

Make it personal.
Think about why YOU think this topic or scientific concept is interesting, or why you care about it. Even if you aren’t writing your course in the first person, you can still let your passion for what you are writing about shine through by dedicating a few cards to its importance or significance in your eyes. Include details, analogies, examples or stories that helped YOU better understand this scientific topic or concept, or that struck you personally in some way.
Show and tell.
Every Lifeology course is designed to be visual! With a visual on each card, a Lifeology course imparts as much insight visually as it does via text! When you write your card text, think about how the visual on each card will contribute to the viewers’ learning experience or enjoyment of the material. Let the visual on each card complement the text, not simply repeat the same concept visually. Consider where you could cut text and let the visual “show” it instead.
To do this better, create a storyboard for your course once you’ve outlined it or written a first draft. A storyboard is like a sketch and text script for a movie or a comic book. Think of your favorite movie or comic book – the script might provide a cue such as “character looks into their coffee cup in disgust” along with a sketch of what the visual will look like. The comic book text or movie narration wouldn’t also need to have the character saying “this is disgusting!” Instead, the text could further advance the plot in the context of the visual – “How did that get there?!” or “If I wanted to chew my breakfast I would have ordered a muffin with my coffee!” You can probably think of better examples here, but you probably get the jist – your text can advance the story in ways that the visual doesn’t show, and the visual can advance the story in ways the text doesn’t have to say!
Let a Lifeology card visual show what the text doesn’t say, and the card text say what the visual doesn’t show.
Using existing visuals rather than making your own or working with an artist? We recommend using square (1-1) visuals for your Lifeology cards, at a resolution of at least 1000×1000 pixels (pngs are better than jpgs). Be sure that you are using images that have been published under a Creative Commons or Public Domain license by their creators or publishers. Find images you can use with attribution on Wikimedia, Unsplash, and .Gov sites and sources.

An example storyboard.
Collaborate.
The best science writing is usually a team effort! Writers, editors, fact-checkers and sources all contribute to the final product. Lifeology courses are even more of a collaborative effort, involving artists and often audience reviewers.
Even if you don’t have funding to compensate a professional copy-editor or artist to help you produce your Lifeology course, you can make your course better through collaboration – with friends and family! Ask colleagues, friends or family members to read through your Lifeology course script or look over your storyboard and give you feedback. Does everything in the script make sense? Did they get “lost” or confused or bored anywhere? Did the course leave them with any unanswered questions? Were the characters, examples or stories relatable? Would they change the flow of the information? Getting this kind of feedback is invaluable! Listen in order to edit your course and make it better.