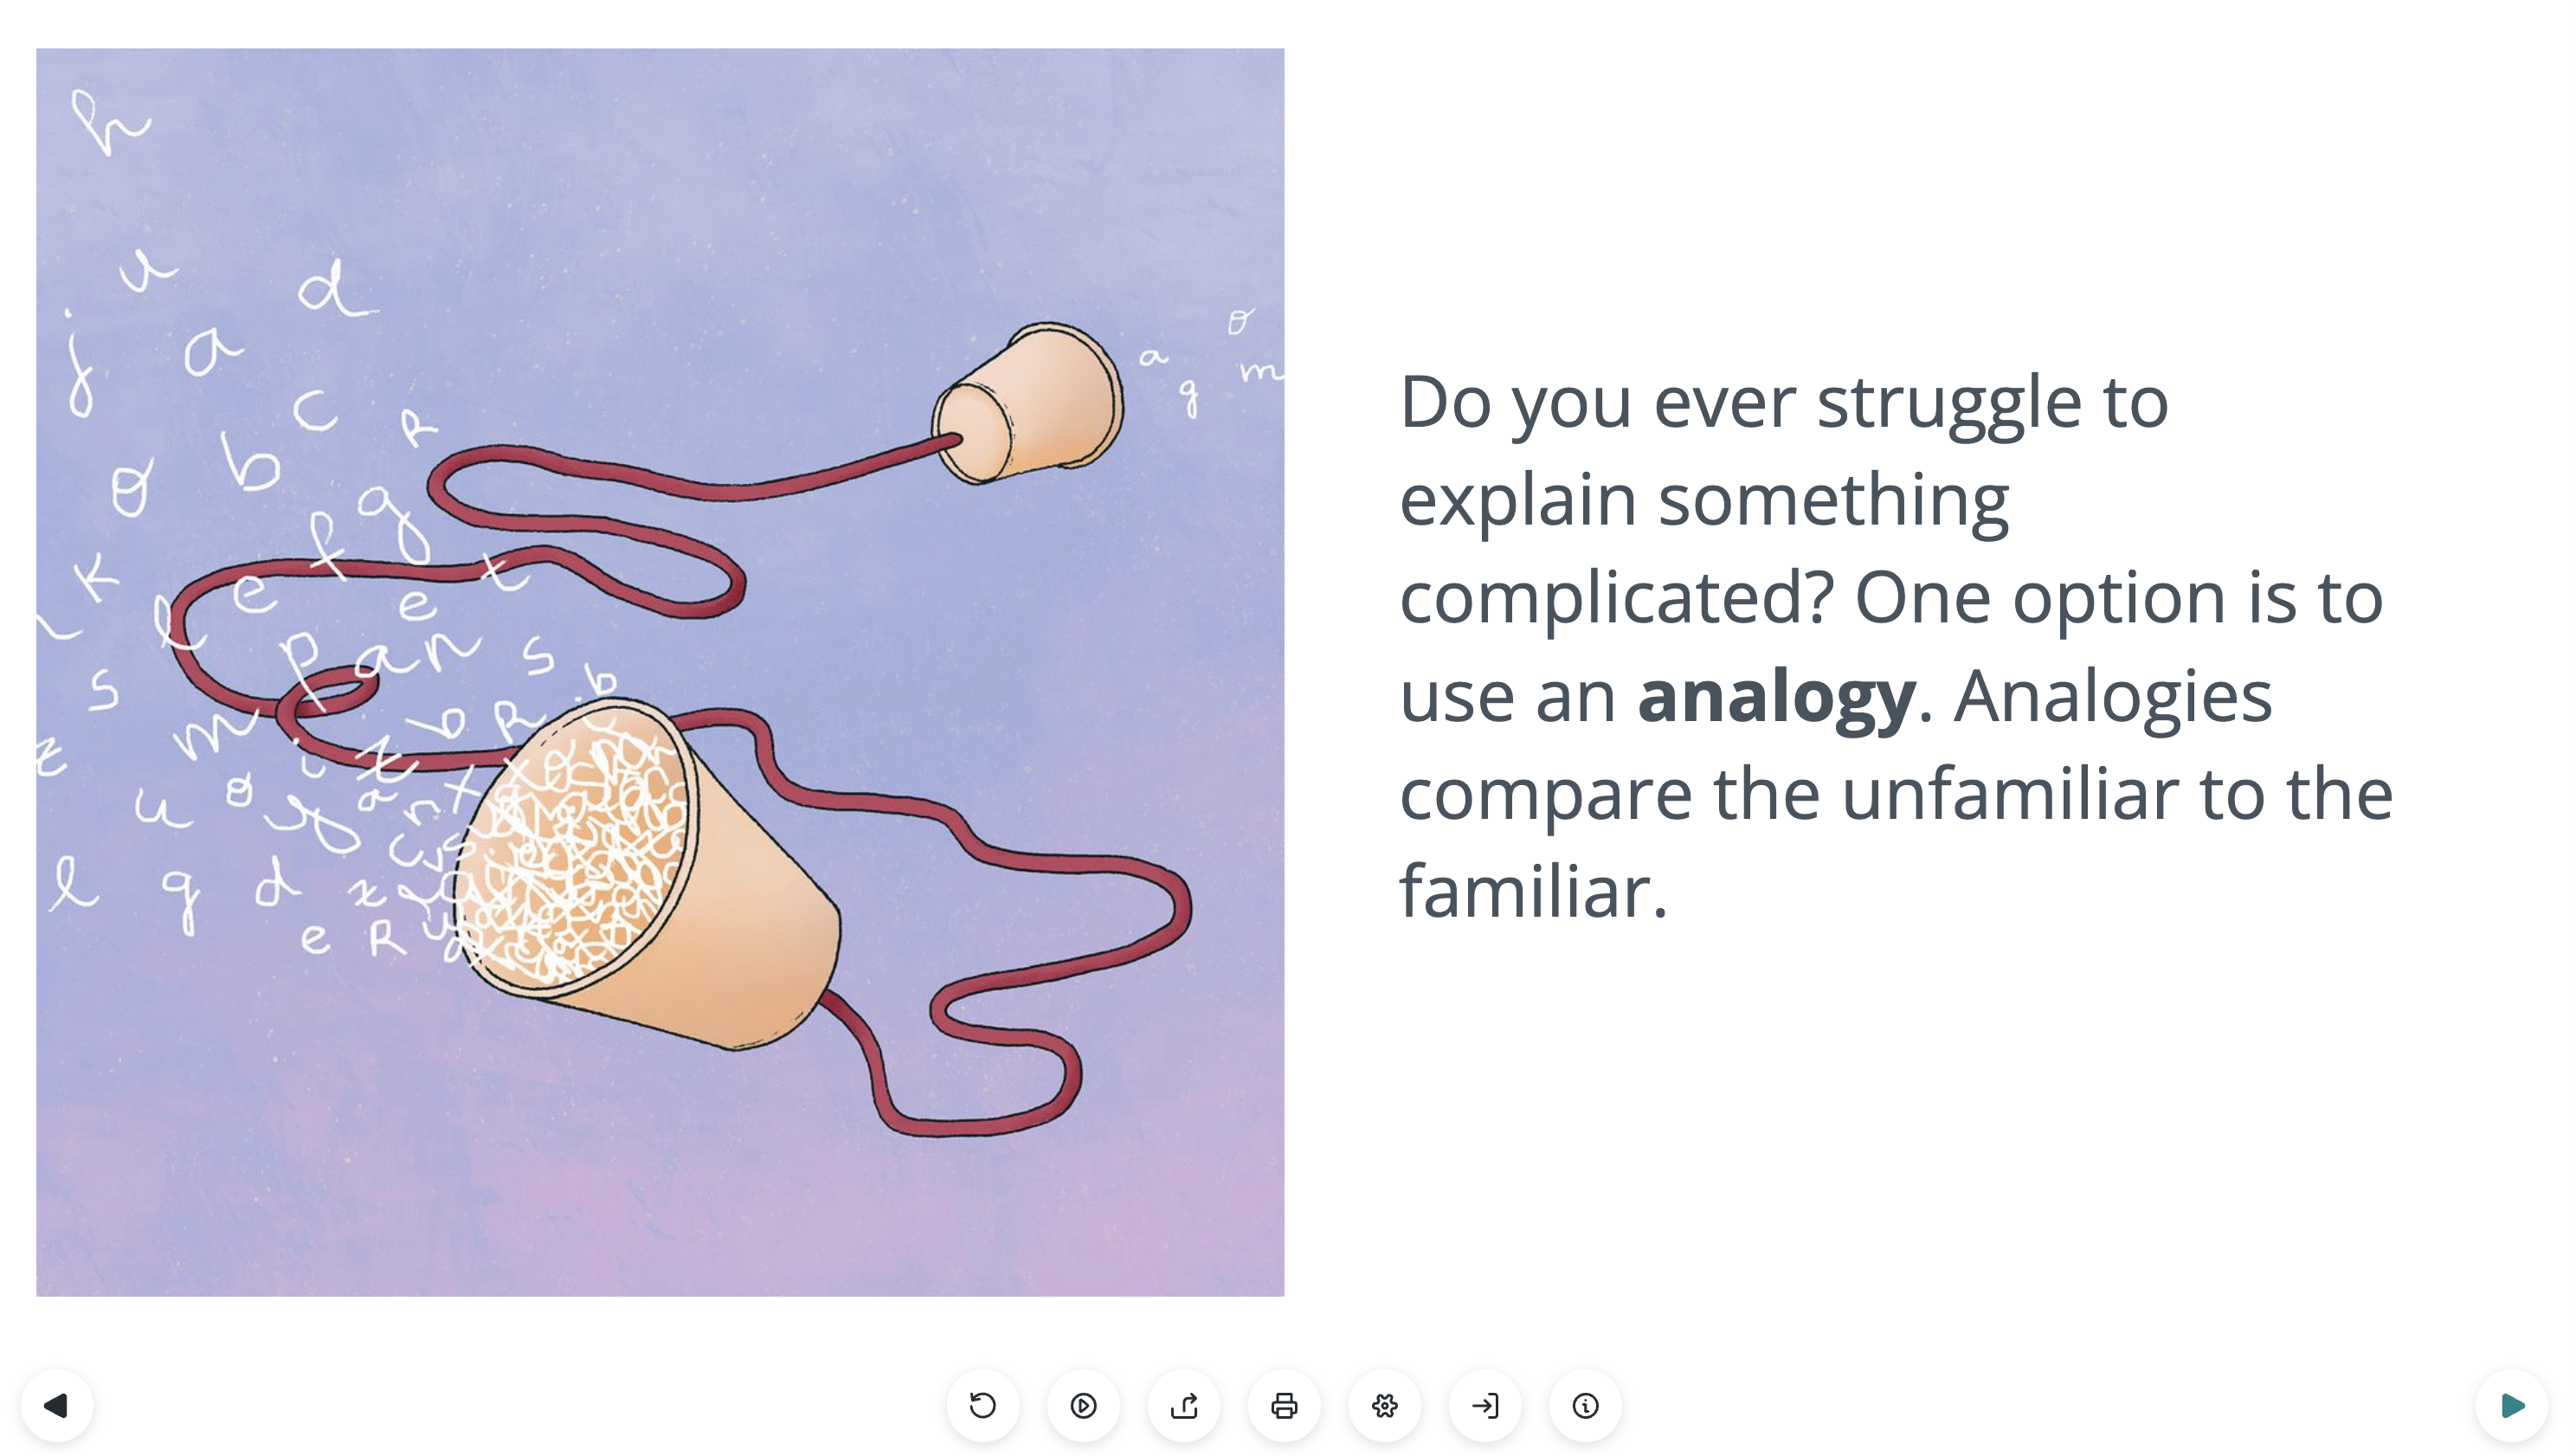
Are you a science professional thinking about working with an artist, but you don’t know where to start? Here I break down the working process of science-art collaborations from start to finish, with tips and tools that you can apply to a range of projects.

From this…

To this!
Science-Art collaboration from start to finish
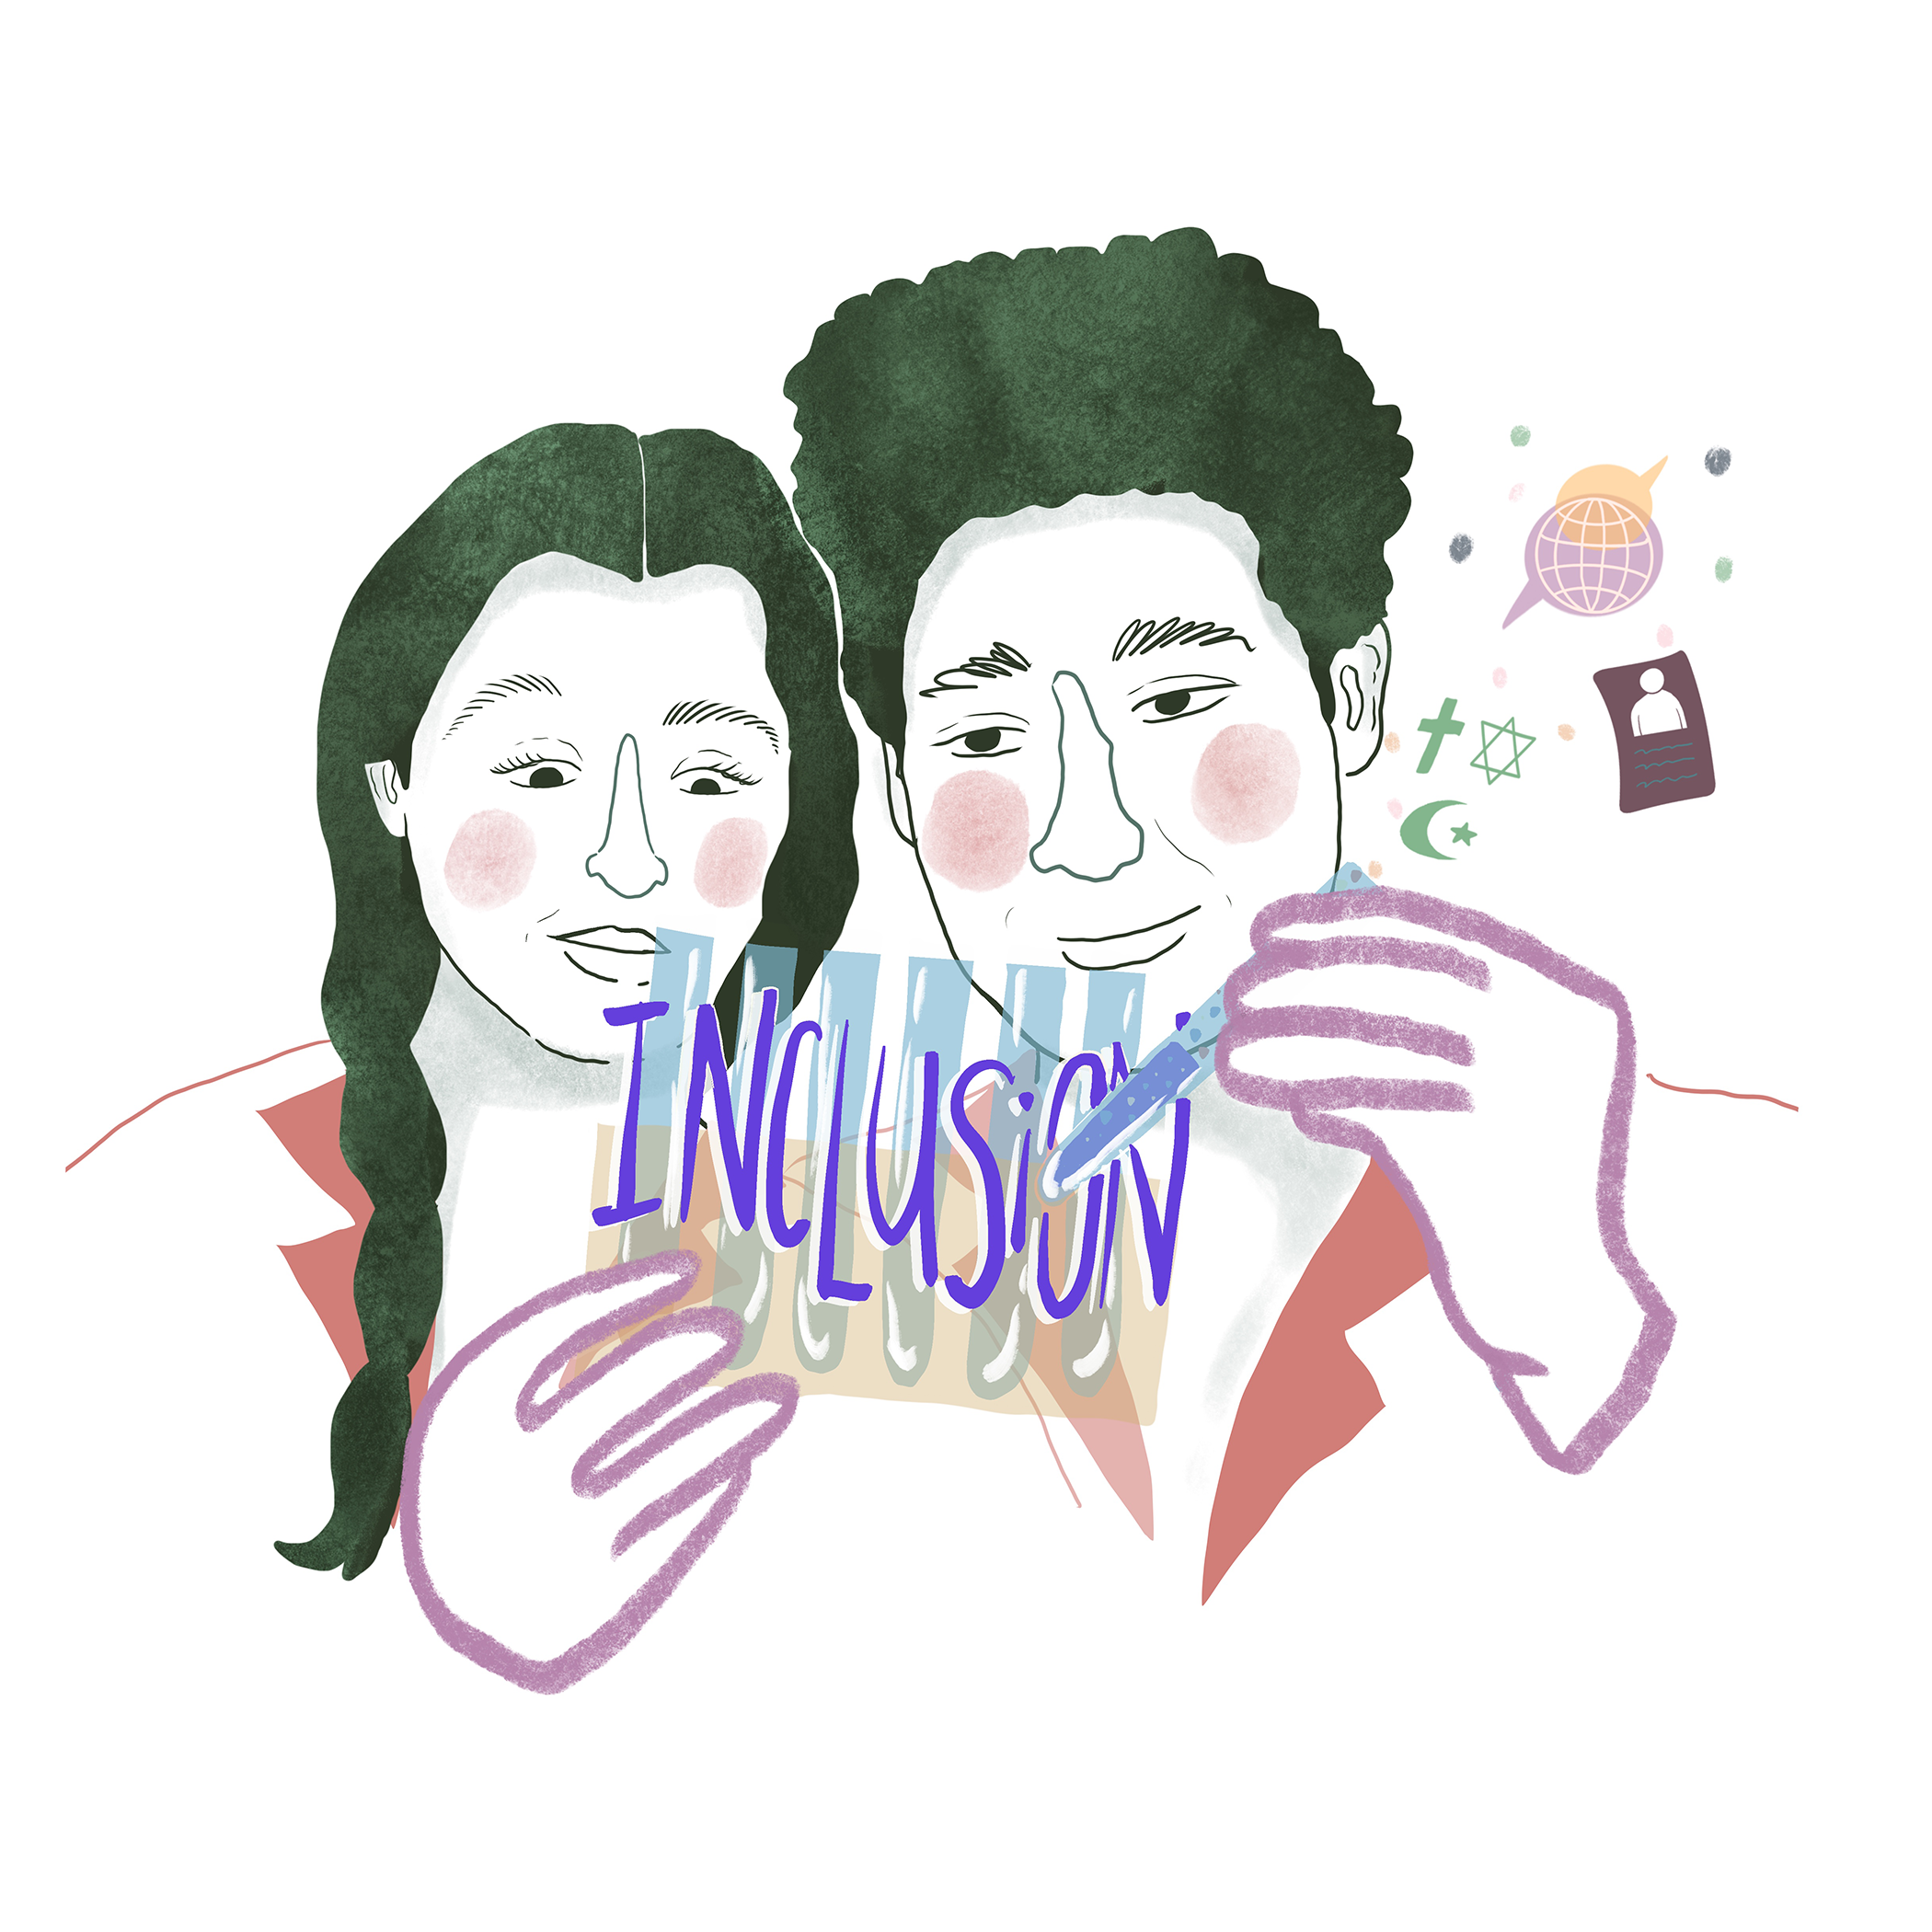
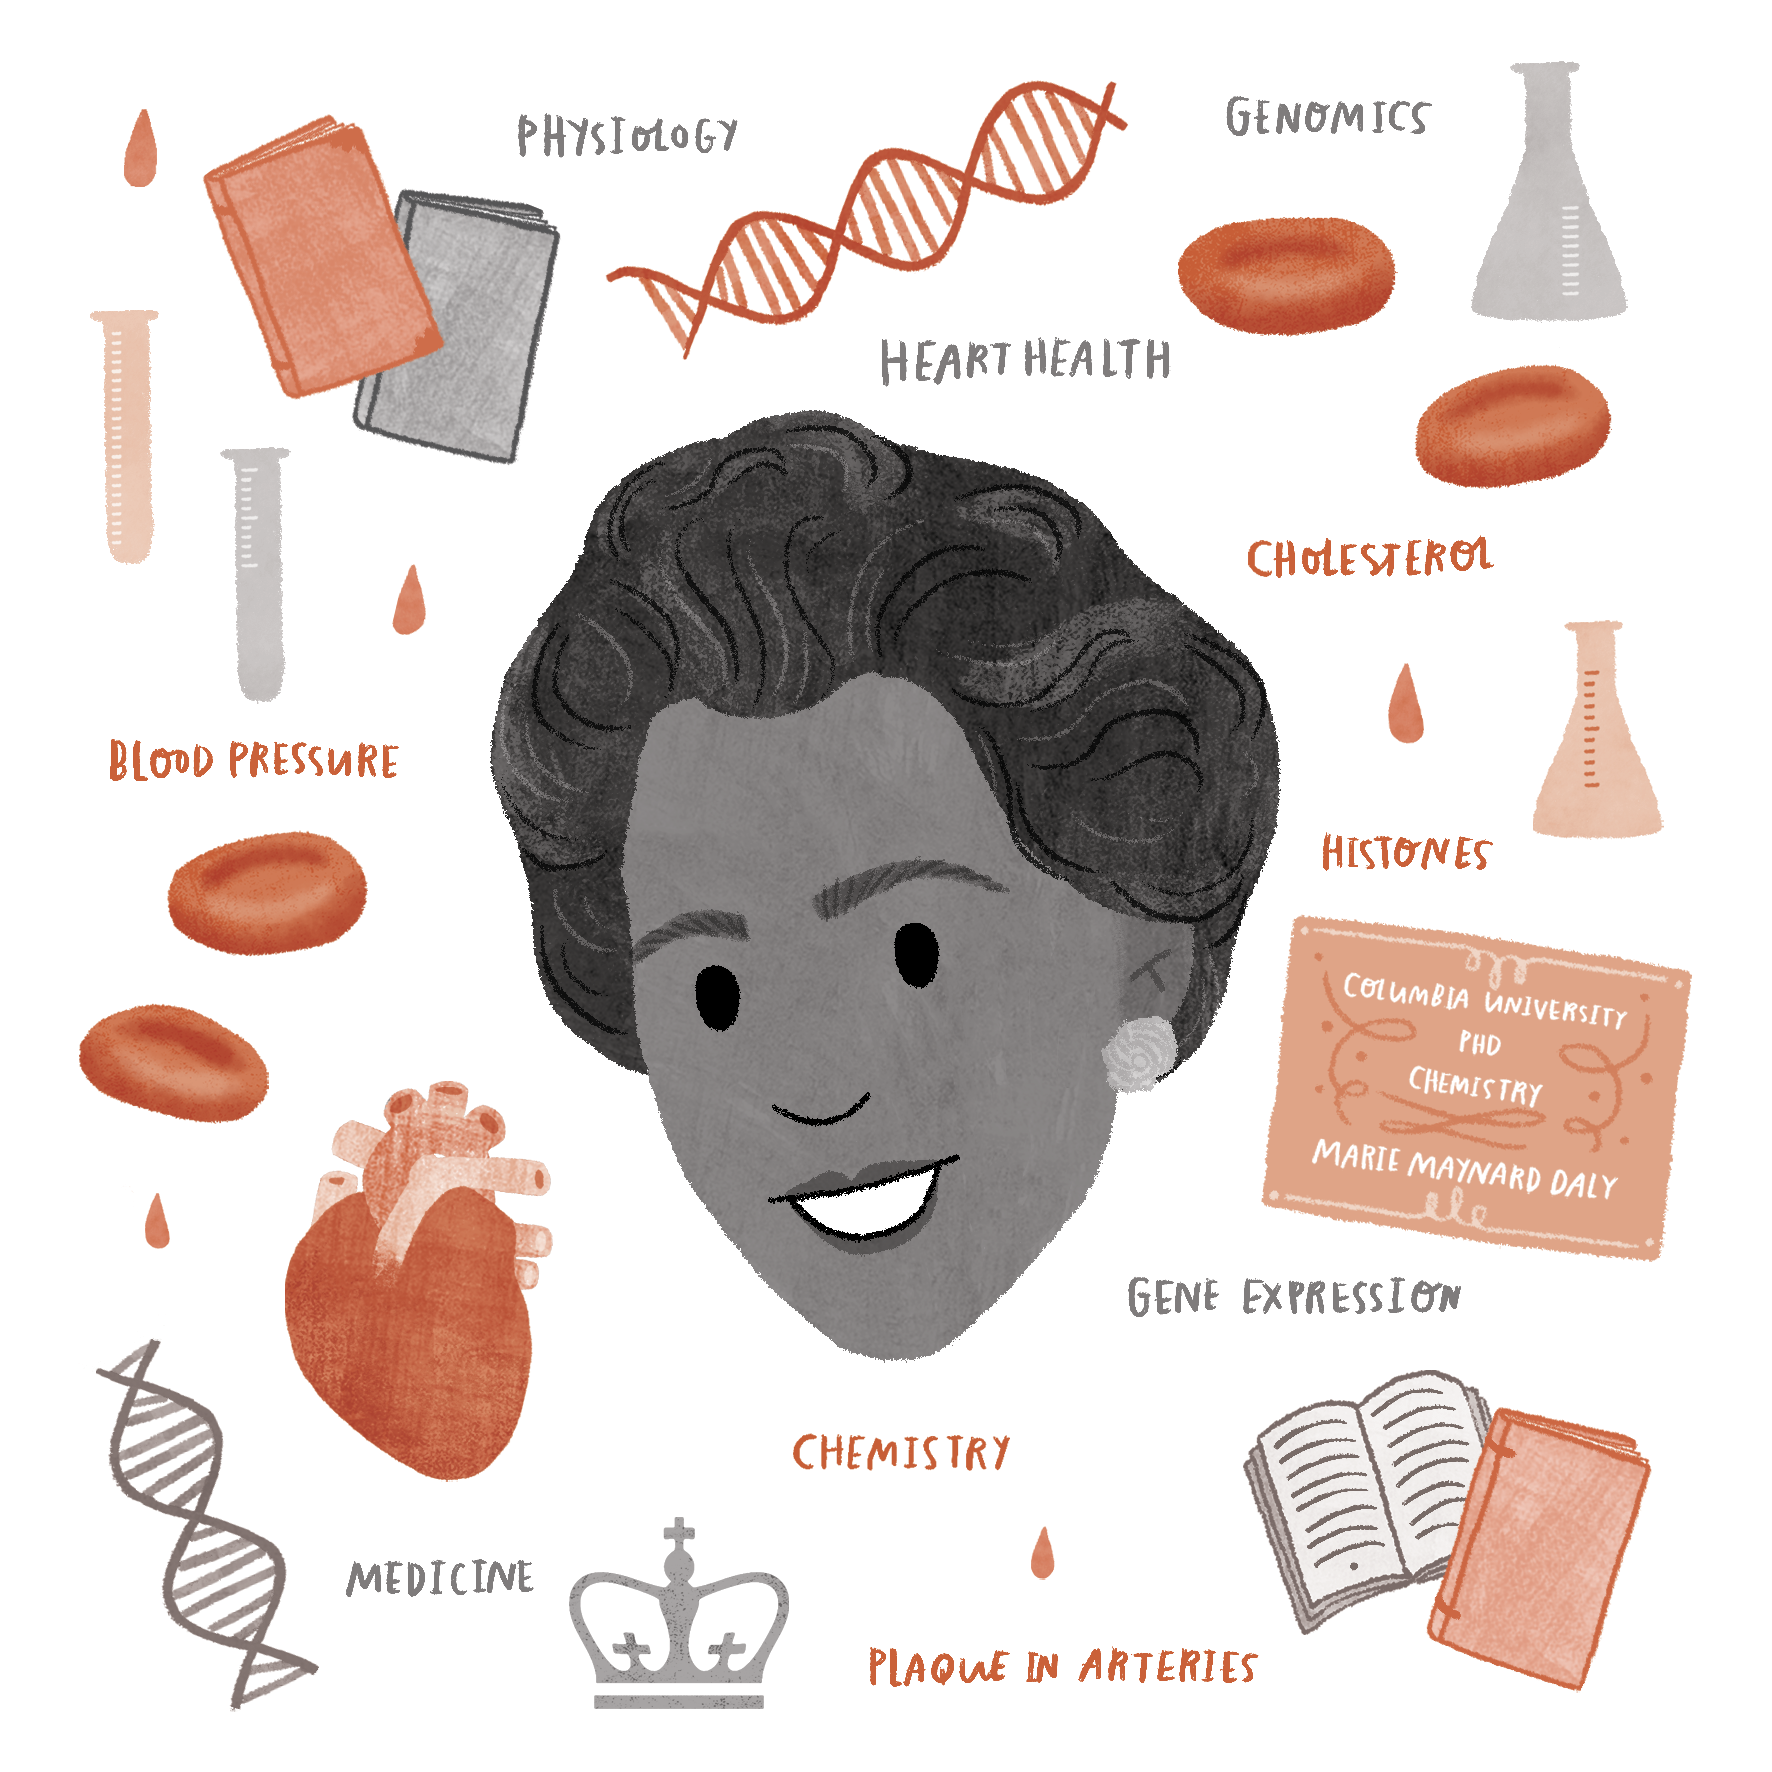
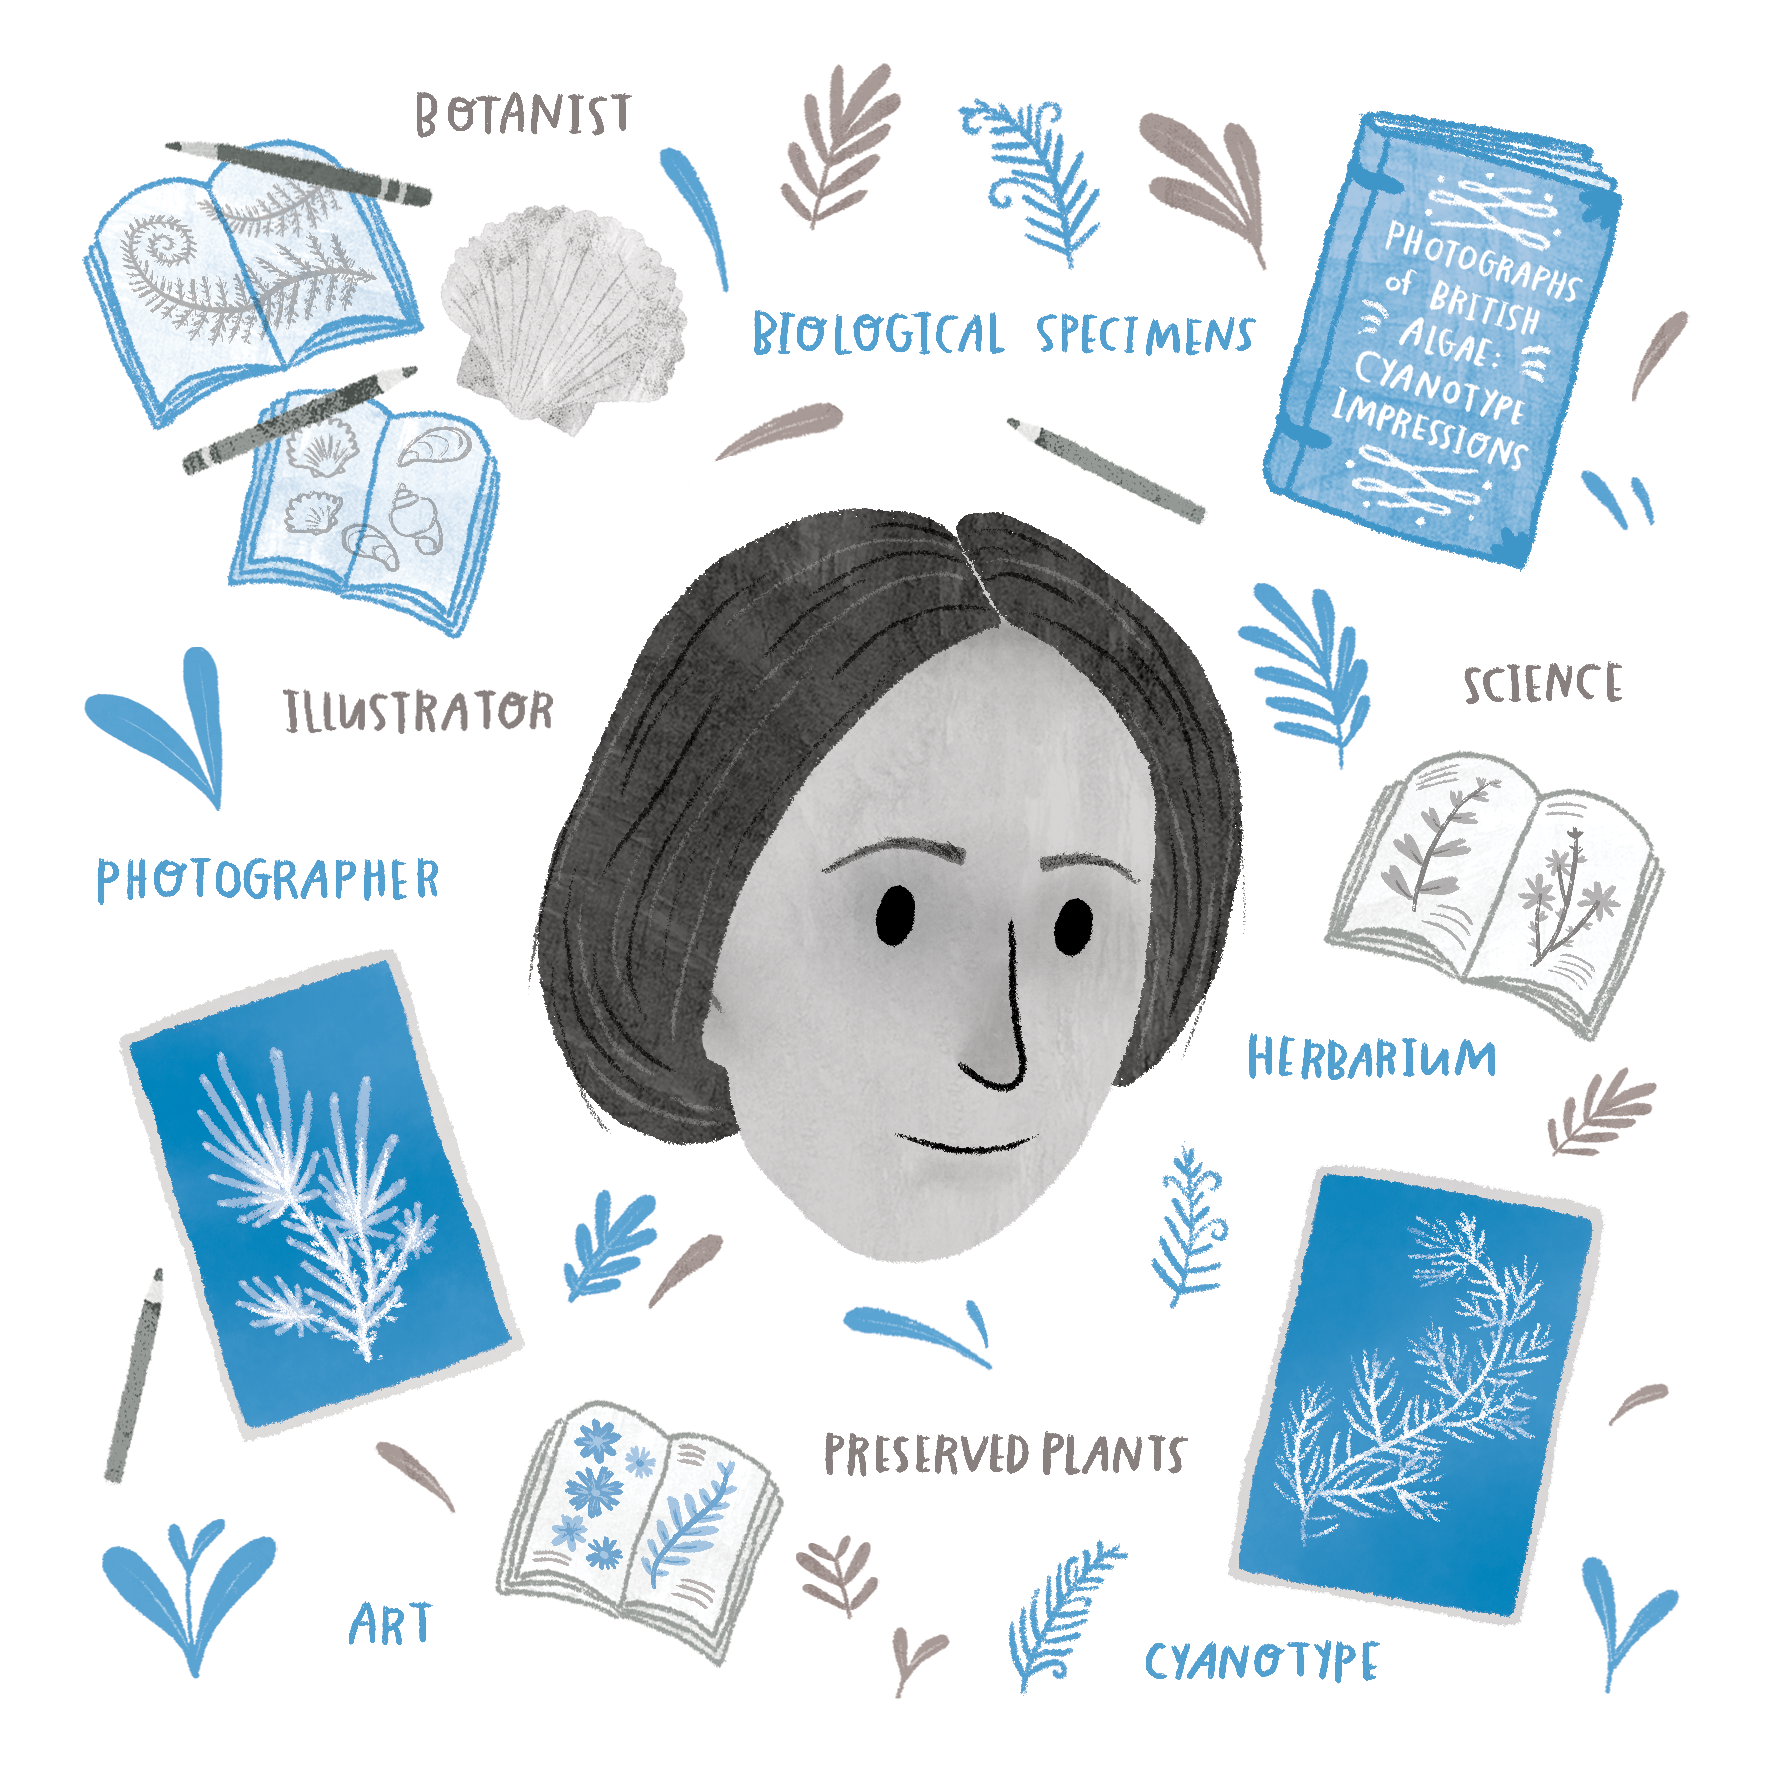
Collaboration between science and art (and scientists and artists) has been around for a long time and is becoming more and more common. We see art applied in many places including education, healthcare services and academic publishing, and in many forms such as illustrations, infographics, animations and more. Art is often applied to science to reach broader audiences and make science more accessible. A well-designed science-art product can help engage specific groups and effectively communicate your science stories.
You might be a scientist looking to create a graphical figure about your research to peers. You might be a medical doctor who needs handouts for your patients to help them understand their conditions. You might be a science teacher looking to provide more engaging learning materials. Or you might be a researcher looking to tell engaging visual stories about basic science. Creating these materials can be time-consuming and require a different set of skills than you are used to. That’s why it’s a good idea to work with artists!
Here I’ll be sharing my experience working as an artist with science professionals including scientists, educators, publishers and science communicators, on creating visuals to communicate science to various audiences and breaking down the collaboration process in a broad sense. You can apply these learnings to a range of projects.
The Basics
Very often, I am approached by scientists or clients with two main questions – how long will it take and how much will it cost. The working timeline and pricing depend highly on how complex the work is and it turns out that these are also the two major concerns for artists when considering whether they are available for a project or not. In order to get you both the answers, you (ask the scientist or expert) can start by providing the initial details of your project to the artist. Below is a simple checklist of what you might include in your first email with an artist to figure out the working time and fees.
The Project Brief – Give the artist a project brief to get an estimated working timeline and a quote. Try to provide the following information to the artist in your brief, in clear and simple words:
- Your message(s) or key things you want to communicate
- Your audience
- The purpose
- A potential medium, if you have one in mind
Your Message
For every communication piece, there’s probably a message you want to send or a key takeaway that you want people to walk away with. Make sure you have a clear take-home message to deliver and stick to it. Explain this message briefly in plain language to the artist and make sure you are both on the same page of understanding what the focus is.
When you have a straightforward message or have a clear idea of what you need, it’s easier for you to provide reference materials to the artist. You can provide quick sketches or a draft made of simple shapes created in PowerPoint. Provide example images to show the artist the essential elements you definitely want to include and to indicate the level of detail or art style you are looking for. (However, it is ok to talk to the artist about art styles that might best fit the project based on their expertise!)
The top priority here is to get your message across to the artist so that they can fully translate that message into visuals with their skills and craft the best design for that message. Artists are not here to just copy your drafts and furnish them, but they also make decisions on the layout, colour, art style and other visual aesthetics and details. So don’t worry about making your drafts perfect at this stage. The material you provide is to give the artist an idea of what you have in mind. However, it’s also ok if you don’t have strong ideas about the layout or art style at this stage. Again, just make sure that you make your message clear, ask for the artist’s advice for designs and stay open to suggestions.
Your audience
The next thing is to be clear about who you are sending this message to. This might be your professional peers, the general public, children, or patients. Just like when talking to different groups you are likely to use different words or speak in different tones, it’s the same with images – different designs appeal to different audiences. Mention your audience to give the artist a rough direction of the project which also helps to estimate the workload.
Your medium
Are you using the artwork for academic publication? Are you creating prints? Do you want to share them on social media?
Make a list of the main purposes and potential future uses. For example, if the main purpose of your image is for academic publishing, you might also want to use it in your slides at talks or share them online later. Make sure you address these possibilities to the artist for them to suggest the best formats of the artwork for you. On a side note, many journals provide guidelines on publishing images, or your organization might have design assets with file sizes, typeface, colour palettes to follow. These guideline details don’t have to be in your first email but remember to inform the artist of any set format you need to follow when you start.
Also, ask about
- Working process
- The contract
- Deposit or upfront payment
- Payment methods
Different artists work differently and have different payment terms. Some artists like myself would brief clients with these details along with my quote in my first reply. But you can ask about these things first to get an idea of what to expect next if you move forward with a particular artist.
The Contract
A contract or agreement is there to protect both of your and the artist’s rights. Mostly, to make sure you will receive the artwork as requested on time and that the artist will also be paid on time as well as protecting their copyrights. Most artists have their own agreement template where they can work out term details to tailor to your project. Just like their working process, contract terms differ from artist to artist, so ask about the contract and give it a read to know what to expect. You can find more details on contracts in another Lifeology blog post here.
Deposit or upfront payment
Again, the type of pre-payment each artist takes is different. Some take a 30% deposit, some 50% and some prefer full prepayment. Ask about this so that you know when you are expected to make payments. These terms would, of course, be written in the contract and the artist would only start the work when prepayments are complete. Prepayment is showing commitment on both sides and marking the start of a project.
Payment methods
As collaborations get more and more international and internet-based, many artists use online payment platforms like Paypal or Transferwise to receive payment. These platforms are usually very easy to use and open to all users without requirements to sign up for an account. Ask about what platforms the artist uses and work out if those tools are available to you.
Getting Started!
After you have signed a contract and made your prepayments to the artist, you can both get started! Remember that during the working process you will (ideally) be involved in checking things and communicating back and forth with the artist. To save you both time, be responsive and organize your feedback into one email reply. If you are working as a group with colleagues, organize collective opinions and have just one person as the point of contact with the artist. Be mindful of the project deadline and save time for revisions or last-minute changes.
Working Process
Every artist works differently, but most of the time we start by creating a draft according to the information you provided. This might include rough outline sketches without colour. The purpose is to give you a sense of the direction, layout or overall style of the artwork and for you to confirm before the artist moves on.
My own process usually starts with creating an outline draft following the details my clients provided. I will ask them to check the layout and accuracy of the draft and move on to create a more complete coloured version according to their feedback. Usually, 80% of the artwork is complete at this stage and we only work on minor changes to reach the final version. I offer two rounds of revisions and we rarely exceed that. One key to accomplishing a smooth process is to make definite decisions, stick to them and communicate them clearly as early as possible.
The draft stage would be the best time for you to suggest any major changes to the artwork. Making changes becomes more difficult and time-consuming later in the process, so make sure you speak out at this stage.
After getting feedback from a client on the draft, an artist may create a more complete coloured and styled first version. Next, depending on how many rounds of revisions your artist offers, you can ask for minor changes and make final checks from this stage on.
Below are some examples from my previous projects showing how a project evolved from my client’s brief to the final work.

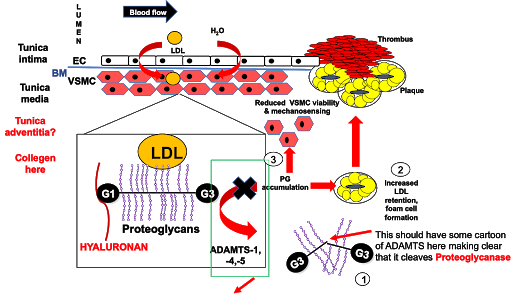
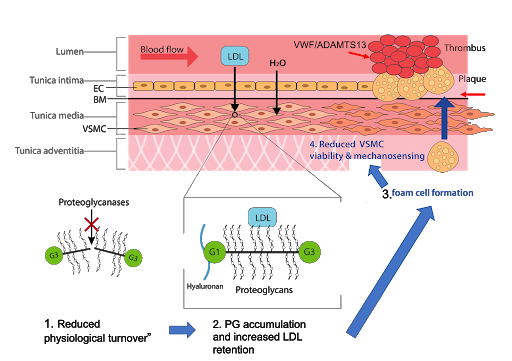
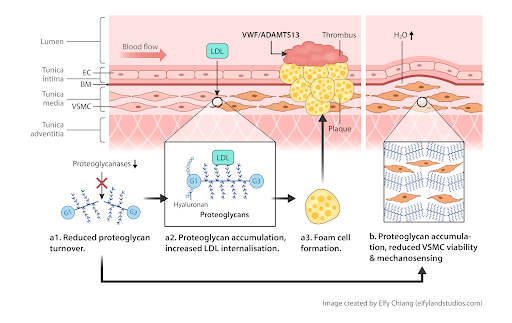
This is the making of a graphical figure published in the American Journal of Respiratory and Critical Care Medicine. This is a simple sketch provided by my client where they show they needed a human figure in the center with injured lungs and boxes expanding from the human outline with more details related to their research.

This is the final graphic with changes incorporated after the client reviewed the first draft. The client provide some feedback on small things – like having a simpler “fire” icon instead of a fireplace with fire and smoke, and other small technical detail changes.
This is the making of a graphical abstract published in Open Biology by The Royal Society publishing. Below you can see the progress from the client’s sketch in Powerpoint, to a draft I created for my clients to confirm layout and text, to the final version.
Benefits of Sci-Art Collaboration
I often hear my clients say that their journal reviewers, peers or students show appreciation for their effort in preparing designed images to communicate their work. They noticed that their audiences are more engaged, pay more attention, and show more interest in their work when they include these visuals.
The positive impact of a sci-art collaboration goes beyond just having a well-designed artwork for your communication and engaging your audiences. I also hear scientists sharing inward benefits where they get to see their work from different perspectives and improve their communications skills thanks to the experience of working with an artist or people from different backgrounds in general. These experiences can help them grow as scientific professionals.
Elfy’s work can be found at elfylandstudios.com/scientificgraphics. If you have any questions or feedback you’d like to discuss further with her, you can get in touch at elfychiang@gmail.com.