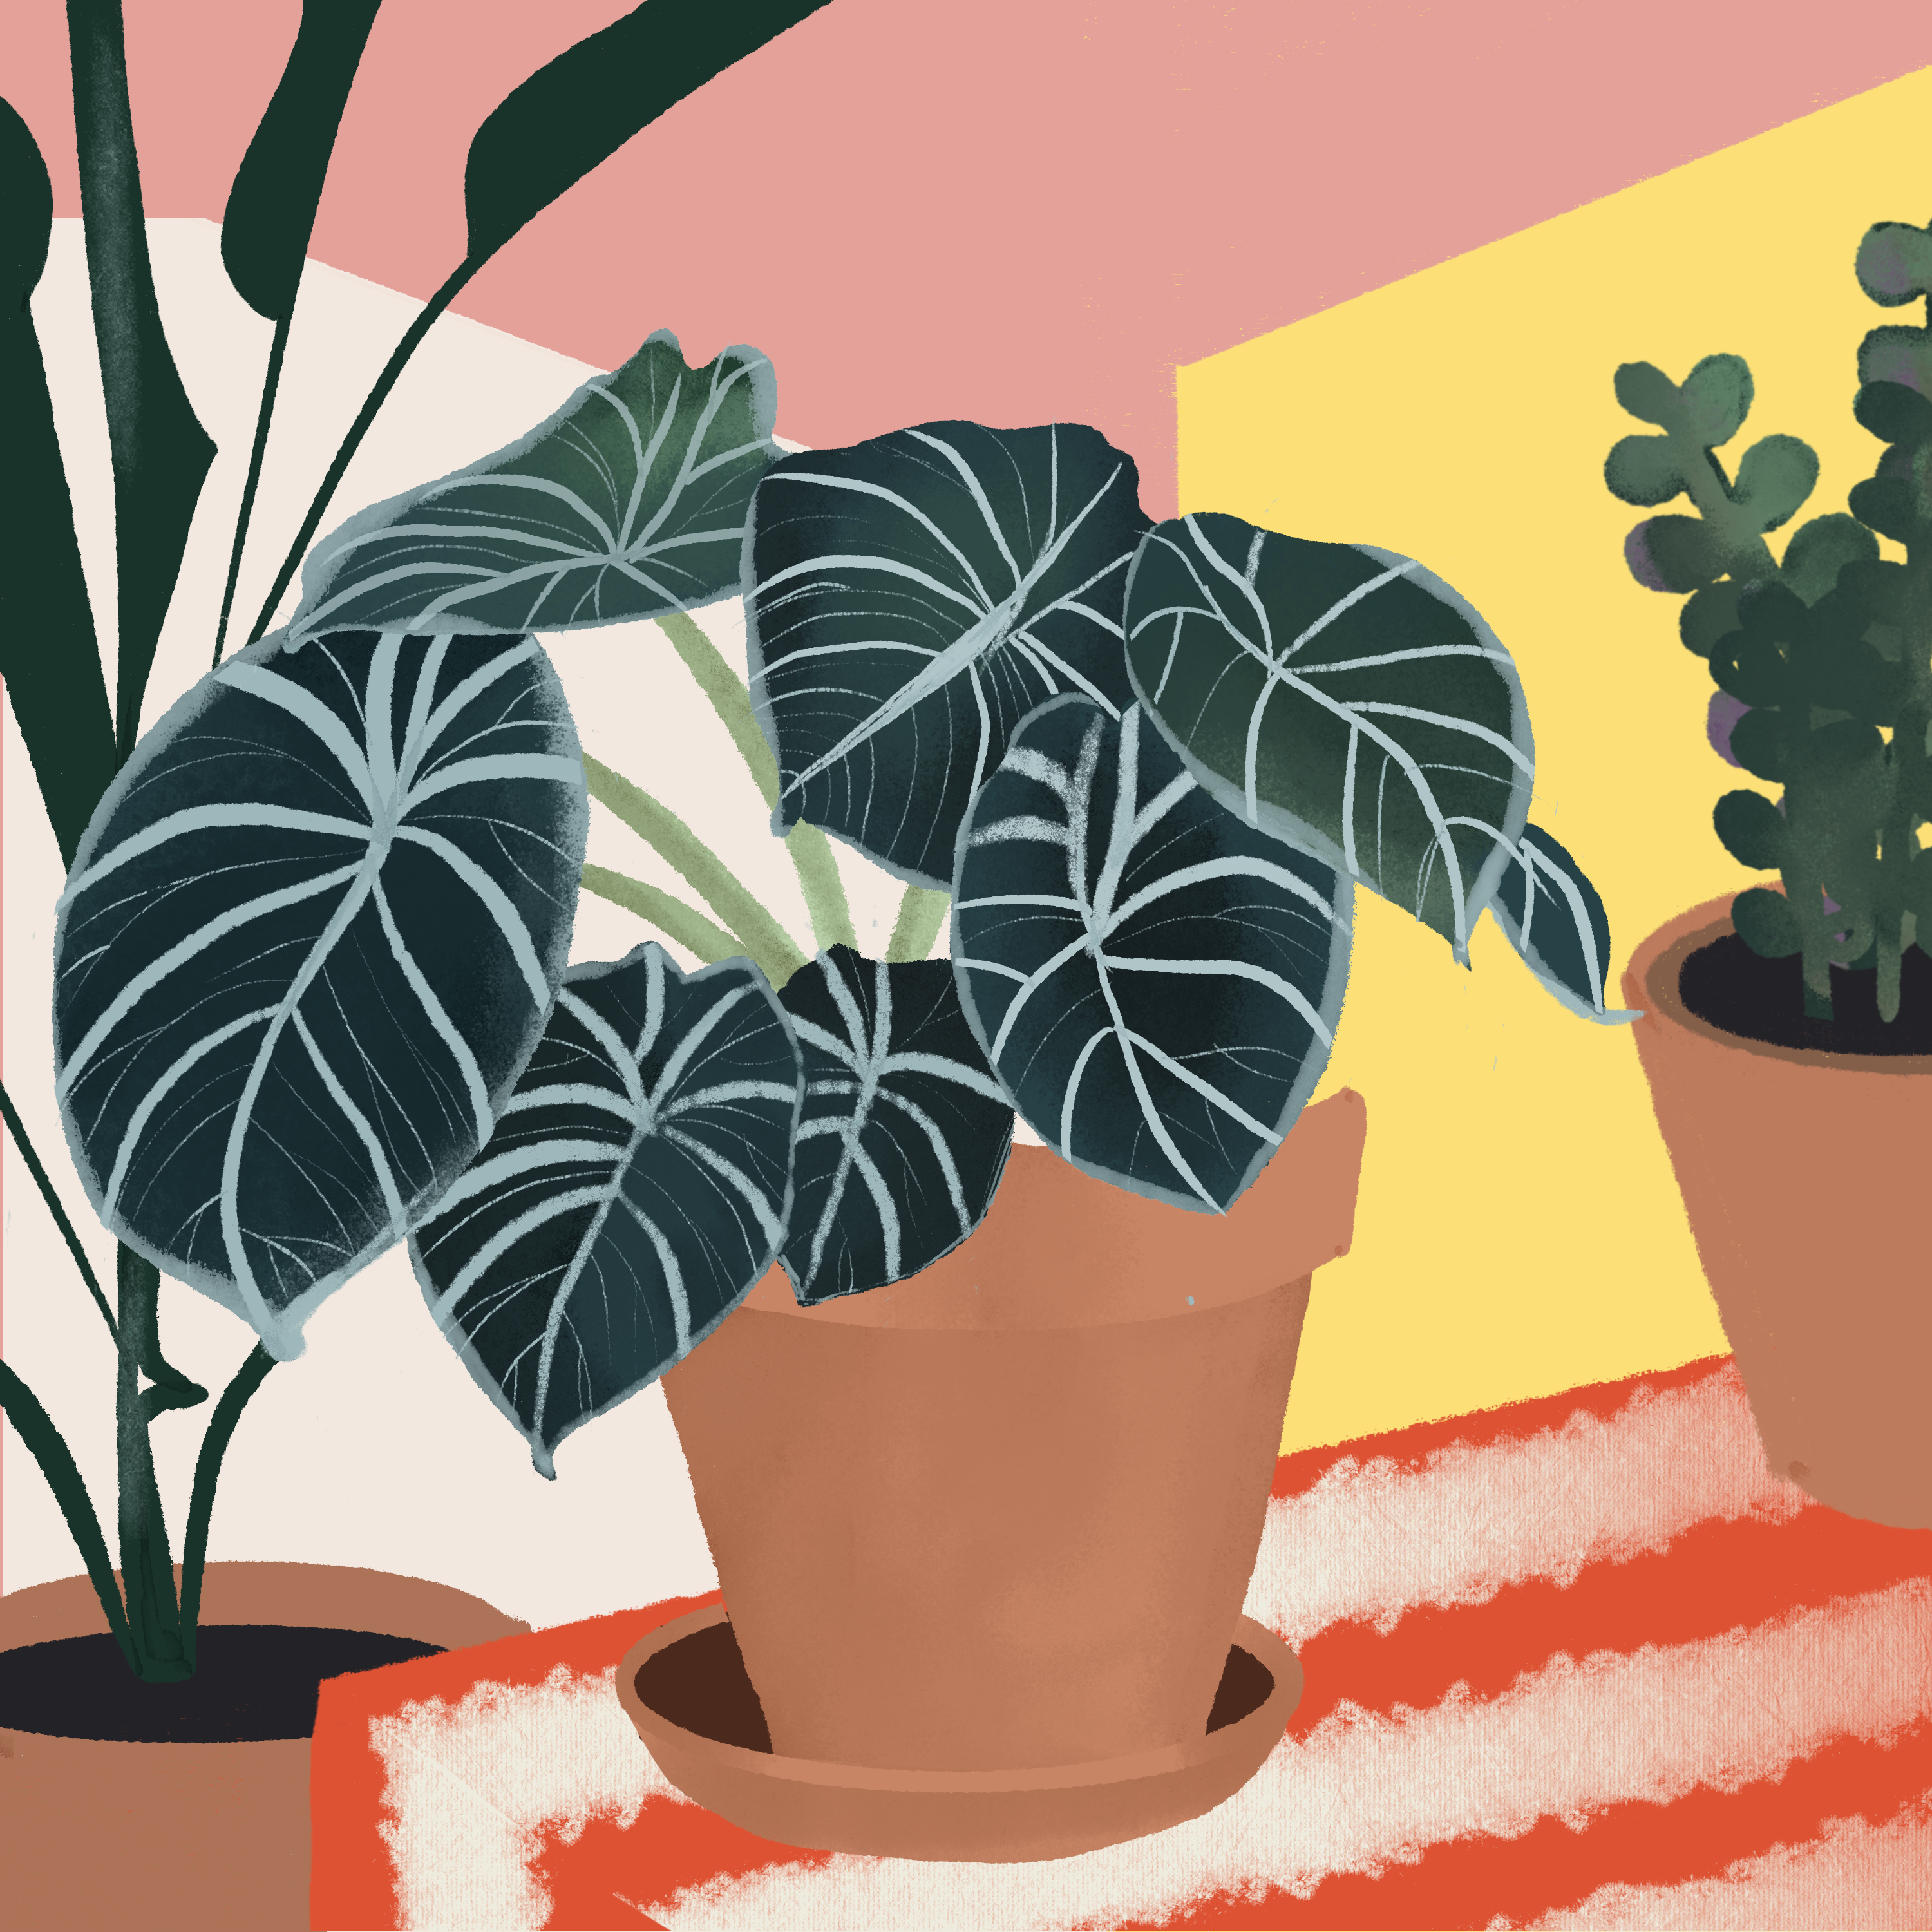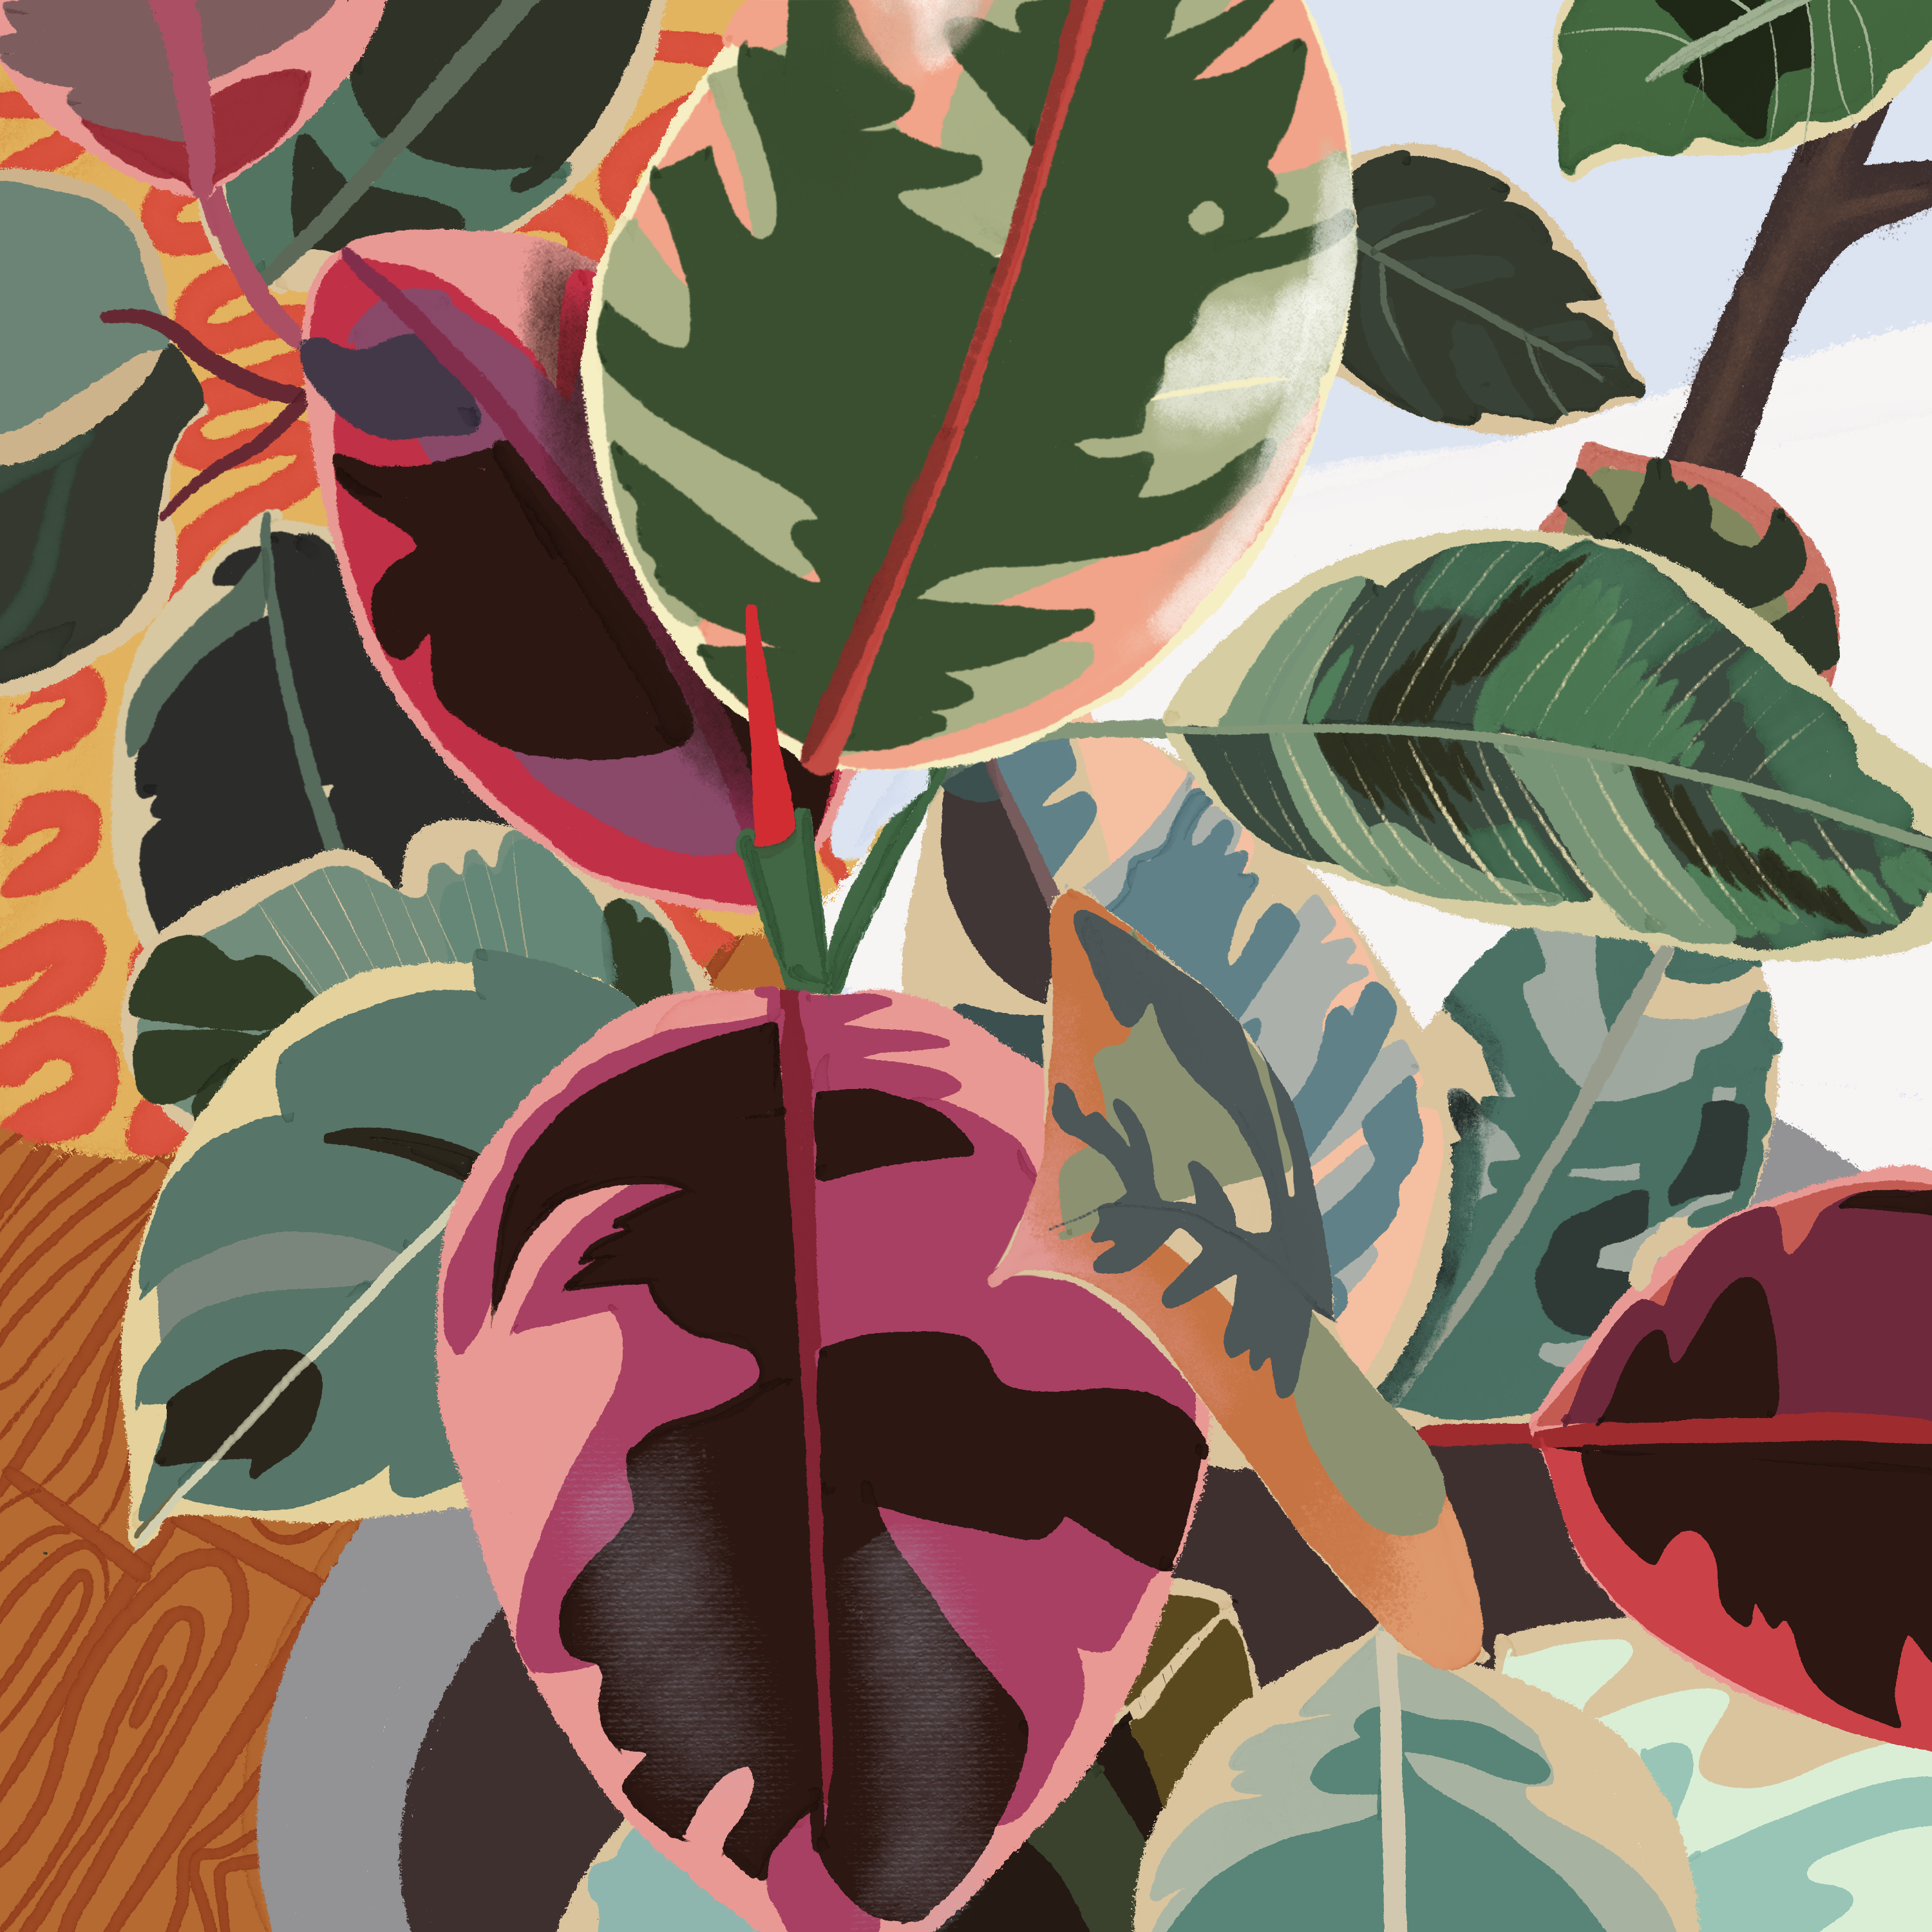
Nature surrounds us. We only have to step outside, and we come face to face with at least one natural element. Artists have been influenced by nature in many ways, from Gainsborough’s landscapes to Goldsworthy’s land art to art created with materials derived from nature: charcoal, clay, graphite, etc.
On March 13th, 2020, I left work, thinking I would return in two weeks. I was a Visual Art teacher at a high school in North Carolina. We did not go back. Instead, I was left with two days to transition my curriculum online. I had the foresight to send my students home with their sketchbooks and made sure they all had something to draw with, to make marks with.
After the first few weeks of transitioning and coping, I received feedback from students on how they were dealing with the demands of online school and the uncertainty of the COVID-19 pandemic. We were in a period of flux. We needed to rest our minds. I began to plan a series of student-centered, low-key, hands-on, accessible activities. The objective was to create art to help relax and to connect with nature.
Art is therapeutic and supports self-discovery, self-esteem, emotional release and stress relief. Creating art also stimulates the release of dopamine. Here are some of the activities. Two of them use nature, and the other is mindfulness through playing with watercolor. I hope they offer you a chance to connect with nature and practice mindfulness…
Activity #1 – Meditation Art
- Find a quiet place (inside or outdoors) and set aside 5-10 minutes
- If you have headphones you can use them to tune out noise
- Listen to a guided meditation. If you are a LIFE Extend user you can find a 5 minute guided meditation in-app by clicking on the Mindfulness pillar
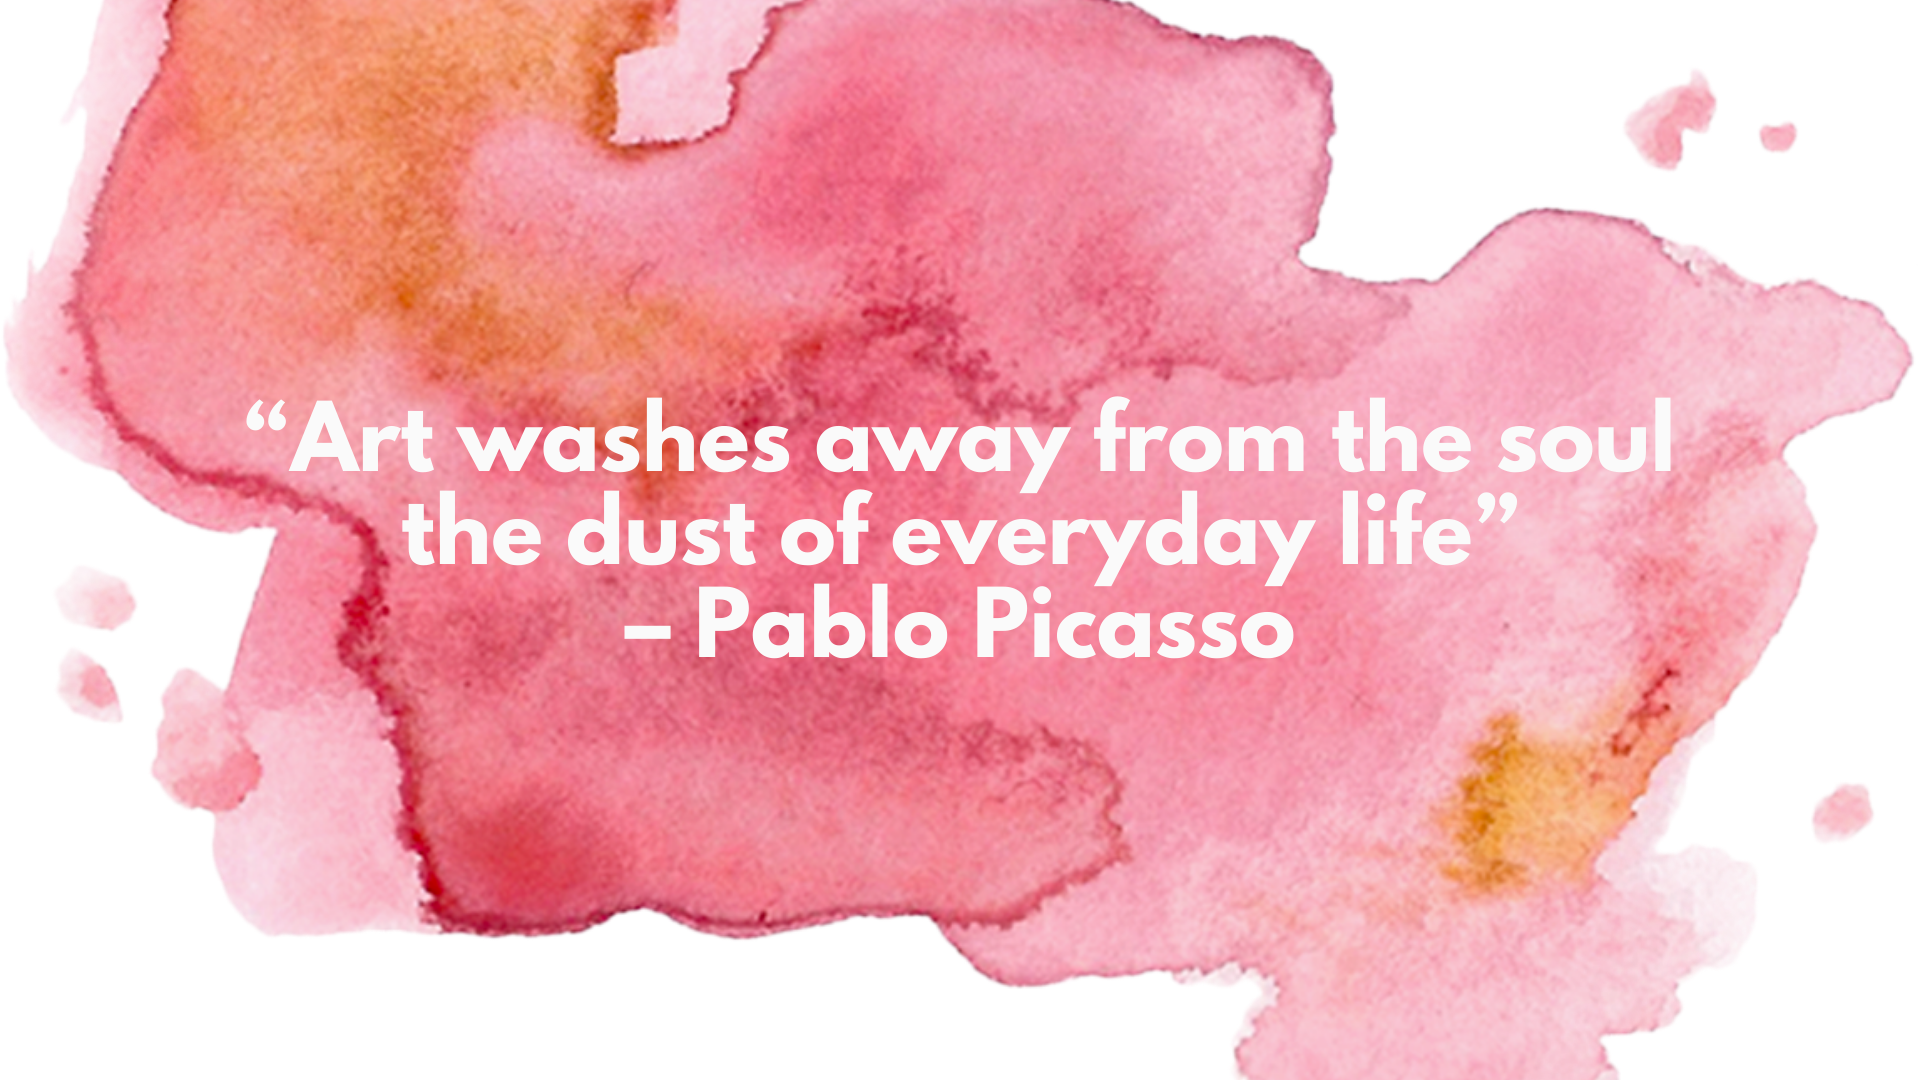
- After you have listened to the meditation focus on your breathing and draw a line or a circle for each inhaled and exhaled breath.

Activity #2 – Nature Walk
Go outside for a socially-distanced walk in nature. The outside can be a backyard, your neighborhood, the woods. It can be on a walk with a family member, it can be while you are walking a family pet. While walking gather things from nature (fall leaves, pebbles, sticks, stones, pinecones, foliage).
Bring your nature collection inside and arrange the items on a white piece of paper, this will enable you to see their outlines clearly. Use a slow, deliberate contour line to make a careful study of each object on a piece of paper or in a sketchbook.
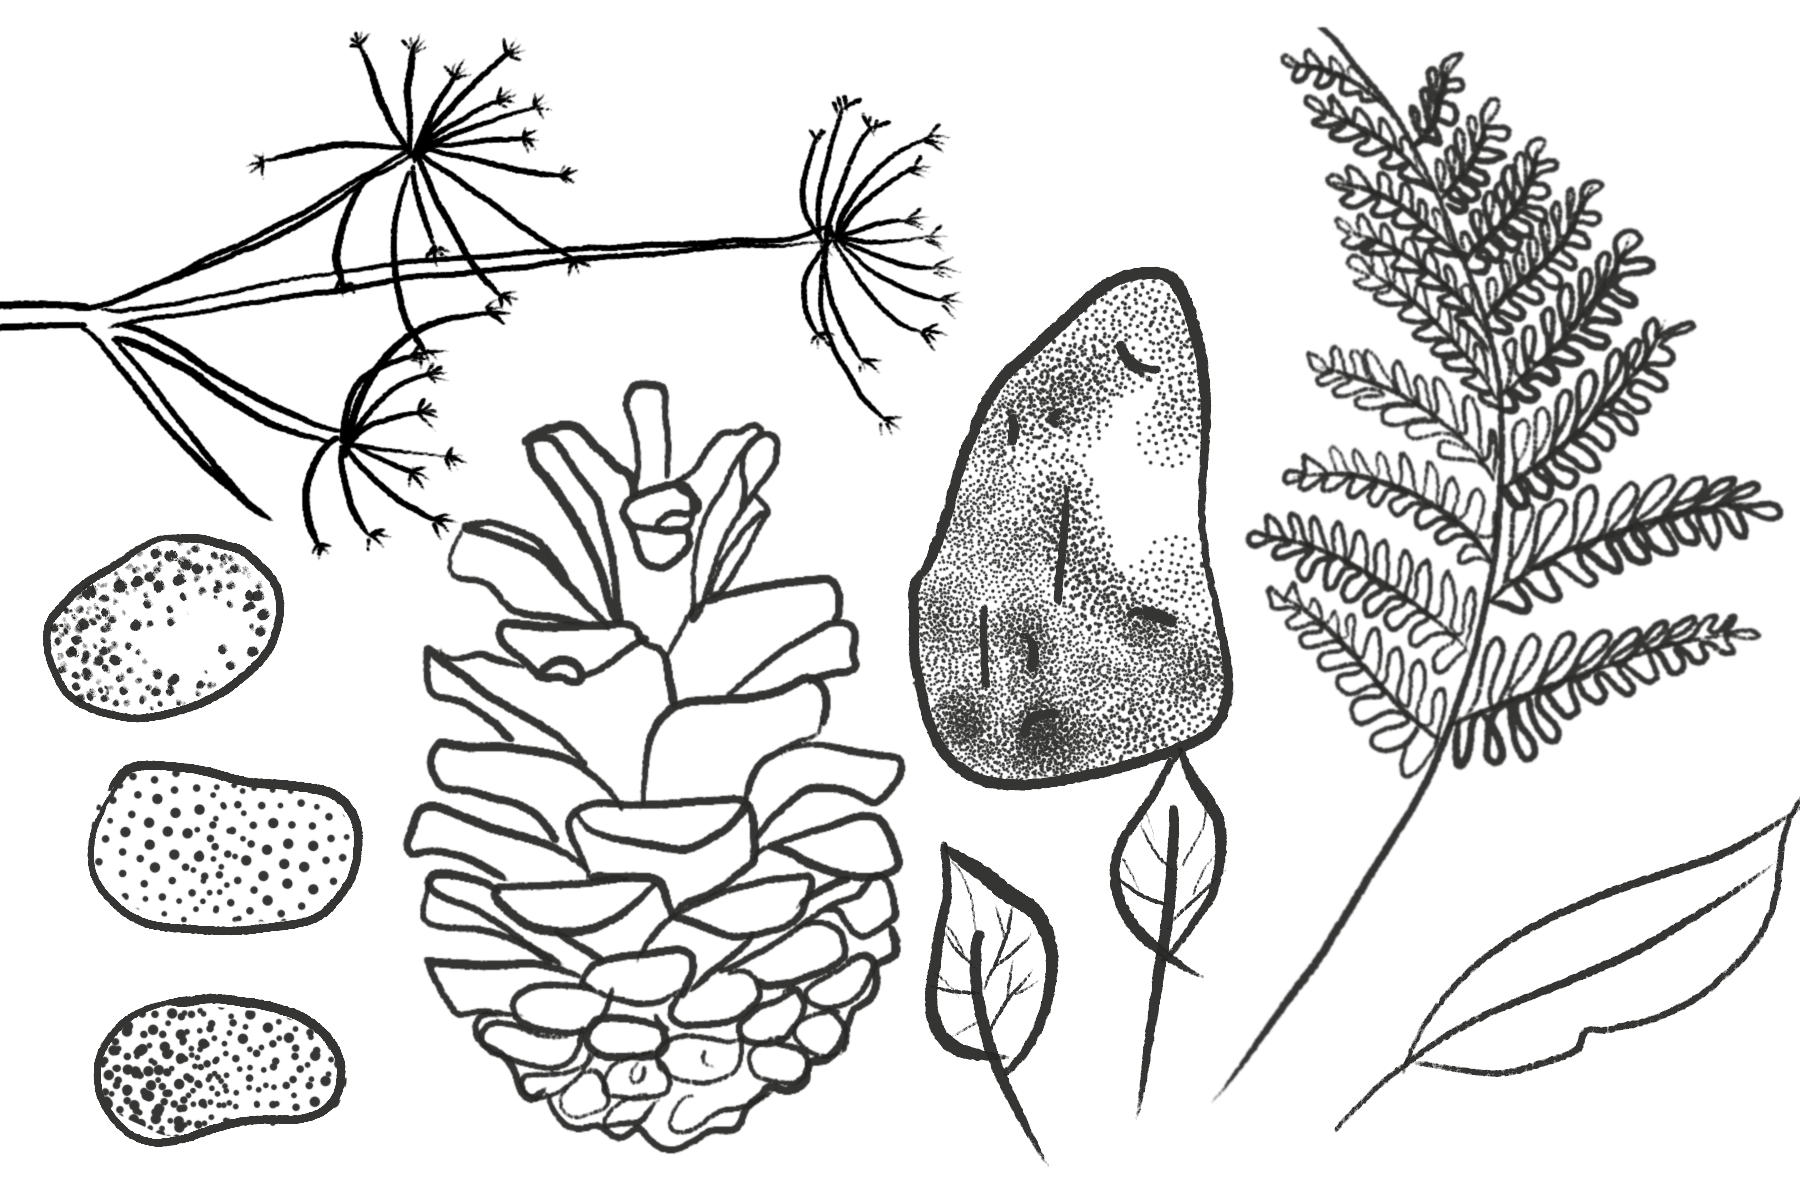
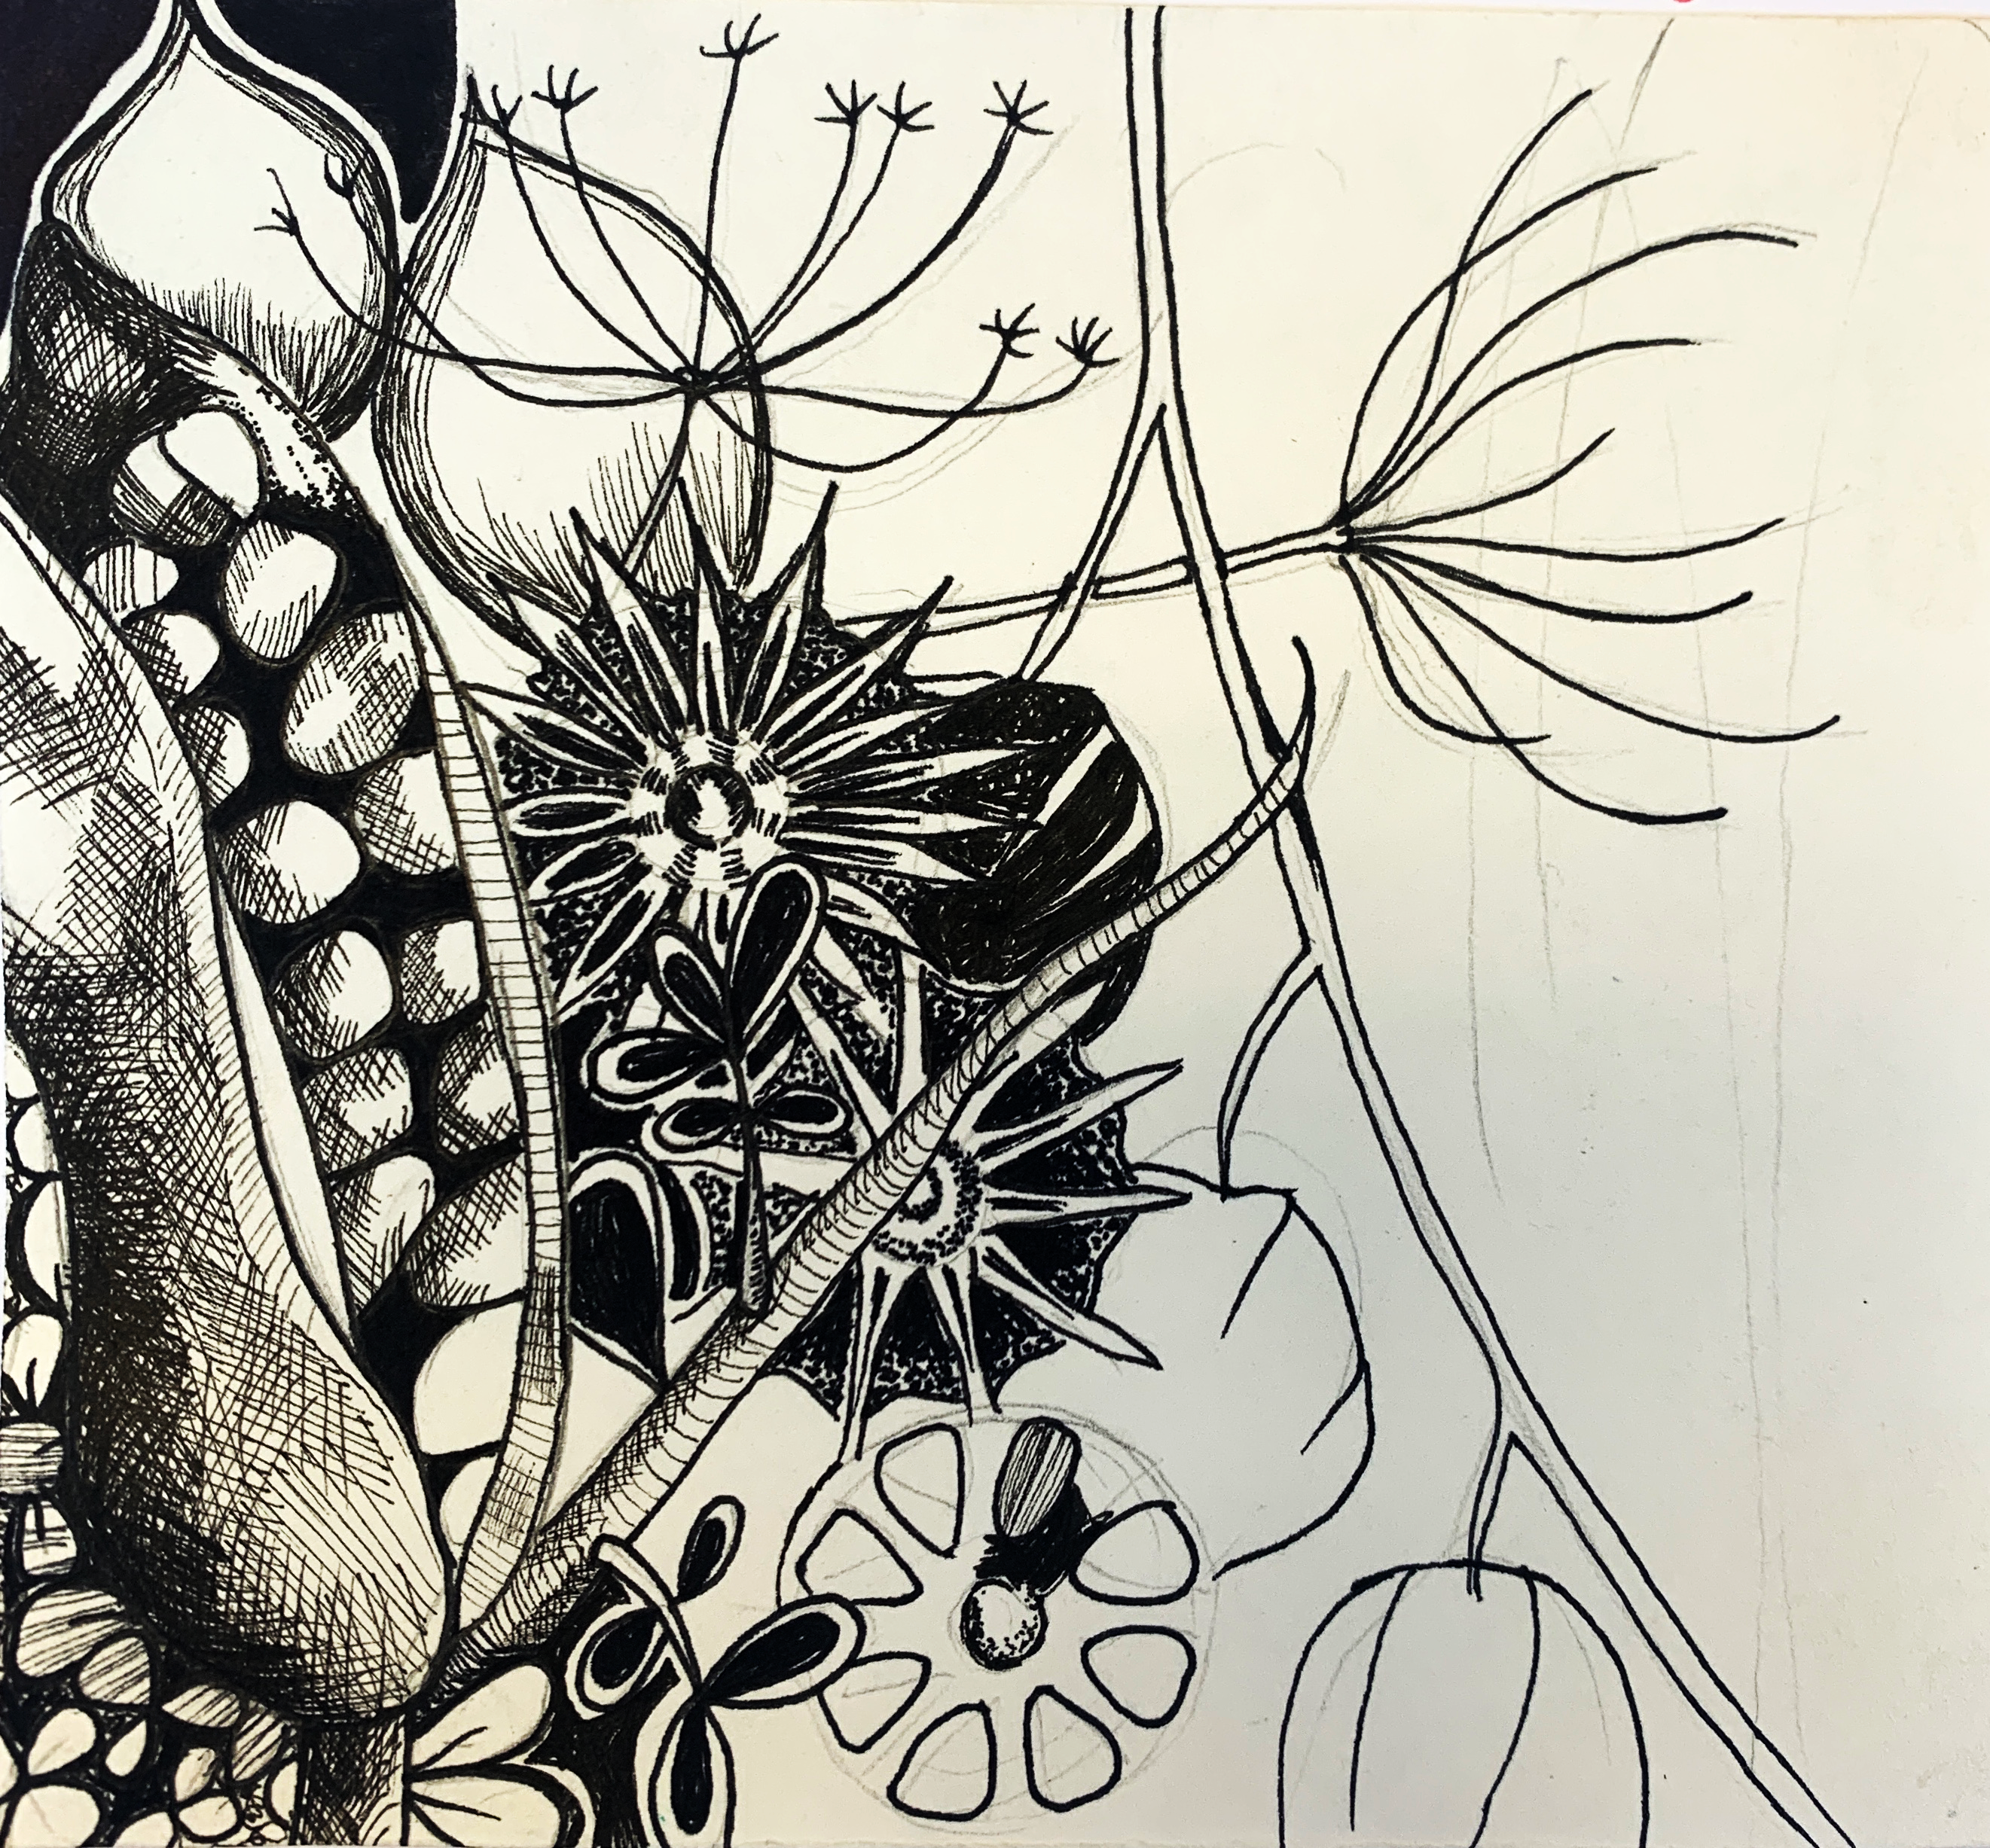
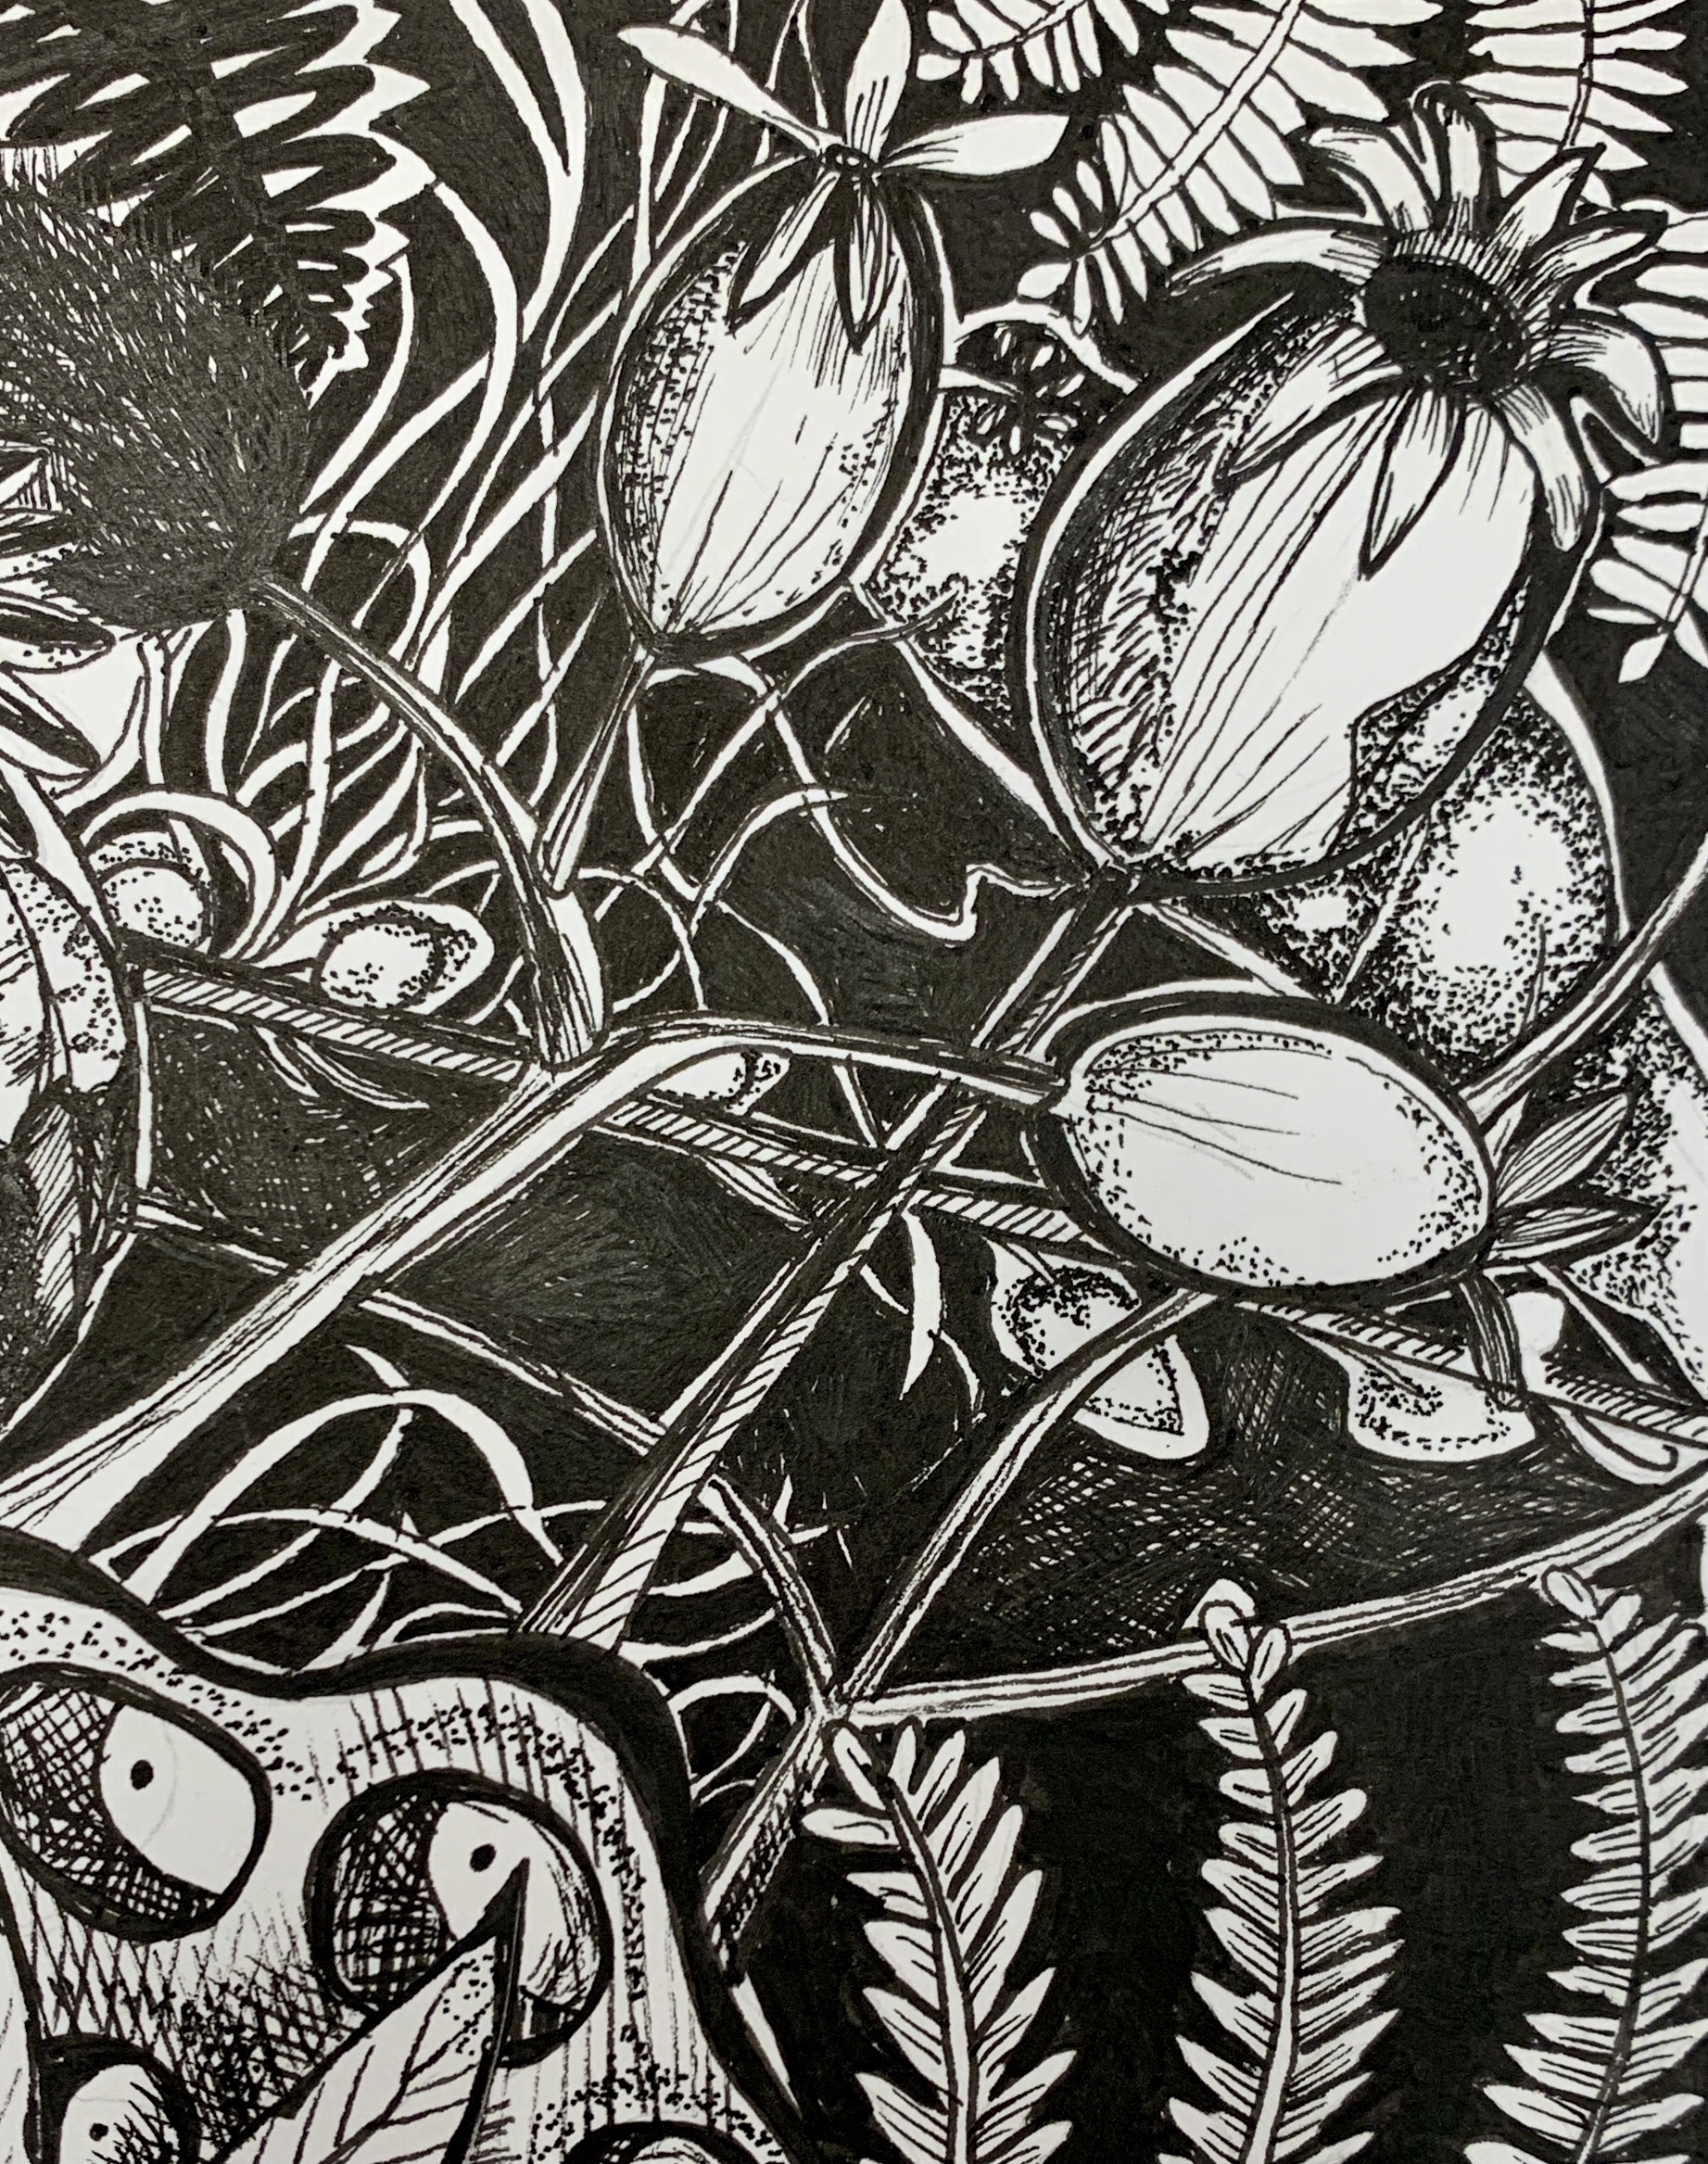
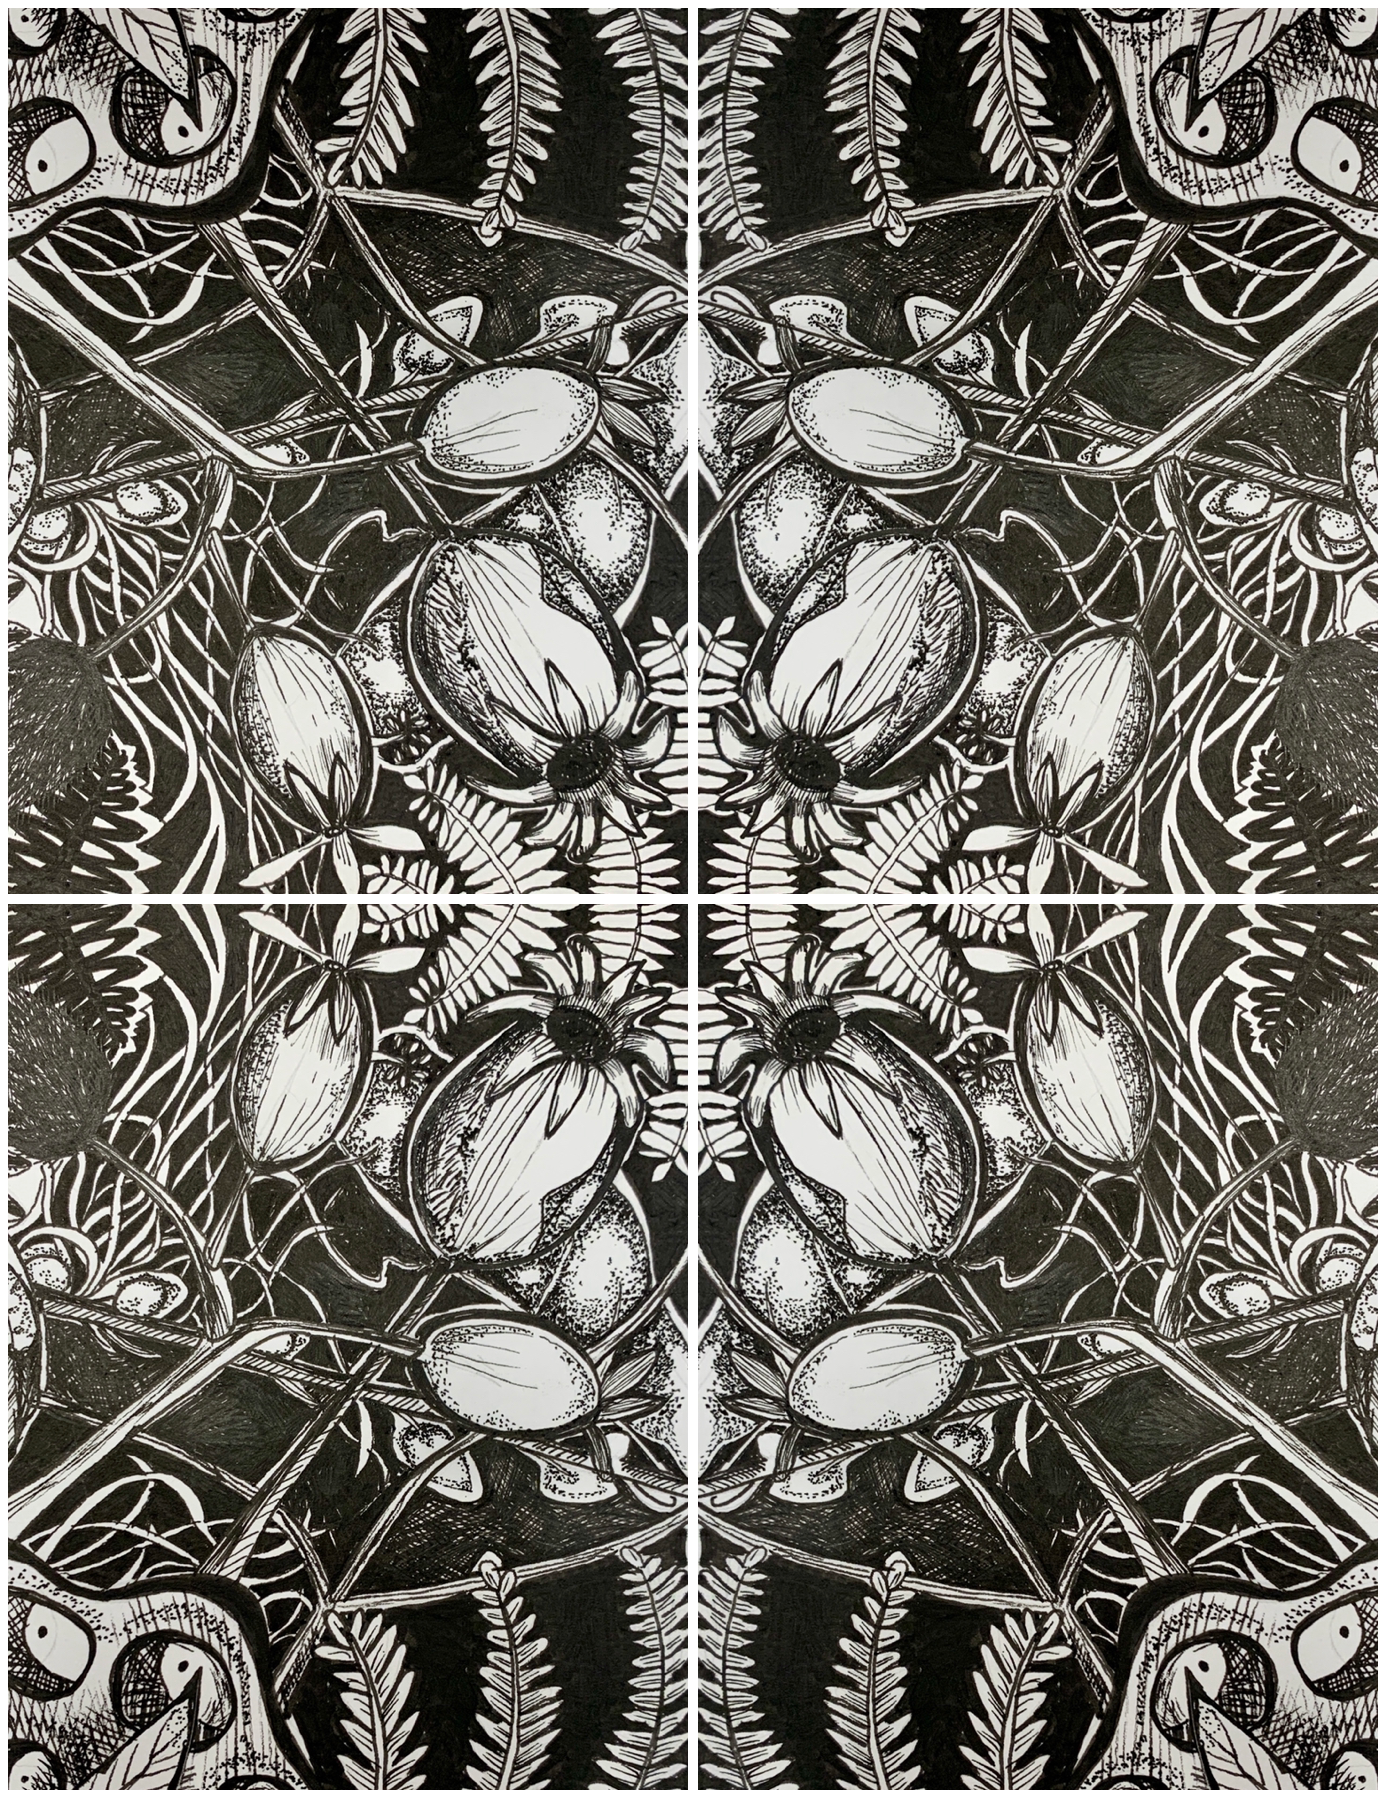
You can develop this idea further by creating a composition using 5-7 of your Natural forms. I used a permanent marker and some bristol board. You can experiment with overlapping, size, angle, positive and negative space. You can then import your drawing into a layout app and experiment with symmetry and radial balance.
Activity #3 – Watercolor Collage
Do you have a set of watercolors? Great! You can also use water-soluble markers. If you have dried up markers you can soak the ends in water, to color the water.
For this activity, I used a sheet of watercolor paper. I prefer to use 140lb cold press paper. Cold press paper is more forgiving than hot press and easier to work with. If you don’t have watercolor paper you can use any paper scraps you can find, you could even try this exercise by using craft paint on card (flattened food packaging cardboard is an excellent surface to paint on – cereal boxes, etc.).
You’ll also need some masking tape or blue painter’s tape, it’s not necessary, but it certainly helps.
- Use masking tape or painter’s tape to secure your paper to a surface.
- Use the tape to create some interesting areas of resist. Tear the tape to create a more organic feel.
- Start painting in small areas. Add small puddles of water and then add small drops of watercolor and watch it spread.
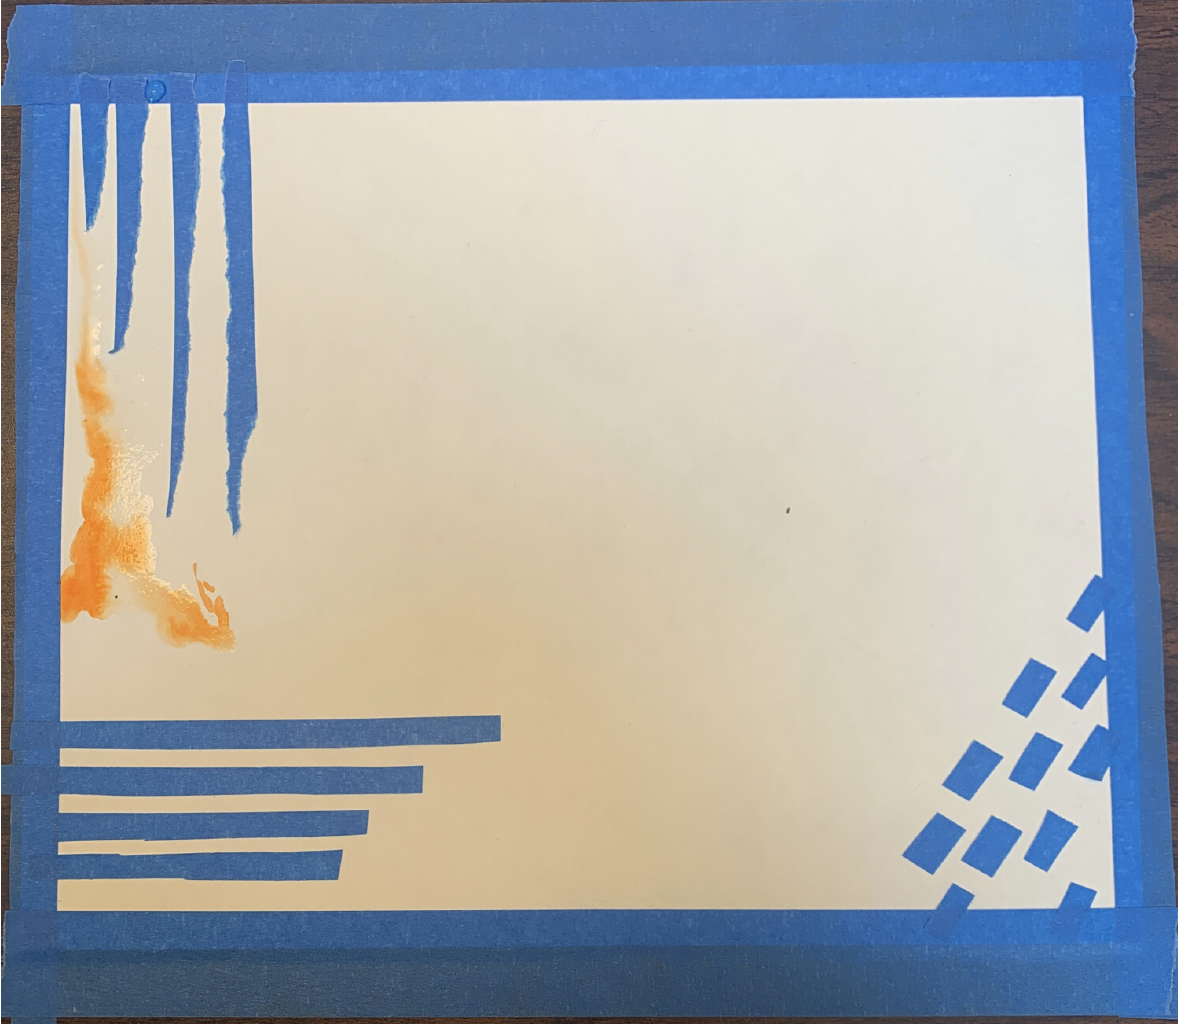
Tip: If you need an area to dry you can use a hair dryer, try gently blotting to add texture, or work in another area while it dries.
Also, as you build up the color and shapes use a hairdryer to speed the drying time, and then think about experimenting with masking tape to add layers to the piece.
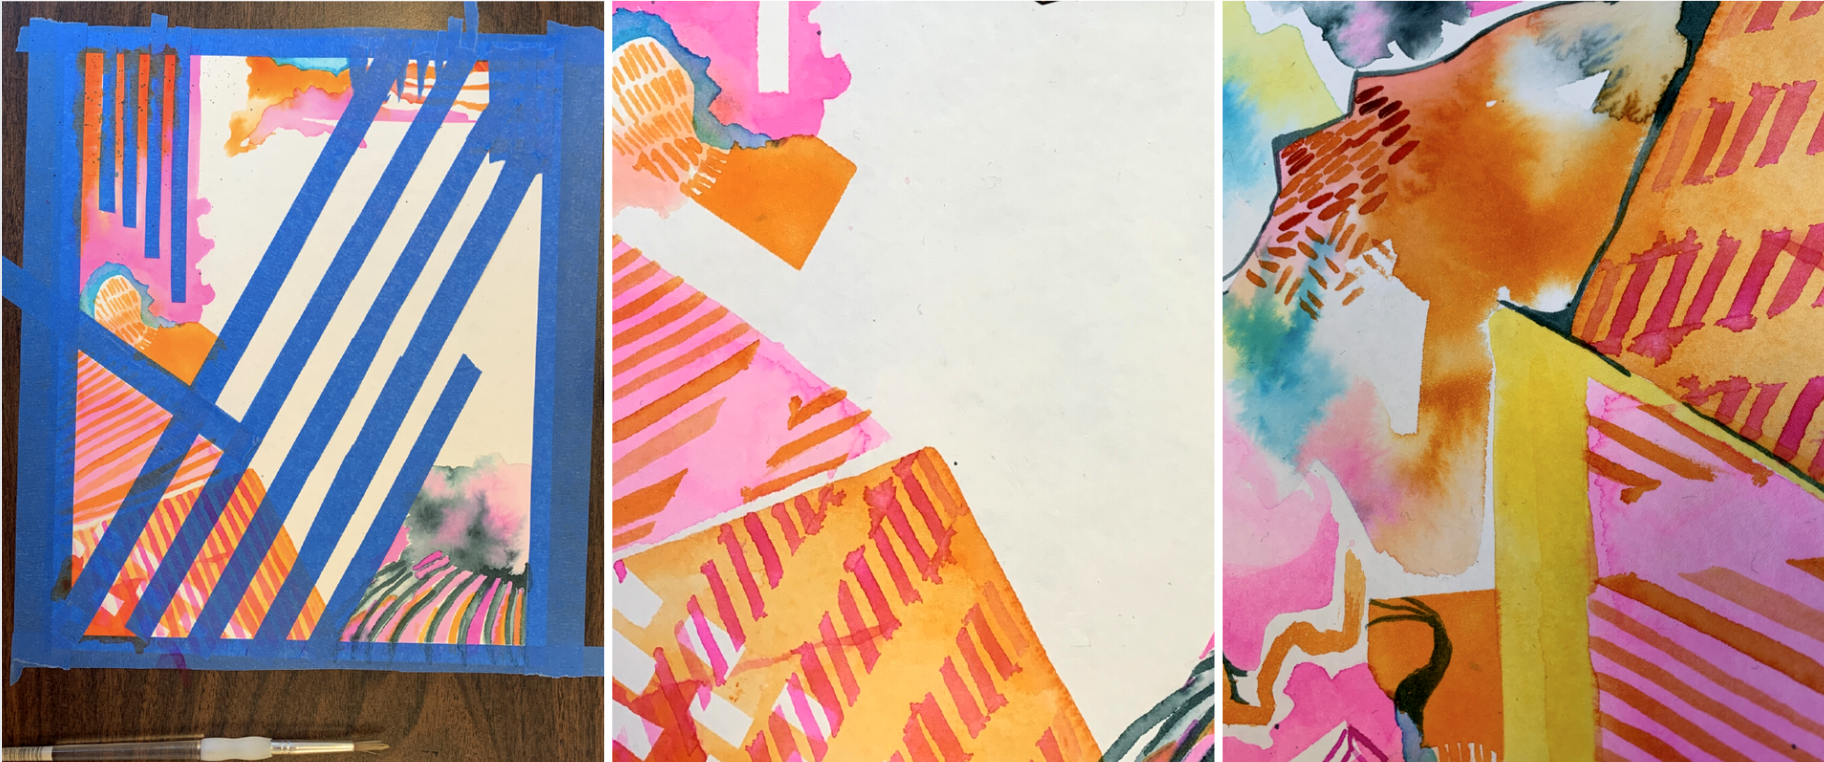
Once your sheet of paper is complete you can think about deconstructing it to create a collage. You can cut shapes from your sheet of paper, they can be organic shapes or geometric shapes. I chose to use a circular lid and cut circles of the same size. The shapes can be arranged into a composition you like. I wanted to create one that had balance so chose to use a uniform grid.
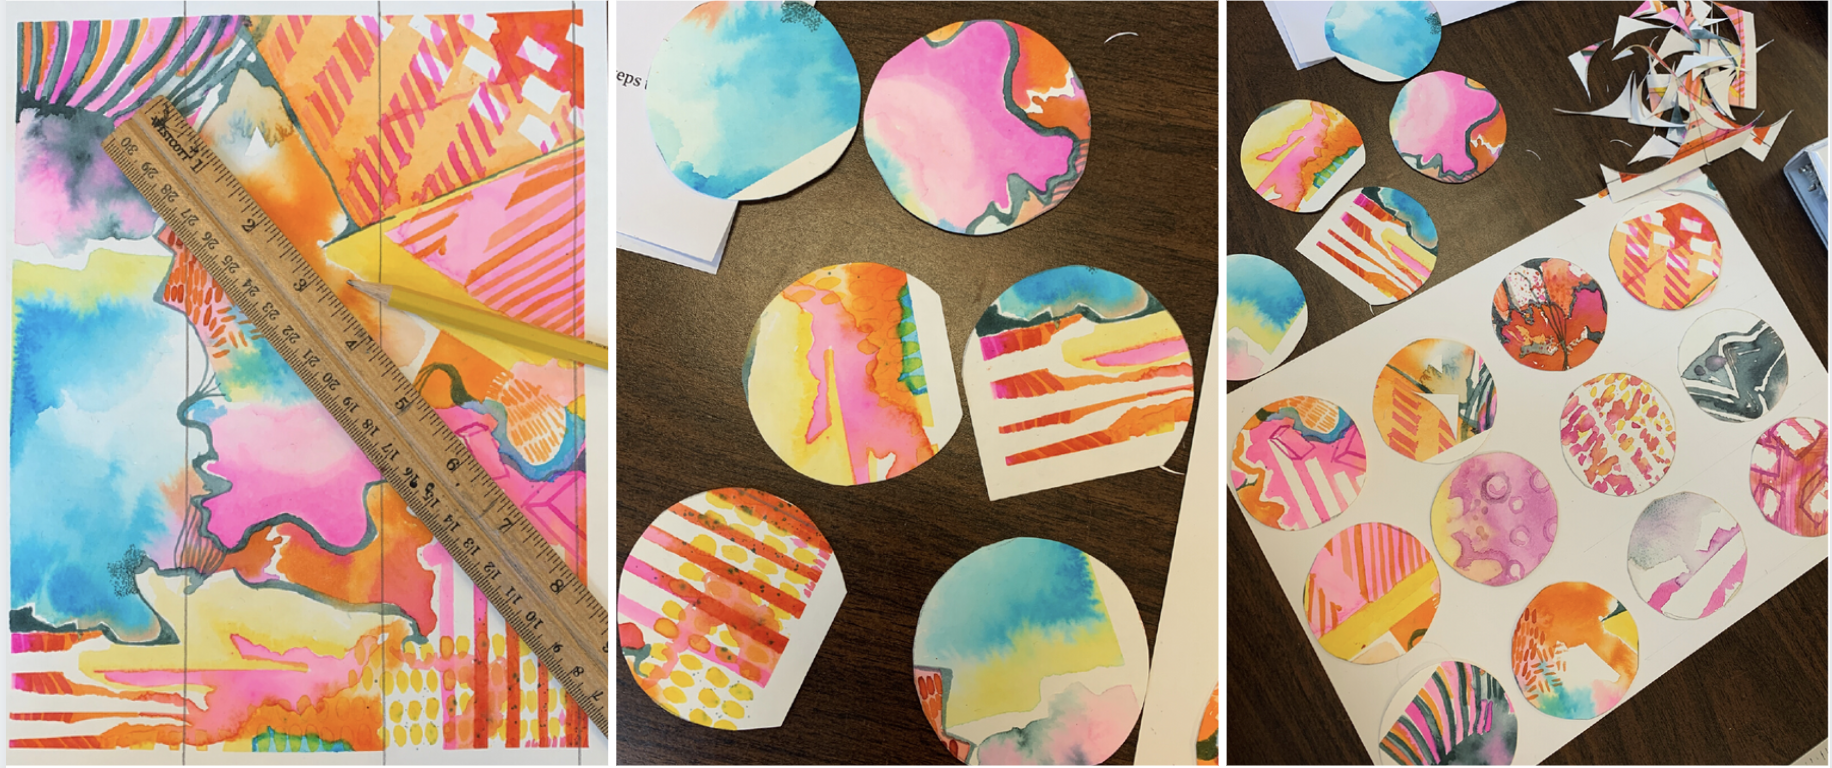
This is a simple fun activity, you can also go one step further by adding some marks in paint pen or even correction fluid to the tops of some of your shapes!
Extra:
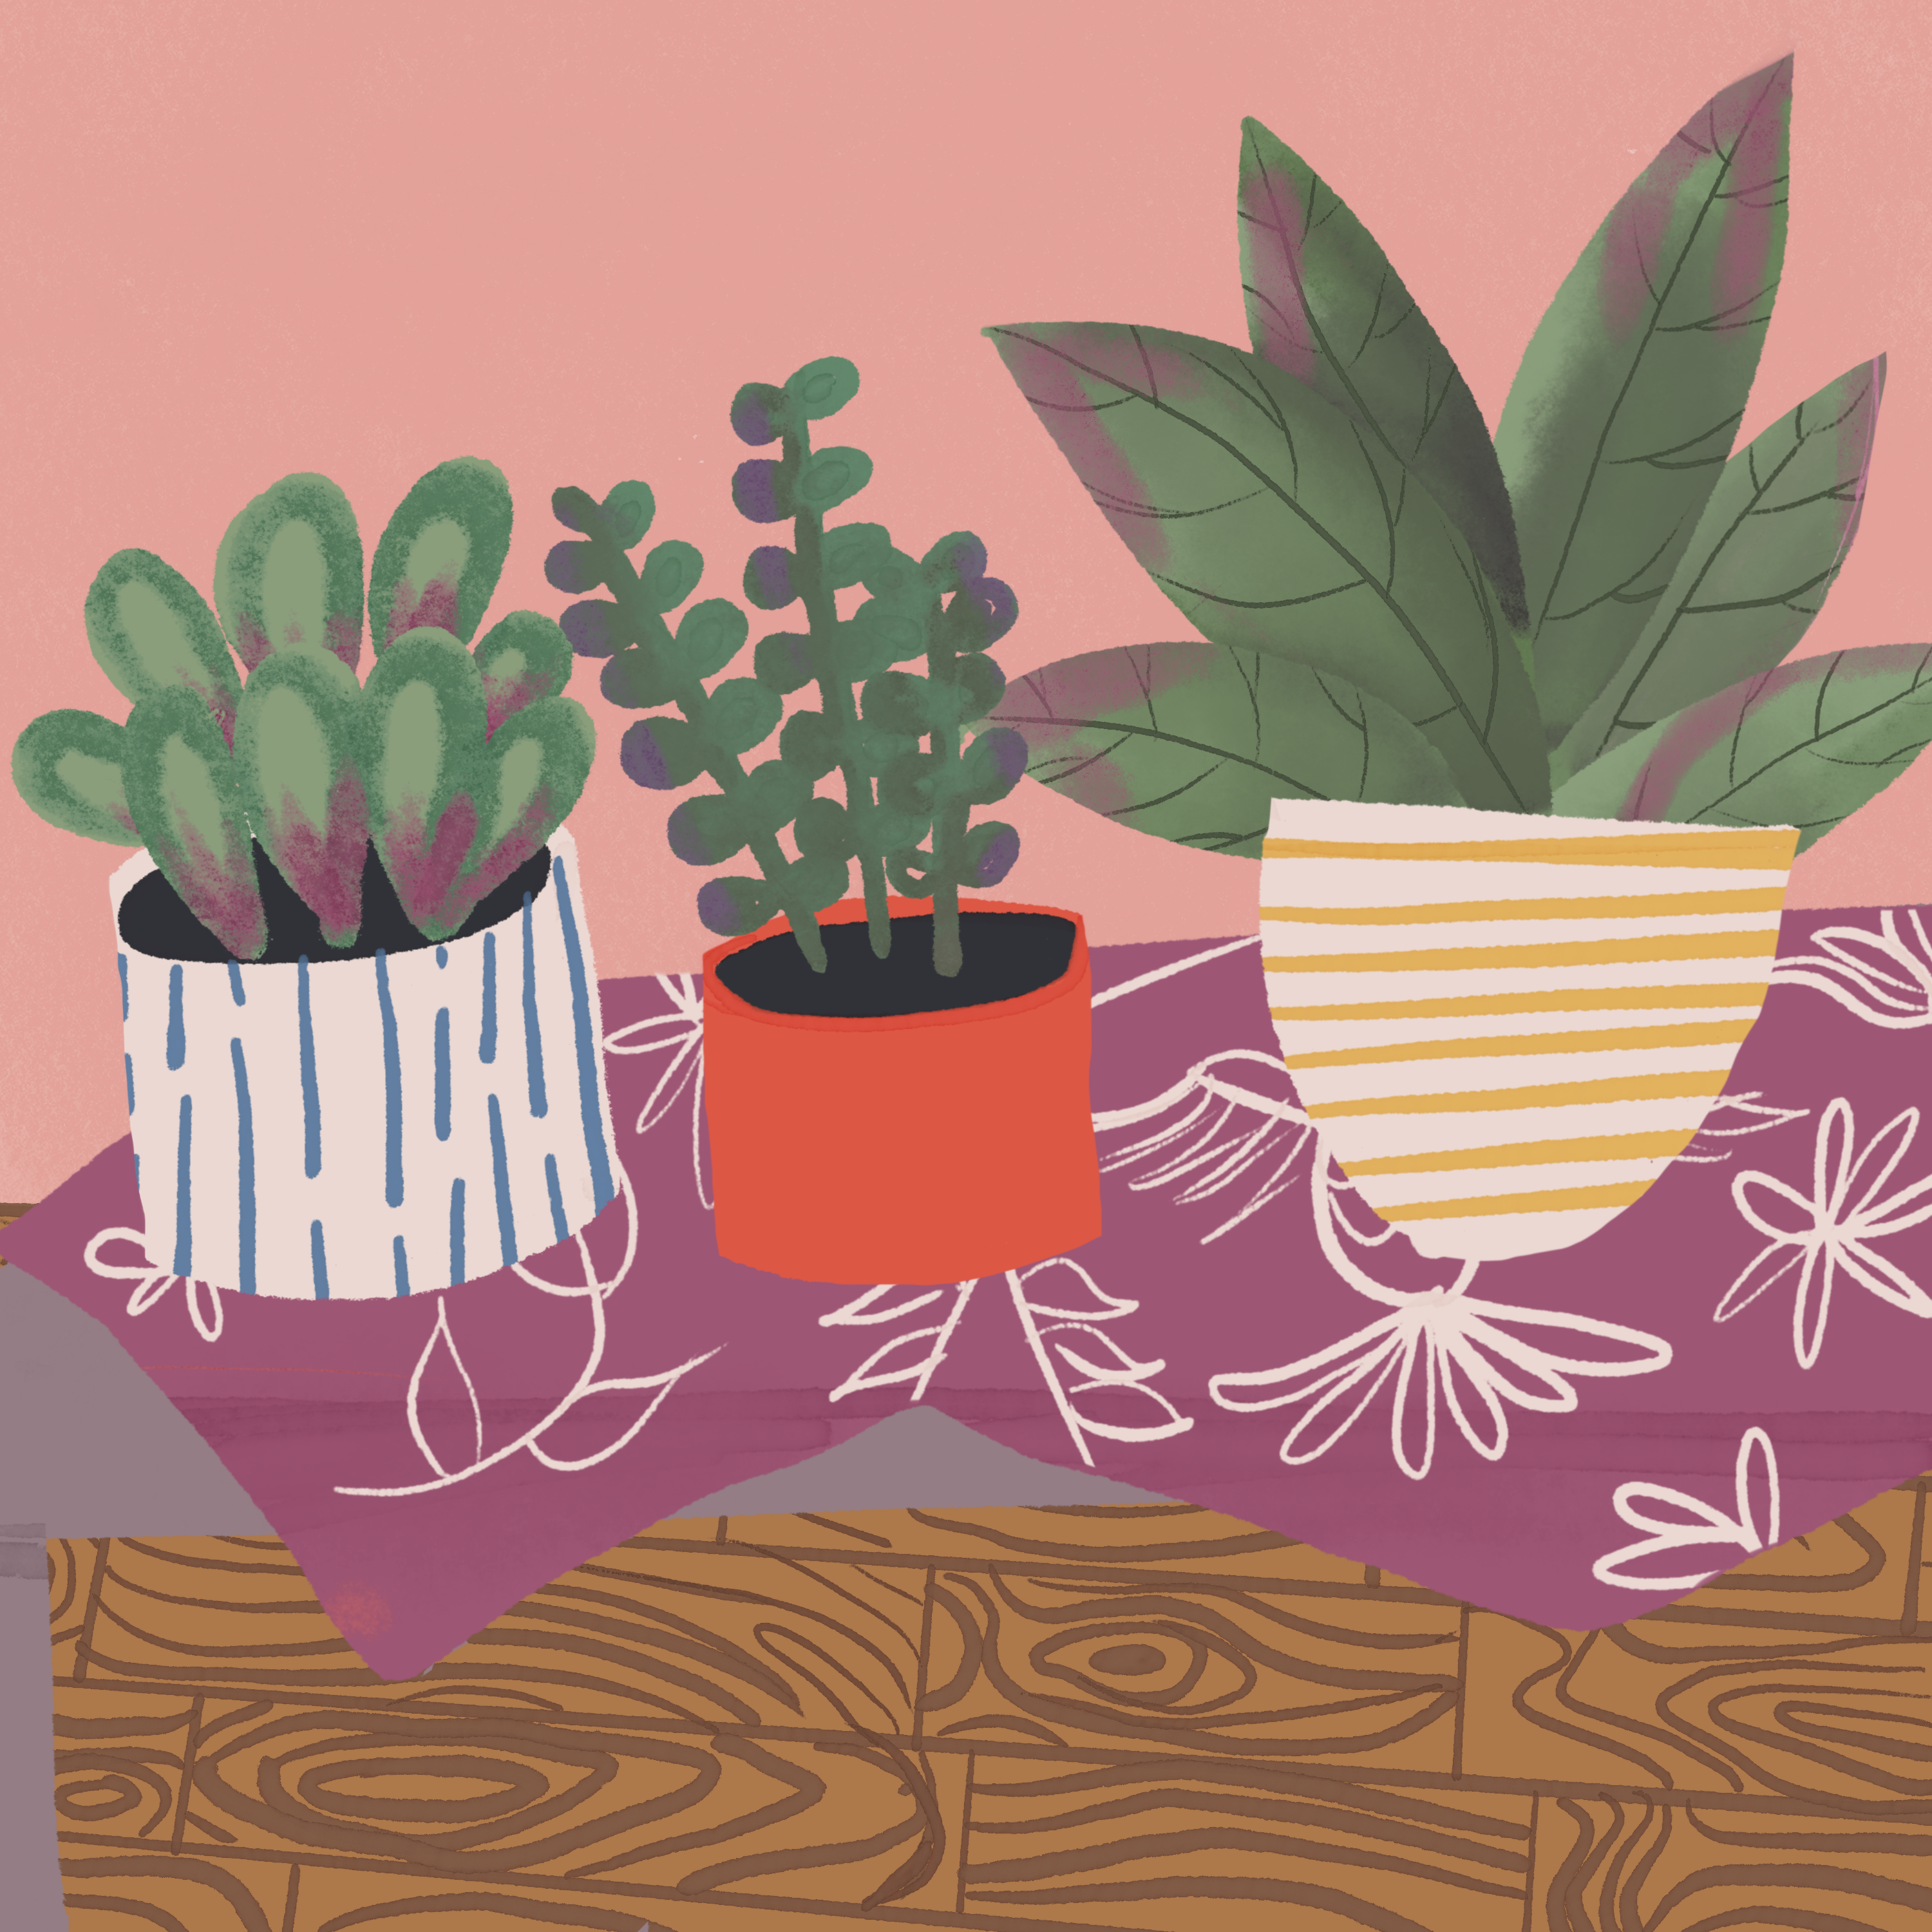
This week, I’ve begun a daily 20-minute session of relaxation through drawing. I’m creating small drawings of plants using color palettes I love. Happy drawing!
