In this article, you’ll learn how to:
Note: Once you set up your account, logging in with a different method will create a second account. Therefore, if you’ve logged in with an email and password and have forgotten your password, follow this procedure to reset your password, rather than logging in with a social media account.
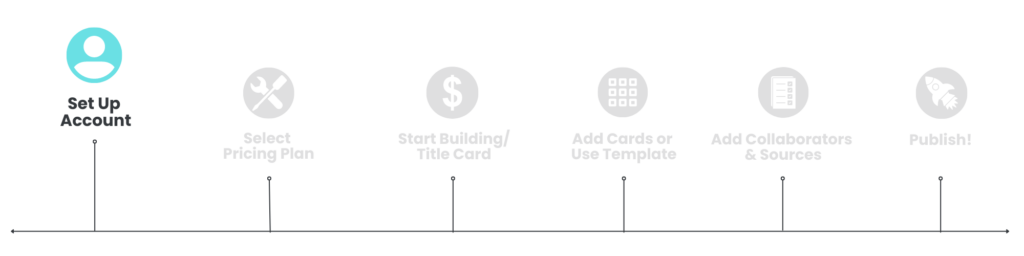
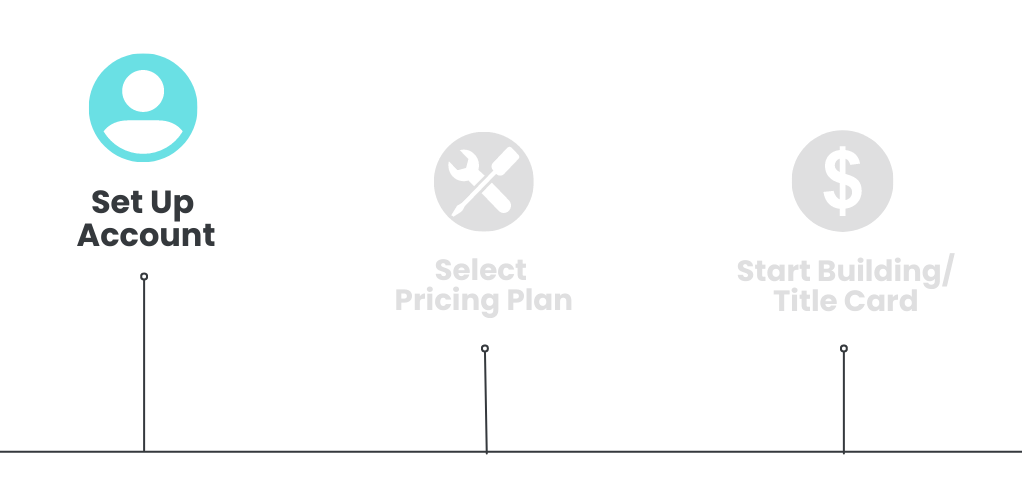
Set up your Account:
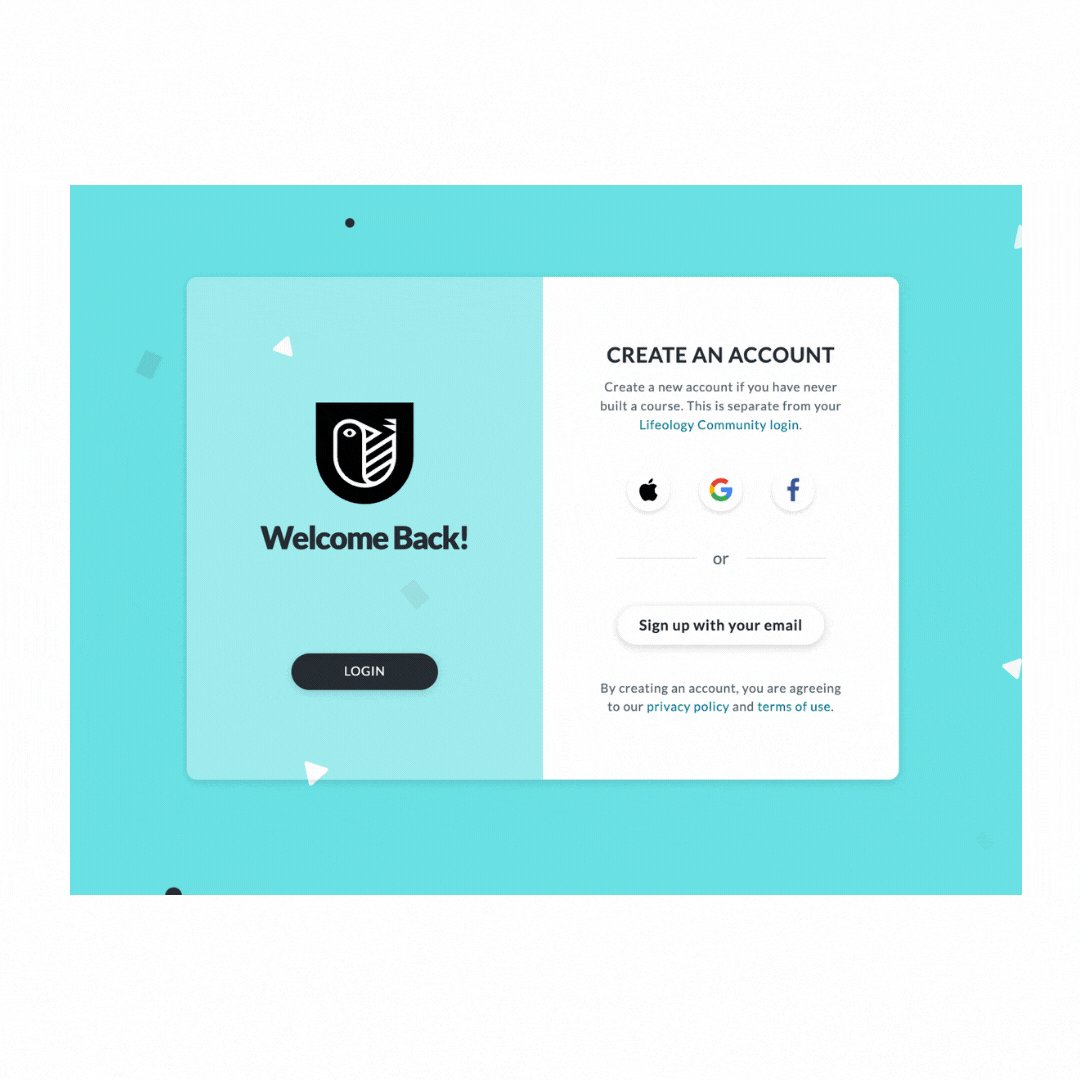
- Navigate to https://app.us.lifeology.io/ and log in.
- Existing LifeOmic LIFE Fasting or LIFE Extend users:
- Click Login.
- Log in with your LIFE account login information.
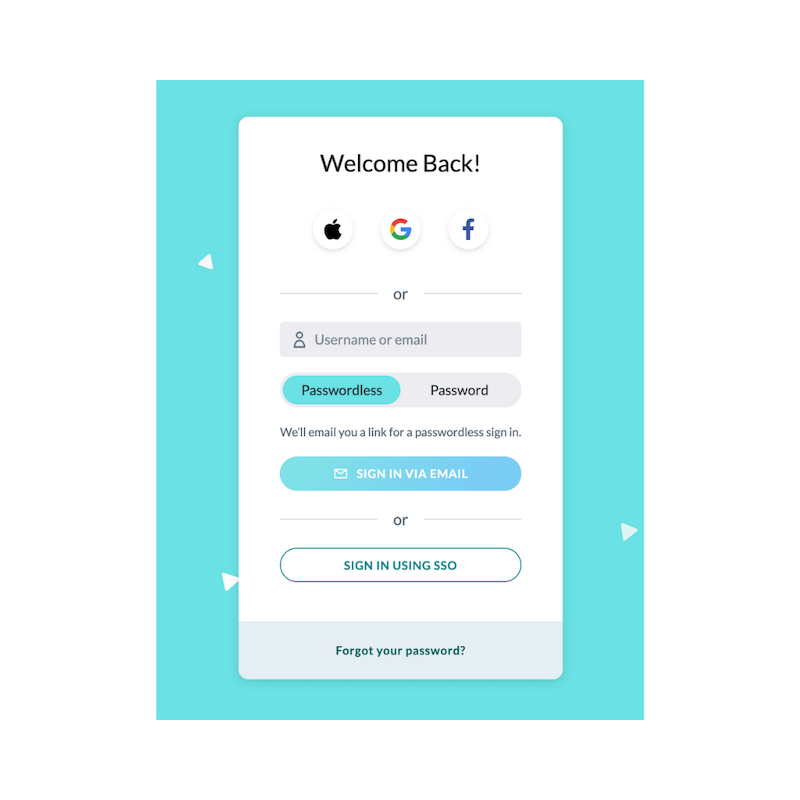
- Click Login.
- Users needing to create a universal LifeOmic account can do so by one of the following options:

- Apple account
- Google account
- Sign up using an email (with password or passwordless (receive a login link in your email))
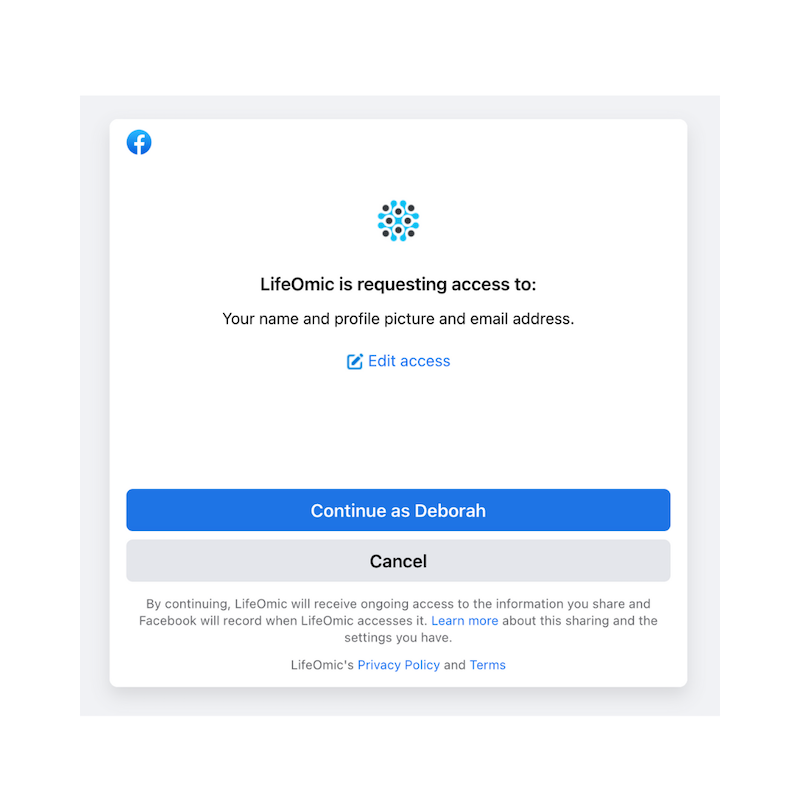
- Facebook (click Continue as… to agree to access permissions requested or adjust access by clicking Edit Access, then click Continue as…)
- Existing LifeOmic LIFE Fasting or LIFE Extend users:
- In the window that opens, confirm or adjust your name, then click Next.

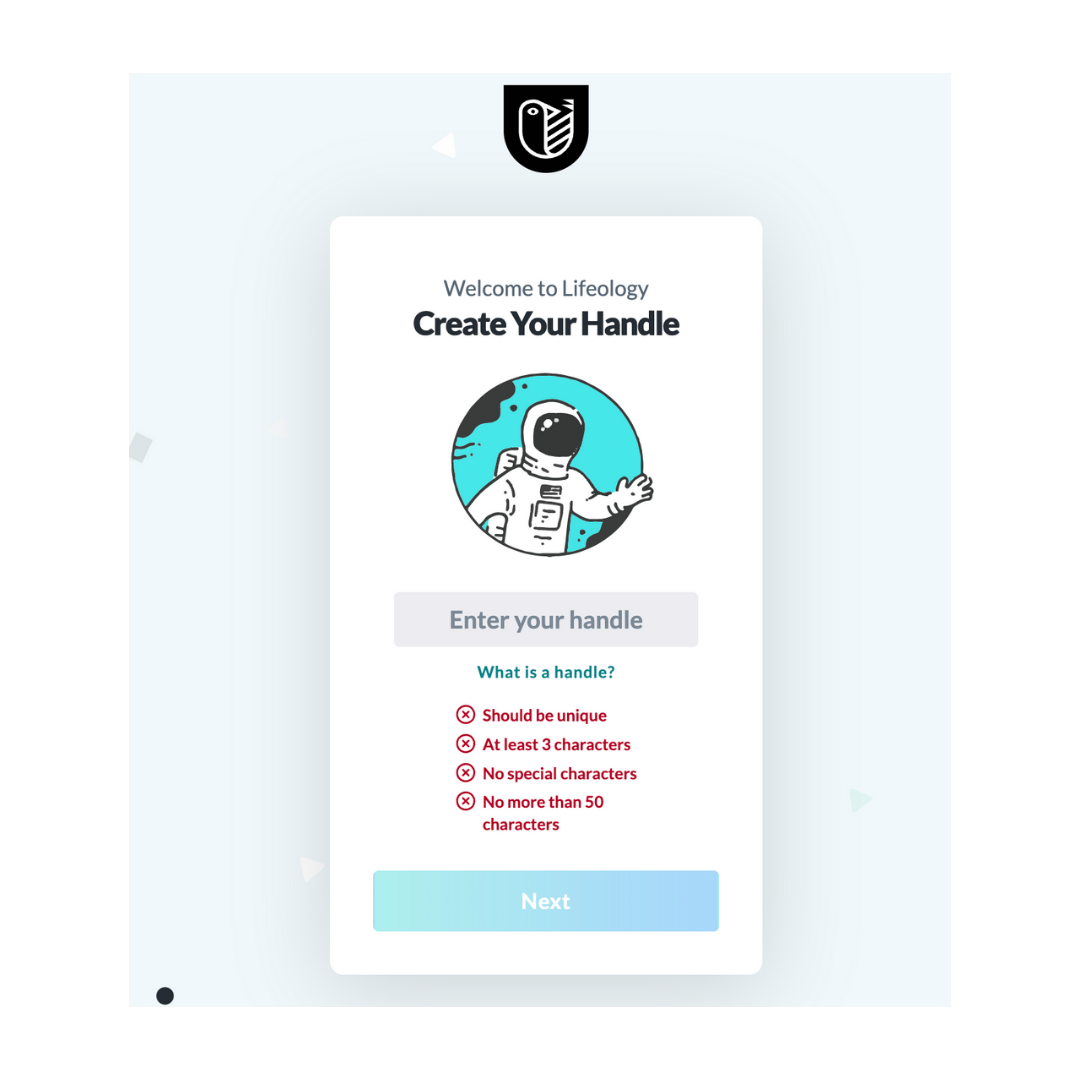
- Enter your handle. This is how members will reference you as a collaborator in courses and within the Lifeology community. Click Next.
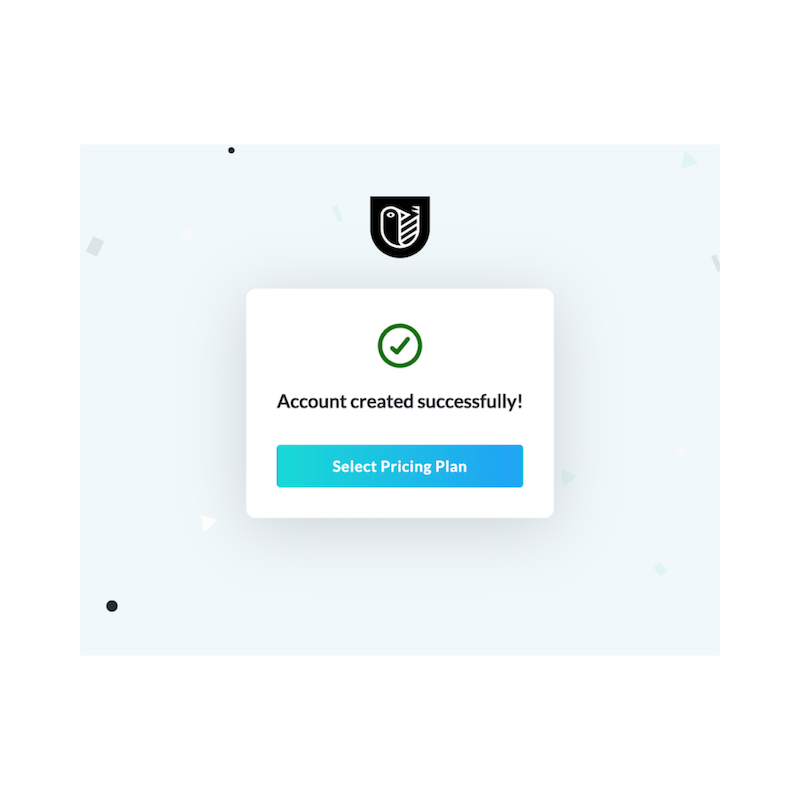
- Success! Time to pick your plan. Click Select Pricing Plan.
To update your email address or password, click to read how to update your login information.
Next: Pricing and Billing